Modifiers allow you to apply customizable options to stock products, so your guests can modify their orders. For example, choosing what type of milk to have in their coffee or adding extra toppings to their burgers.
This guide walks through how to create and edit modifiers.
Available on all plans (except Lite Legacy)
Add options for guests to choose from at POS or the mobile food & beverage checkout such as extra cheese or no anchovies (all plans except Lite Legacy). For Lite Legacy customers, contact your customer success manager or the support team to unlock this feature.
Create modifiers
To create your stock modifiers, follow the steps below.
From Venue Manager, go to Products > Stock > Modifiers.
Select Create modifier.
Give your modifier group a Name (eg Burger extras). You can also choose a separate display name for the modifier group.
Add your Variations (eg cheese, beetroot, bacon). You can also set an optional Value for each variation (eg 50 cents) and whether or not this variation will be selected by default in the checkout.
Select Delete (trash icon) to remove a modifier from the modifier group.
Select Add modifier to add another modifier.
To change the order that modifiers appear, drag and drop the order of the modifiers using sort function to the left of the name (two dashes). The order of the modifiers on this page is the order shown in POS, online and mobile F&B checkouts.
To see the process in action, select the hotspots on the interactive demo below.
Link modifiers to stock products
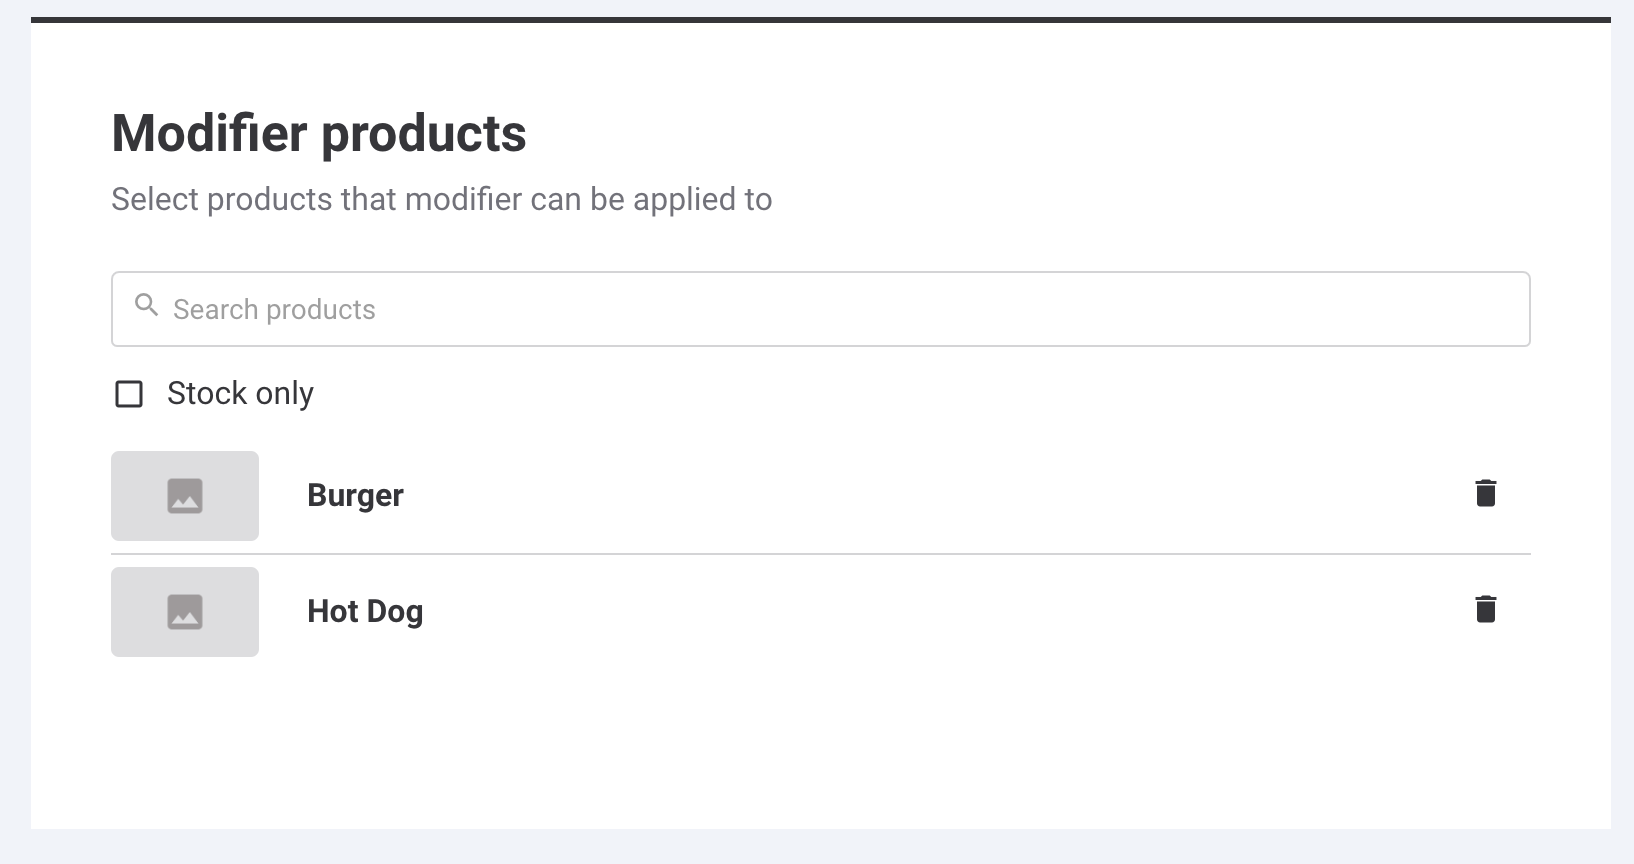
Now, you can search for and select the stock products this modifier group can be applied to.
In the search bar under the Modifier products heading, type the name of the stock product/s that the modifier group should apply to, and select it from the dropdown.
You need to type the name initially for it to appear (there is no drop-down to select from initially).
If you no longer want to link this modifier to a product, then simply remove the product by selecting Delete (trash icon). This means that when guests purchase this product at POS or mobile food & beverage checkouts, the modifier group will no longer be available to add to the product purchase.
If you want the modifier to apply to stock only, select the Stock only checkbox.
Configure your modifier options for mobile food and beverage checkouts
Premium feature
Streamline your restaurant operations and increase food and beverage revenue. To unlock this feature with a Premium plan and above, contact your customer success manager or the support team.
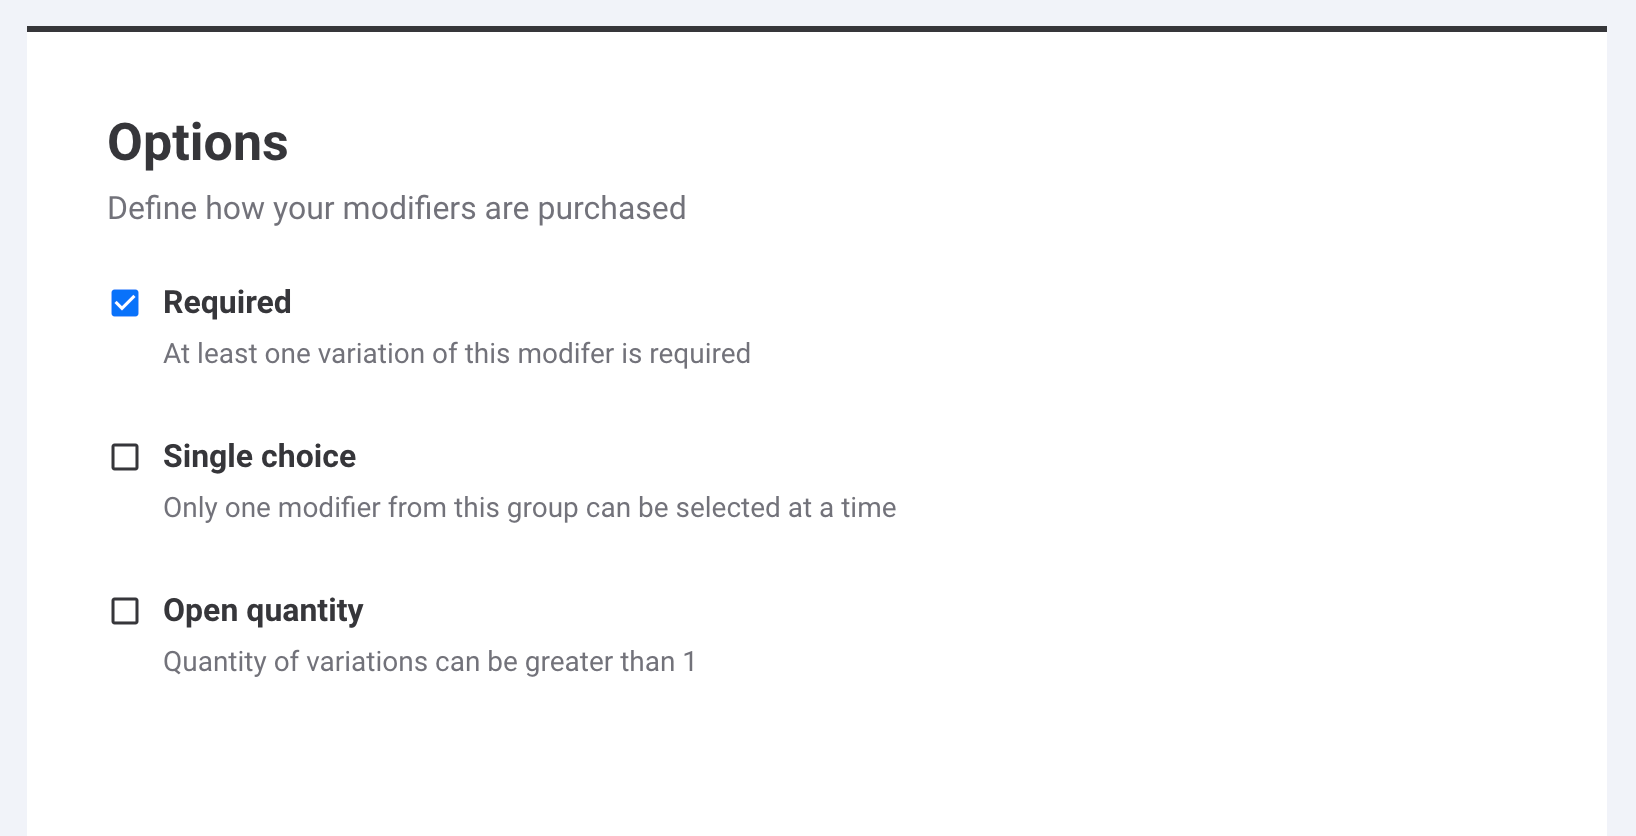
Configure your modifier Options, and define how they’re purchased in the food and beverage checkout.
Select Required, if at least one variation of this modifier is required when a guest purchases a product this modifier is linked to. For example, if a guest orders a hot dog they're required to choose at least one condiment to go with it.
Select Single choice, if only one modifier from this group can be selected at a time. For example, if a guest orders a coffee they can only choose one type of milk: full cream, oat or soy.
Select Open quantity, if guests can add more than one quantity of this modifier to their product. For example, guests can select 1 or more cheese slices to add to their burger. When Open quantity is selected, you cannot select Single choice as well.
Select Save to add your modifier group. Once a modifier group has been created it cannot be deleted.
Edit modifiers
To edit a modifier, follow the steps below.
From Venue Manager, go to Products > Stock > Modifiers.
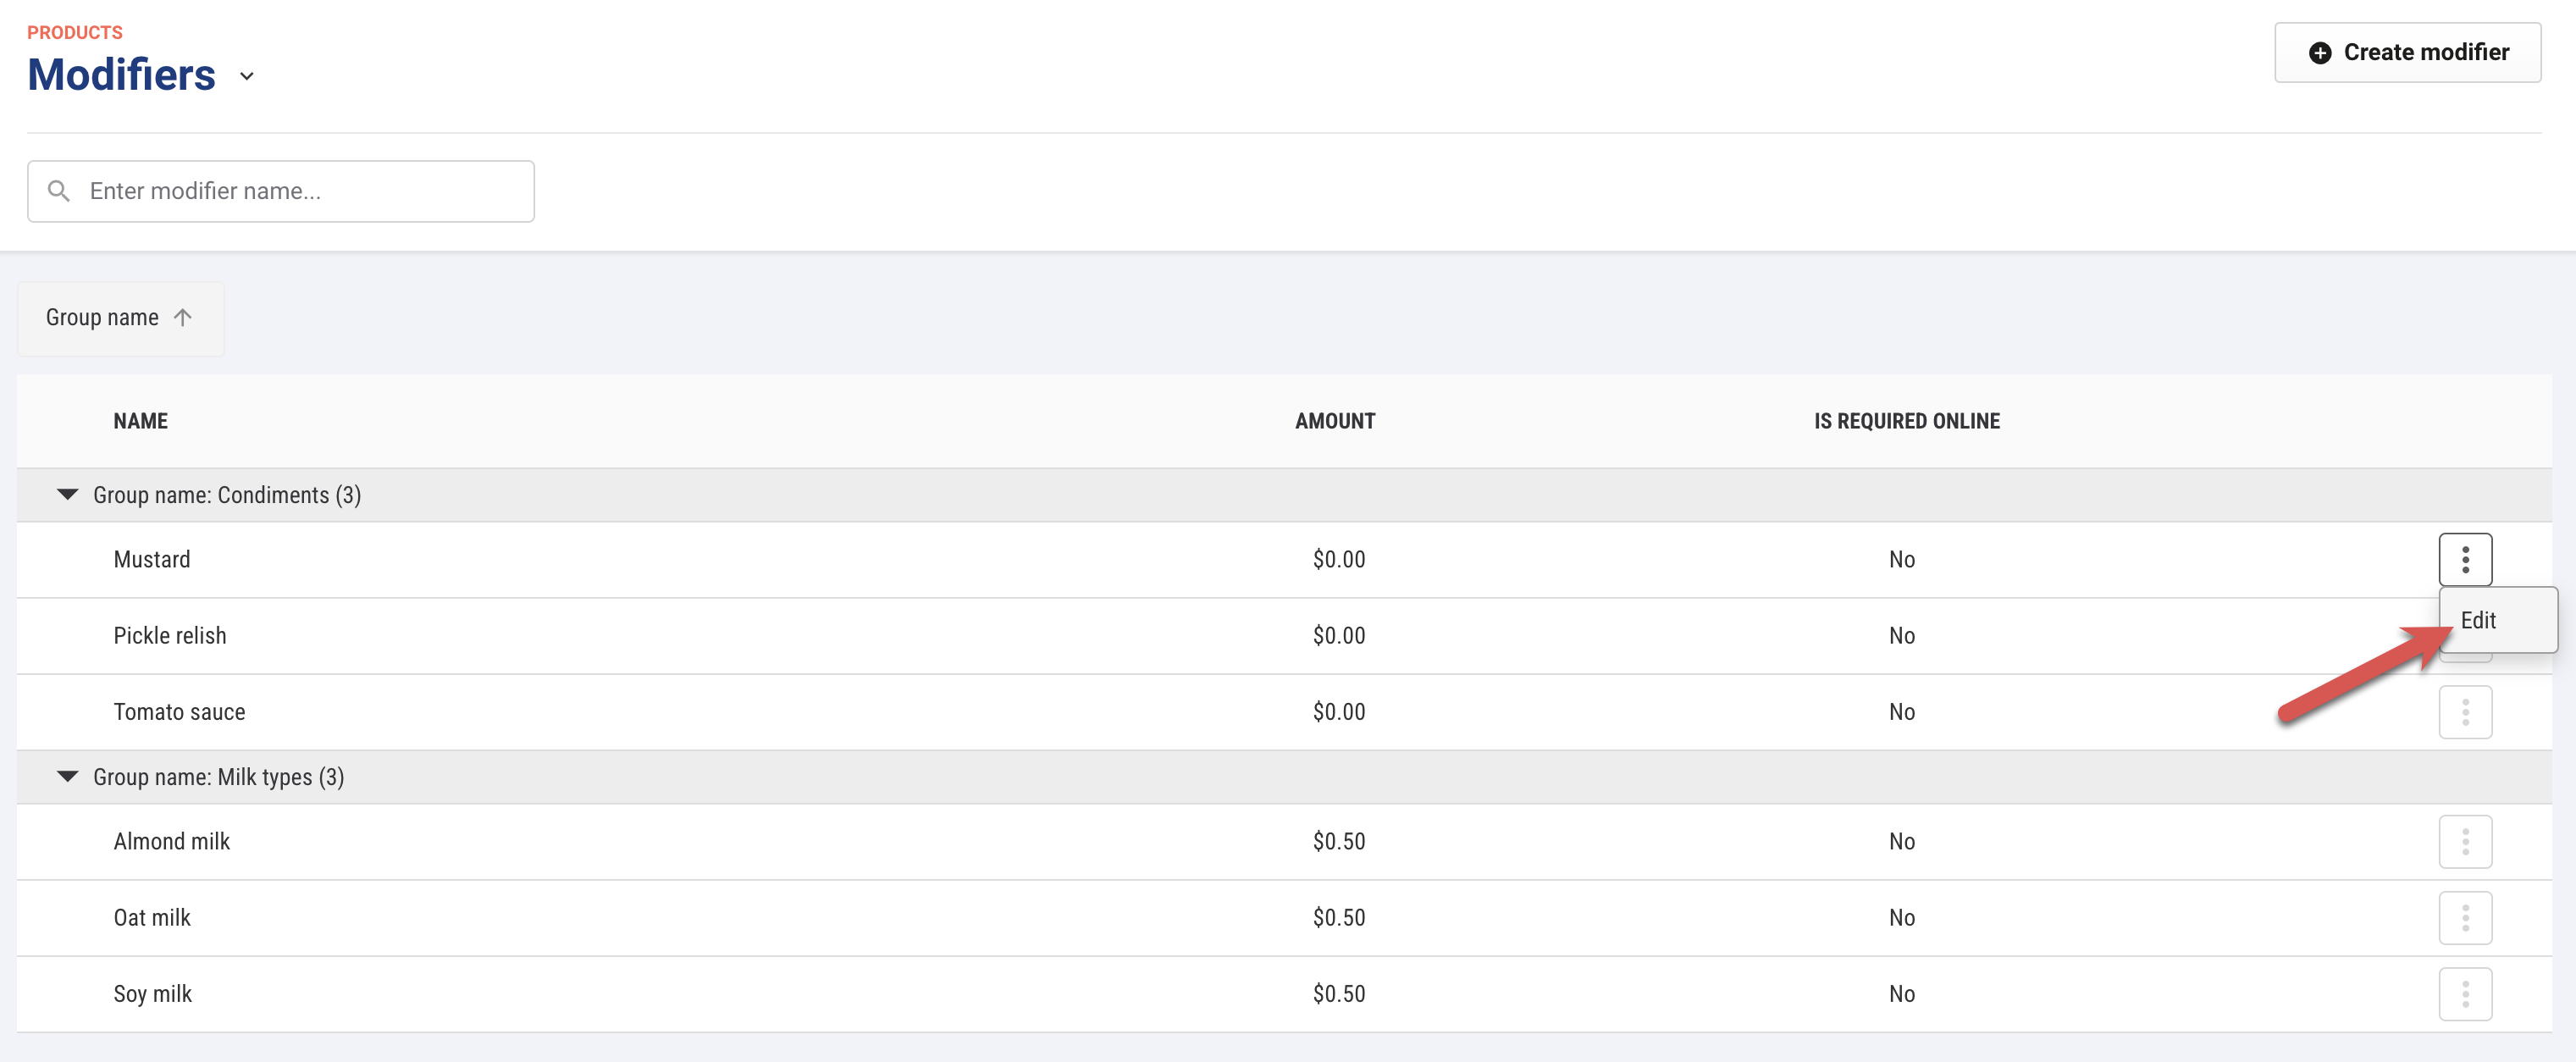
Select the options menu (3 dots) at the end of the modifier row you want to edit. Then select Edit from the dropdown.
This opens your modifier so you can make changes. Remember to select Save if you make any updates.