Having the ability to adjust existing bookings at POS has a number of benefits for both your guests and your staff. For guests, it ensures a seamless and accommodating experience, allowing them to modify their bookings in real-time based on changing circumstances or preferences. For your staff, this flexibility enhances operational efficiency.
This guide walks through how to adjust items in an existing booking at POS.
Search for an existing booking at POS
Before you can make changes to an existing booking, you must first search for the booking at POS. Follow the steps below.
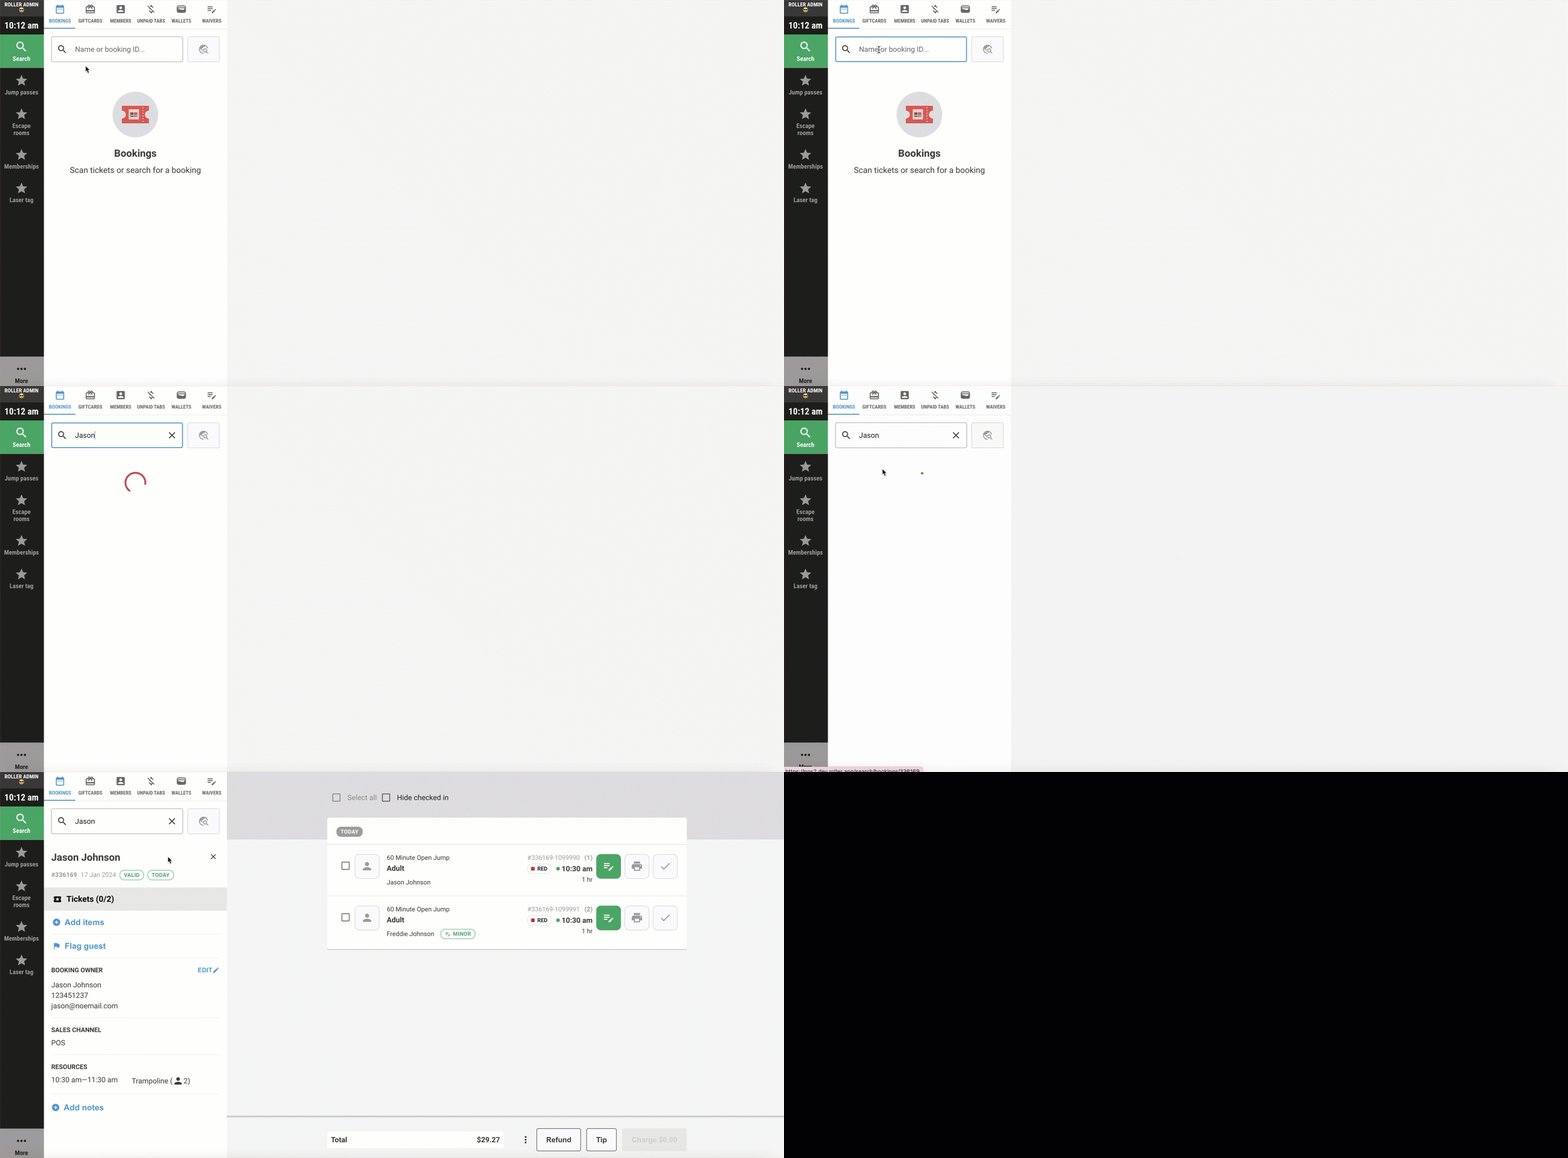
From POS, search for the booking using the booking name or booking ID.
Select the correct booking to bring up the booking details.
Remove items from the booking
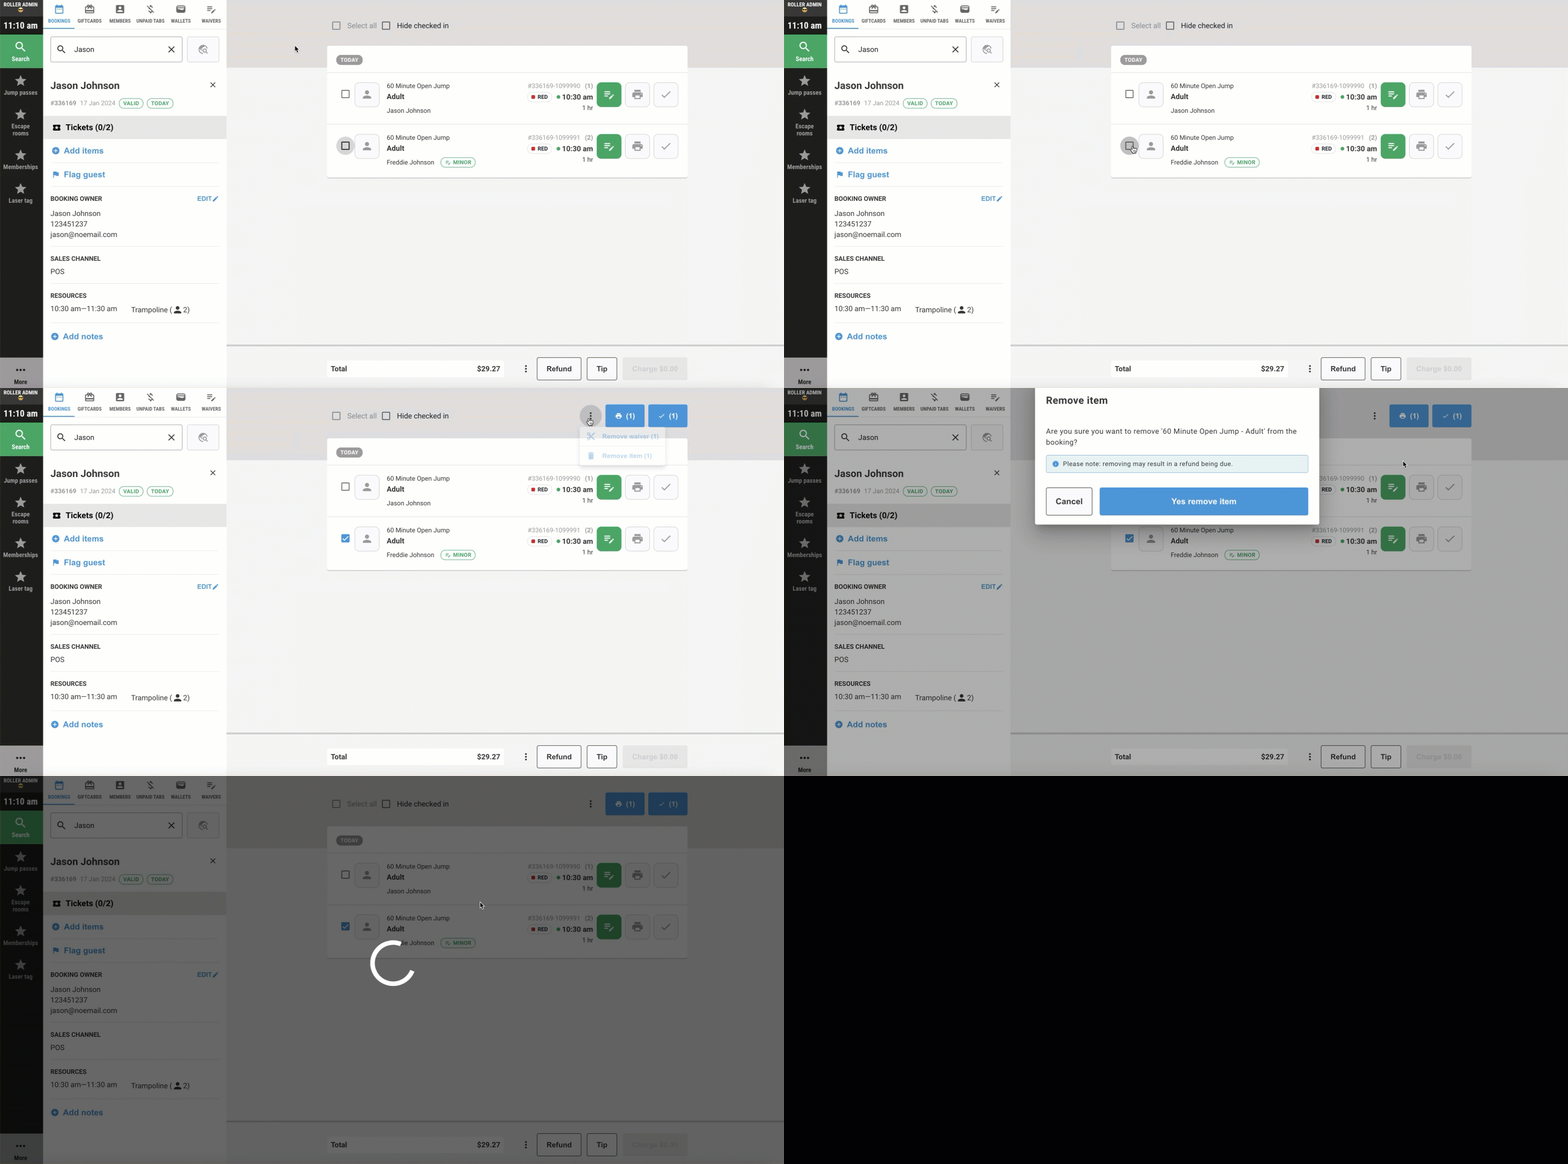
Select the checkbox next to the item you want to remove.
Select the options menu (3 dots), then select Remove item from the drop-down.
A pop up will appear, asking you to confirm you want to remove that item from the booking. The pop up also includes a warning that removing an item may result in a refund being owed.
Once confirmed, the item will be removed from the booking and the balance will be updated accordingly.
For customers on Premium+ plans, you also have the option to add a reason code when you remove or void an item in a booking. Reason codes give you an accurate, auditable record of why something has been removed from a booking. When you remove or void stock items, you can also choose whether to return the item to inventory (the default) or void it. To learn more, see the guide Set up reason codes for custom discounts, refunding and voiding at POS.
These instructions are only for removing items from a booking. If you need to refund or remove and refund individual item(s), refer to this article
Add items to the booking for the same day
To add more items to the booking, for the same day as the booking date, follow the steps below.
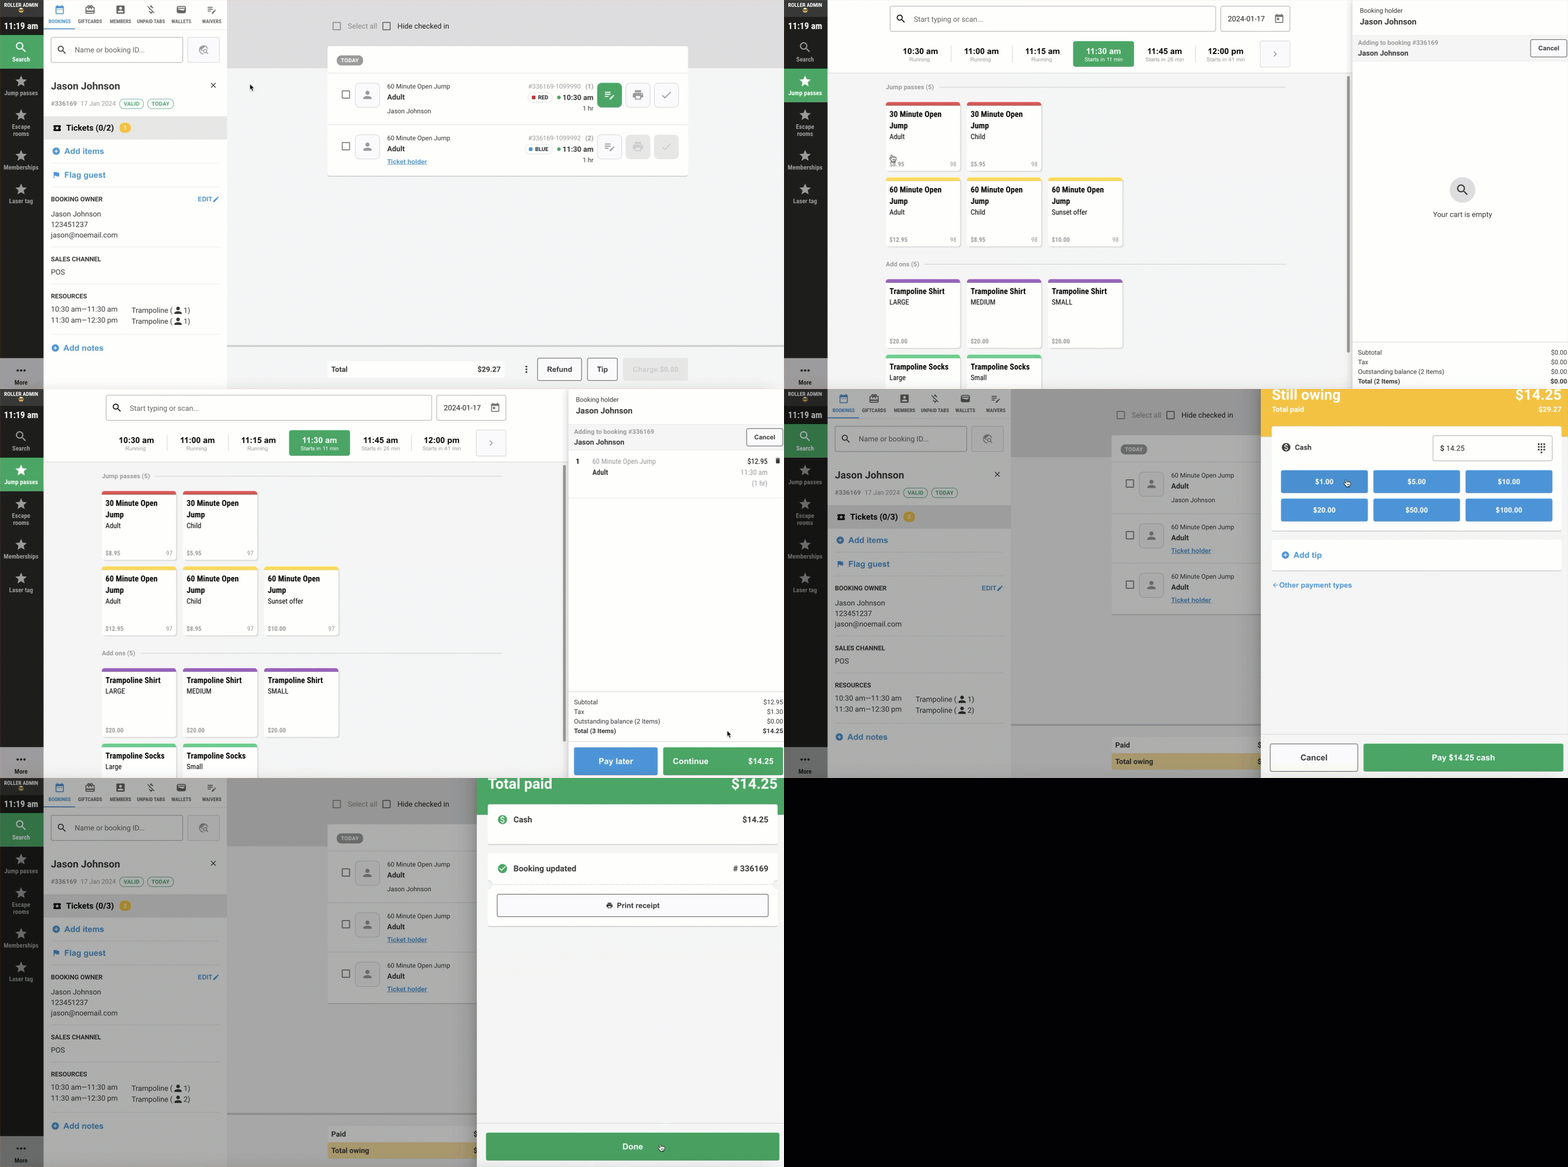
Select Add items from the left-side panel.
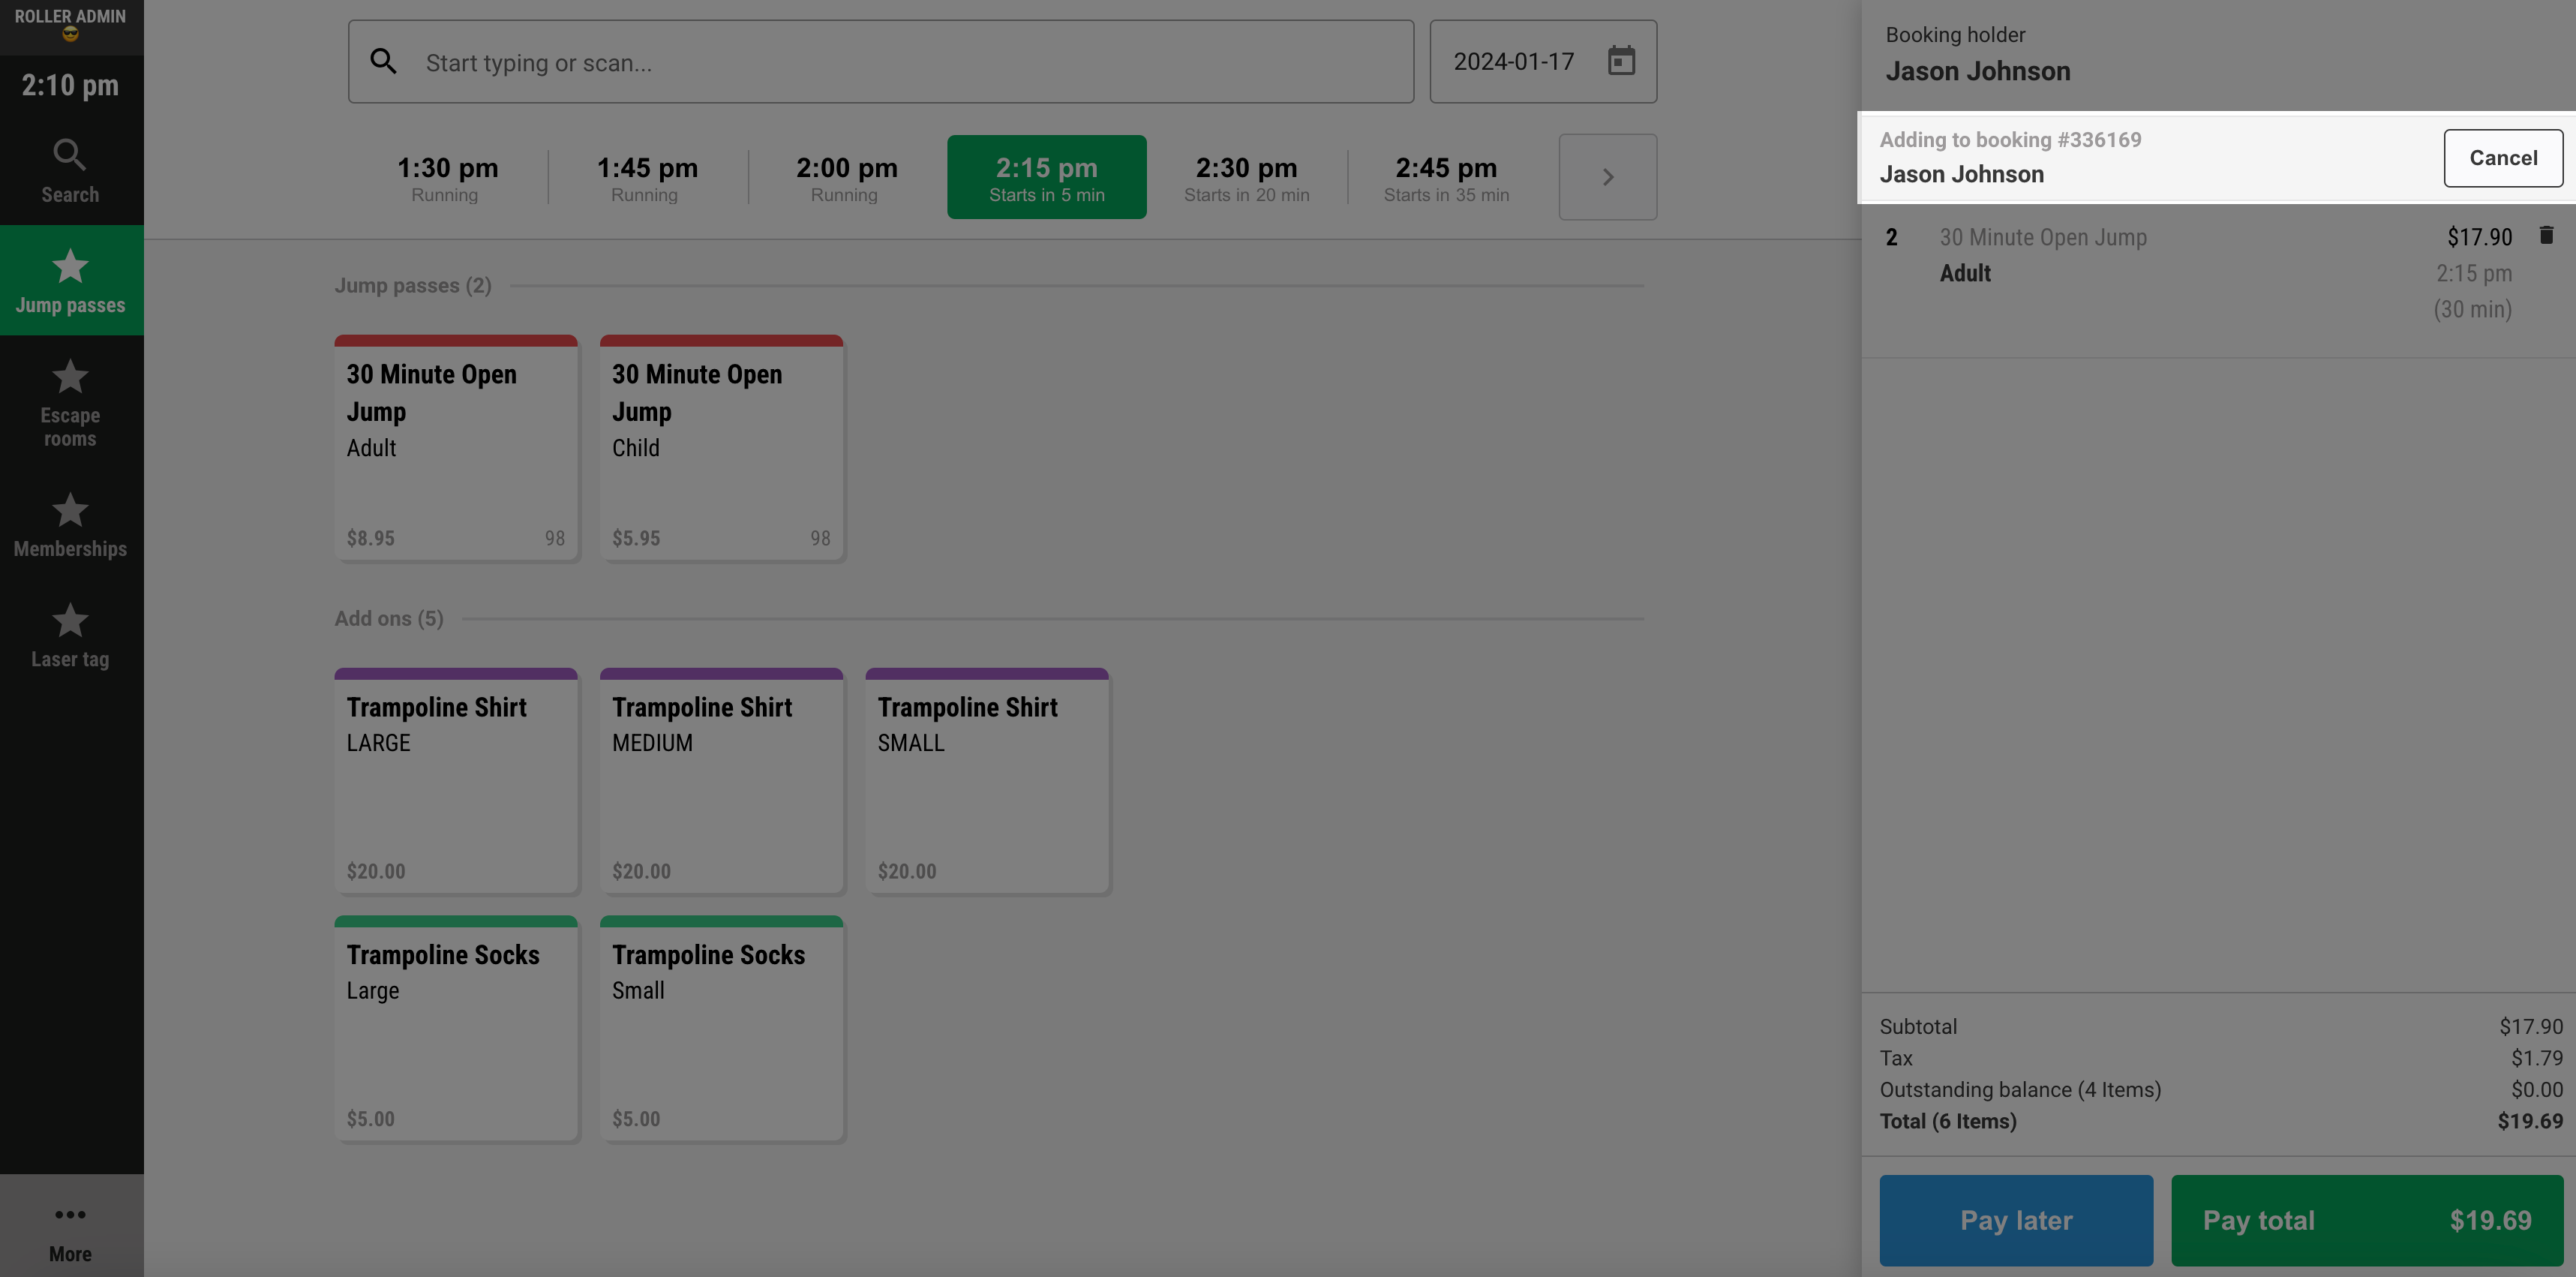
At the top of the cart (right-side panel), there's a confirmation stating Adding to booking # - Booking name (eg Adding to booking #9717045 Jason Johnson).
Add items to the cart - these items will default to the current date. Select Pay total and complete the transaction.
Add items to the booking for a different date
To add items to an existing booking for a future date, follow the steps below.
It's not possible to add items for past dates, only for future dates.
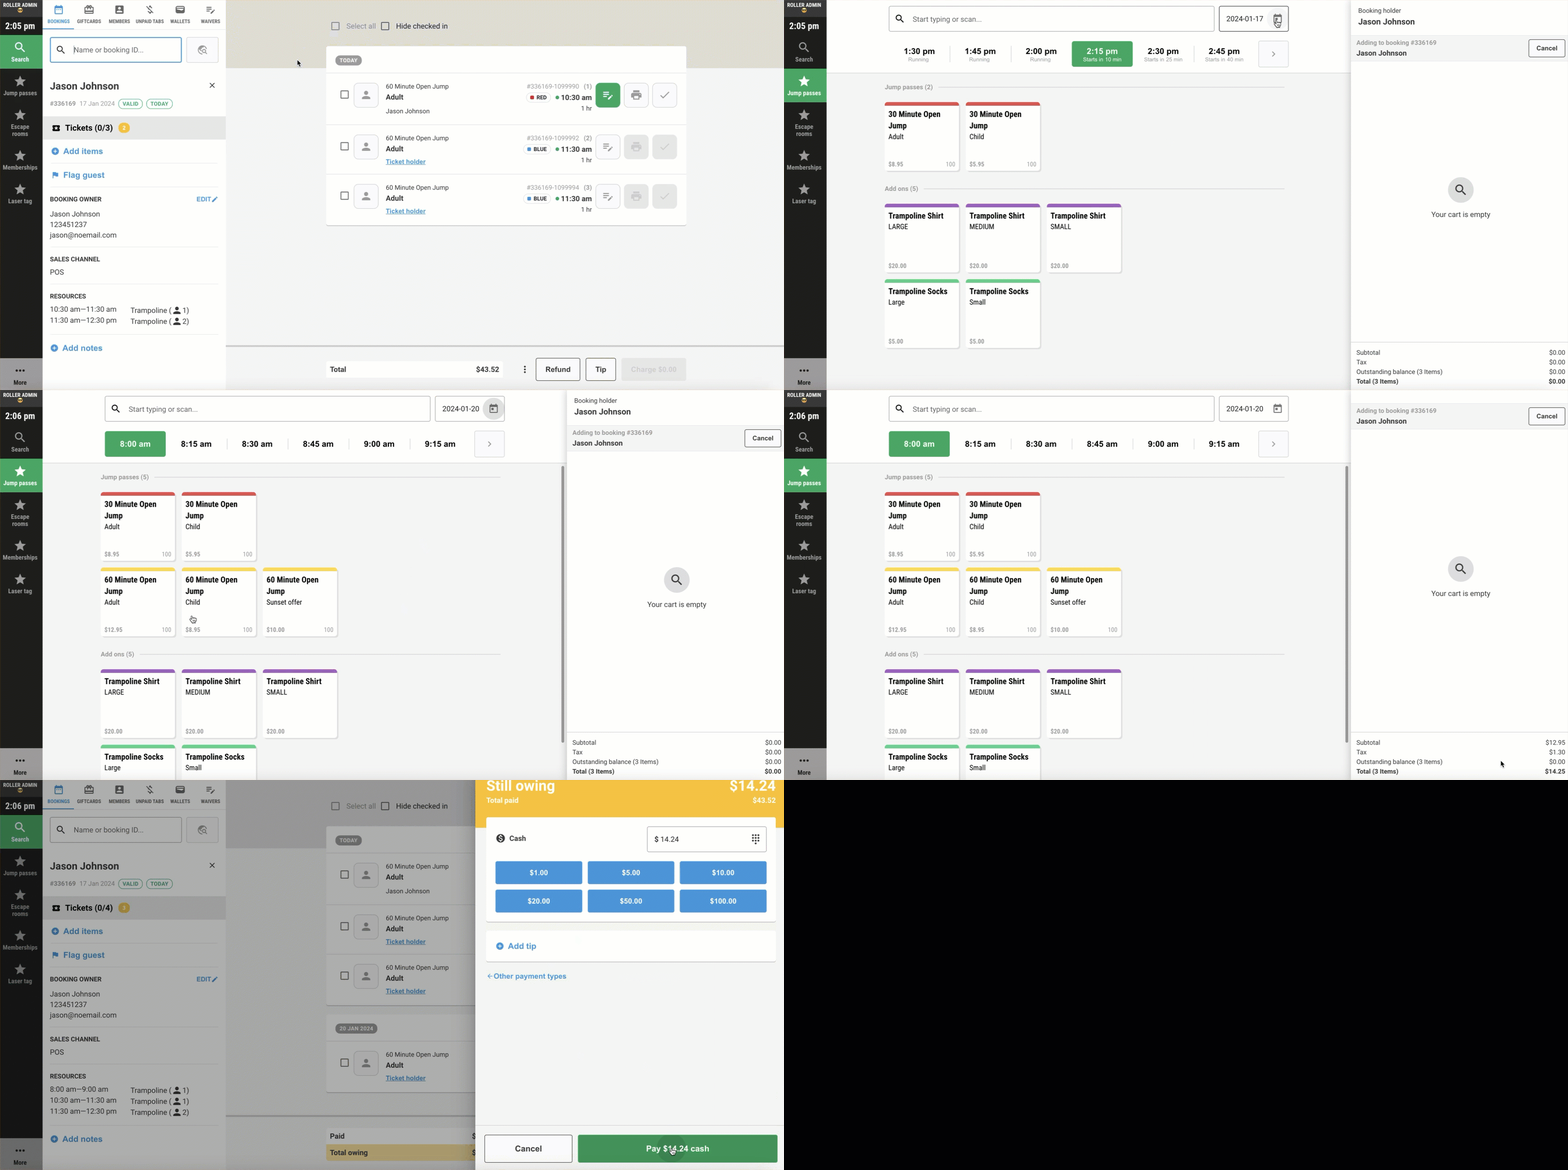
After selecting Add items, select the date picker at the top of the screen next to the search bar. Select a future date.
Add items to the cart. From the cart, you can see the new date. Select Pay total and complete the transaction.
When returning to the booking itself, items will be organized by date.
Cancel adding items to the booking
If the new items you've added to the booking are no longer required, select Cancel at the top of the cart. A pop-up will appear asking you to confirm canceling the addition of extra items.
You can choose Yes, cancel to remove the items, or No to continue.
Pay for the additional items added to an existing booking
After you've added additional items to an existing booking, you will have to take payment. You have two options for taking payment. Keep reading to learn more.
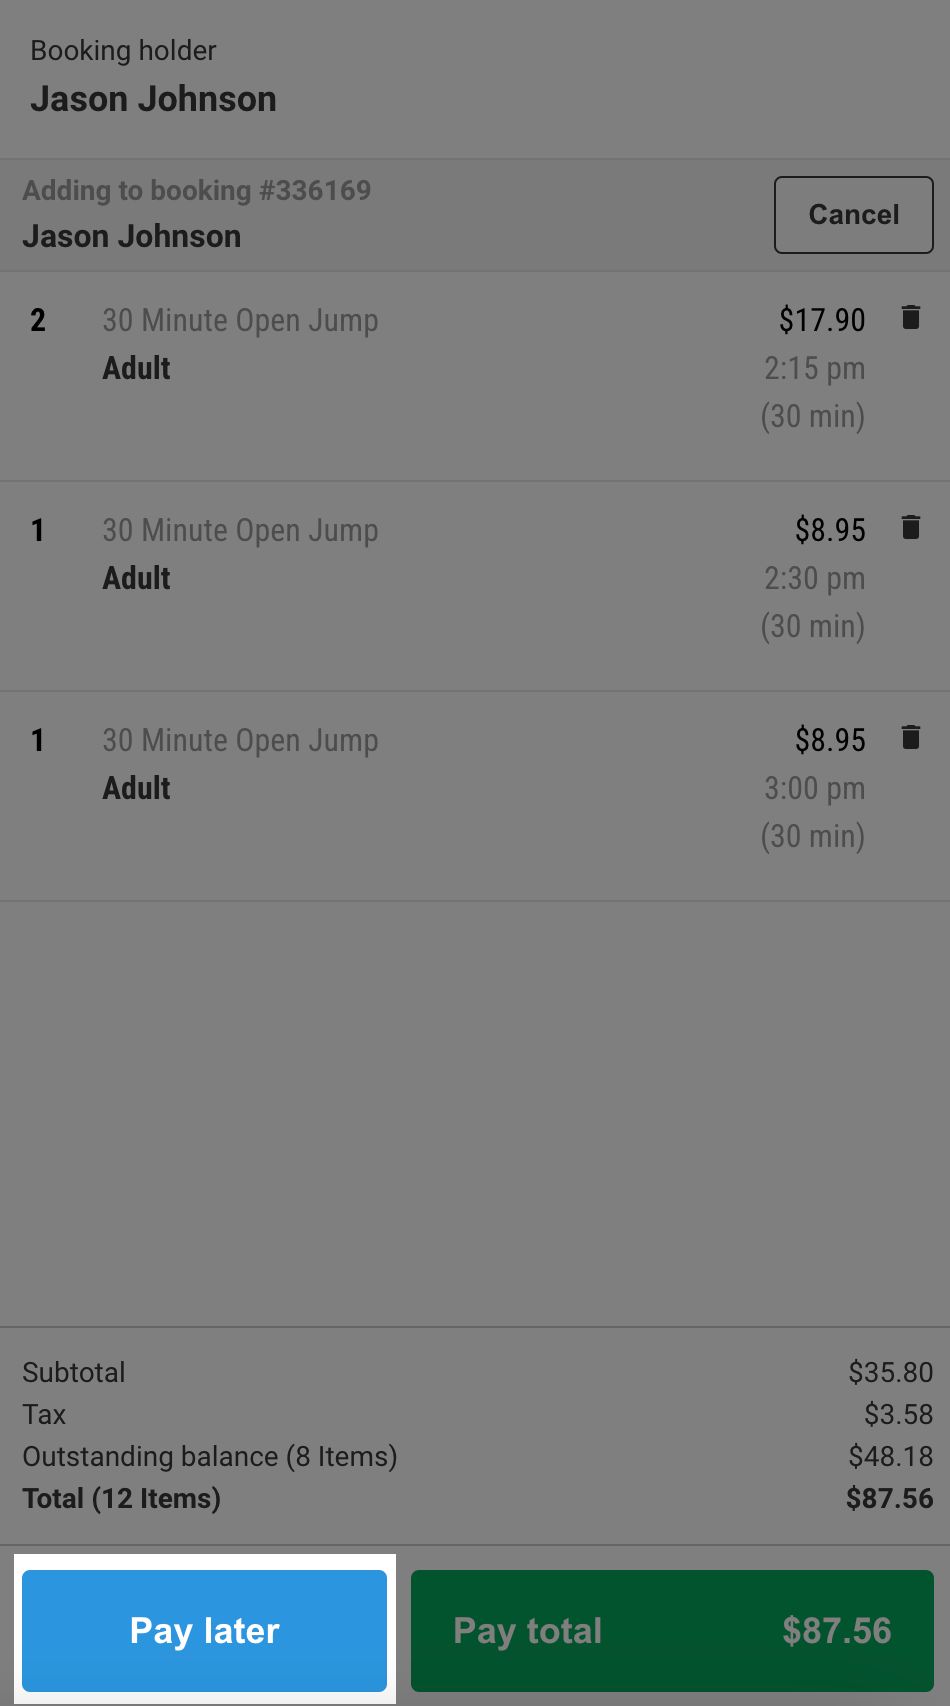
Pay later
From the bottom of the cart, select Pay Later. Selecting this option will add the items to the booking but you'll be taken back to the booking screen with payment owing.
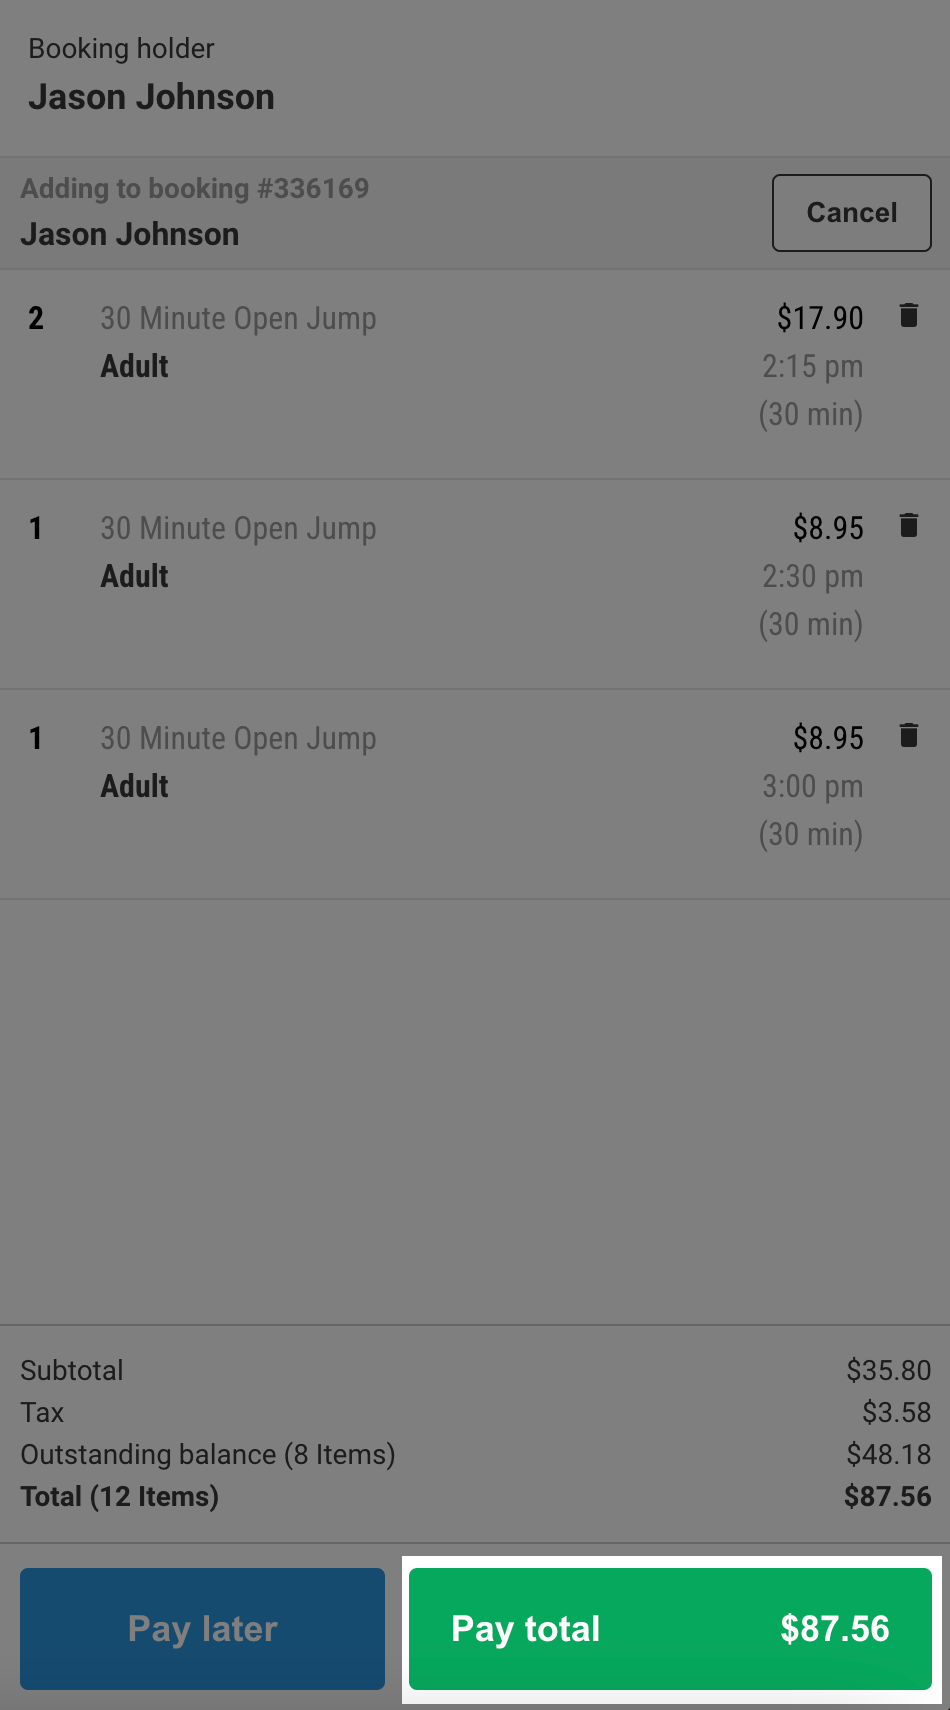
Pay total
From the bottom of the cart, select Pay total and complete the transaction. This option allows you to take payment for any outstanding items for the entire booking, not just the items added.
Opt into new edit purchased items workflow (beta)
This new edit items workflow lets staff update modifiers, option set selections, and quantities on items that have already been purchased, without removing and re-adding them. If there's a price difference after the edit, this is calculated at checkout. If the updated order costs more, the guest pays the balance; if it costs less, a refund is processed.
Supported product types: stock products, session passes, standard passes, and packages with modifiers or option sets. Party packages are not currently supported.
Enable beta feature in settings
Enable edit booking is a beta feature that must be turned on before use. When enabled, the Edit items button replaces Add items in the POS booking panel.
Switch it on:
From Venue Manager, go to Apps > Point of Sale > Settings.
Under the Booking management section, select the Enable edit booking checkbox.
Select Save.
Edit modifiers or option set selections on a purchased item:
From the booking complete screen in POS, select Go to the booking. Alternatively, search for and open the booking from POS.
In the booking panel, select Edit items.
In the cart, locate the item and select Edit modifiers. The cart shows an EDITING label while in edit mode.
Add or remove modifiers as needed, then select Edit item.
Select Update to take payment for any price increase, or process a refund if the new total is lower.