Sometimes you need to give a guest money back, whether they canceled, changed their booking, were overcharged or you’re making a goodwill adjustment. You can issue a full or partial refund directly from ROLLER POS using the same payment method the guest paid with.
This guide shows you how to check whether staff need permission or a PIN to issue refunds, process a full or partial refund from POS and see who issued and approved the refund.
Watch how to process refunds at POS
Watch how to issue a full or partial refund from POS, including selecting a refund method and entering the refund amount.
Permissions and settings required
To process a refund, staff must have the Can issue refunds staff permission.
The POS PIN required for refunds venue setting decides whether manager or supervisor approval is also needed when front-of-house staff issue refunds at POS.
To find this setting in Venue Manager:
Go to Settings > Account > Venue settings.
Scroll to Bookings & inquiries > POS PIN required for refunds.
A POS PIN is the personal code each staff member uses to sign into POS. With the right permissions, your venue managers and supervisors can also approve restricted actions, such as refunds, with their POS PIN.
If POS PIN required for refunds is off (disabled):
Staff with the Can issue refunds permission can process refunds directly.
Staff without the Can issue refunds permission must get another staff member with this permission to enter their POS PIN.
If POS PIN required for refunds is on (enabled):
A POS PIN is needed to approve every refund.
The POS PIN must belong to a staff member who has the following permissions enabled:
Can issue refunds permission, and:
Either POS admin or the Manager PIN Override permission.
When a refund happens at POS, staff who have the right permissions can enter their own POS PIN. Otherwise, they'll need a staff member with the right permissions to enter the POS PIN to action the refund.
For administrator and manager system roles: Can issue refunds, POS admin and the Manager PIN Override permissions are already enabled by default. For custom roles: when POS PIN required for refunds is enabled, make sure any staff who need to issue or approve refunds have Can issue refunds permission, and either POS admin or the Manager PIN Override permission enabled. Use The Manager PIN Override permission to allow staff to approve refunds without granting access to POS settings.
You can also choose to configure reason codes. When reason codes have been configured, each time a refund is processed at POS the POS operator must add a reason for the refund. To configure refund reason codes, follow the steps below.
From Venue Manager, go to Settings > Account > Venue settings.
Select Unlock to make changes.
Under Bookings & inquiries, check the box Require reason code for booking adjustments.
Create your reason codes by selecting + Add reason code next to Refund.
Select Save.
To learn more about reason codes, see the guide Set up reason codes for custom discounts, refunding and voiding at POS.
Issue a refund
From POS:
Search for the booking by booking name or booking ID, then select it from the results.
Select Refund at the bottom of the screen.
Choose the refund method (eg cash, card, gift card or wallet).
Enter a custom amount to refund or select one of these options:
Options
Description
Total
Refunds the full amount. By default, the booking is canceled unless you deselect Cancel the booking once the refund is processed.
Individual tickets
Refunds selected tickets. Refunded tickets are removed from the booking and can’t be used. Selecting all tickets cancels the booking.
Individual tips
Refunds one or more tips recorded on the booking (eg if tips were added across different payments).
[Optional] If you have reason codes set up, you can select one from the drop down.
Select Issue refund to process the refund.
When rescheduling, POS shows any price difference before you confirm, based on price rules you've set up for the product (eg rescheduling from a higher-priced peak day to a lower-priced off-peak day). If the change results in a credit, you can refund the guest from POS after the reschedule.
View who issued the refund
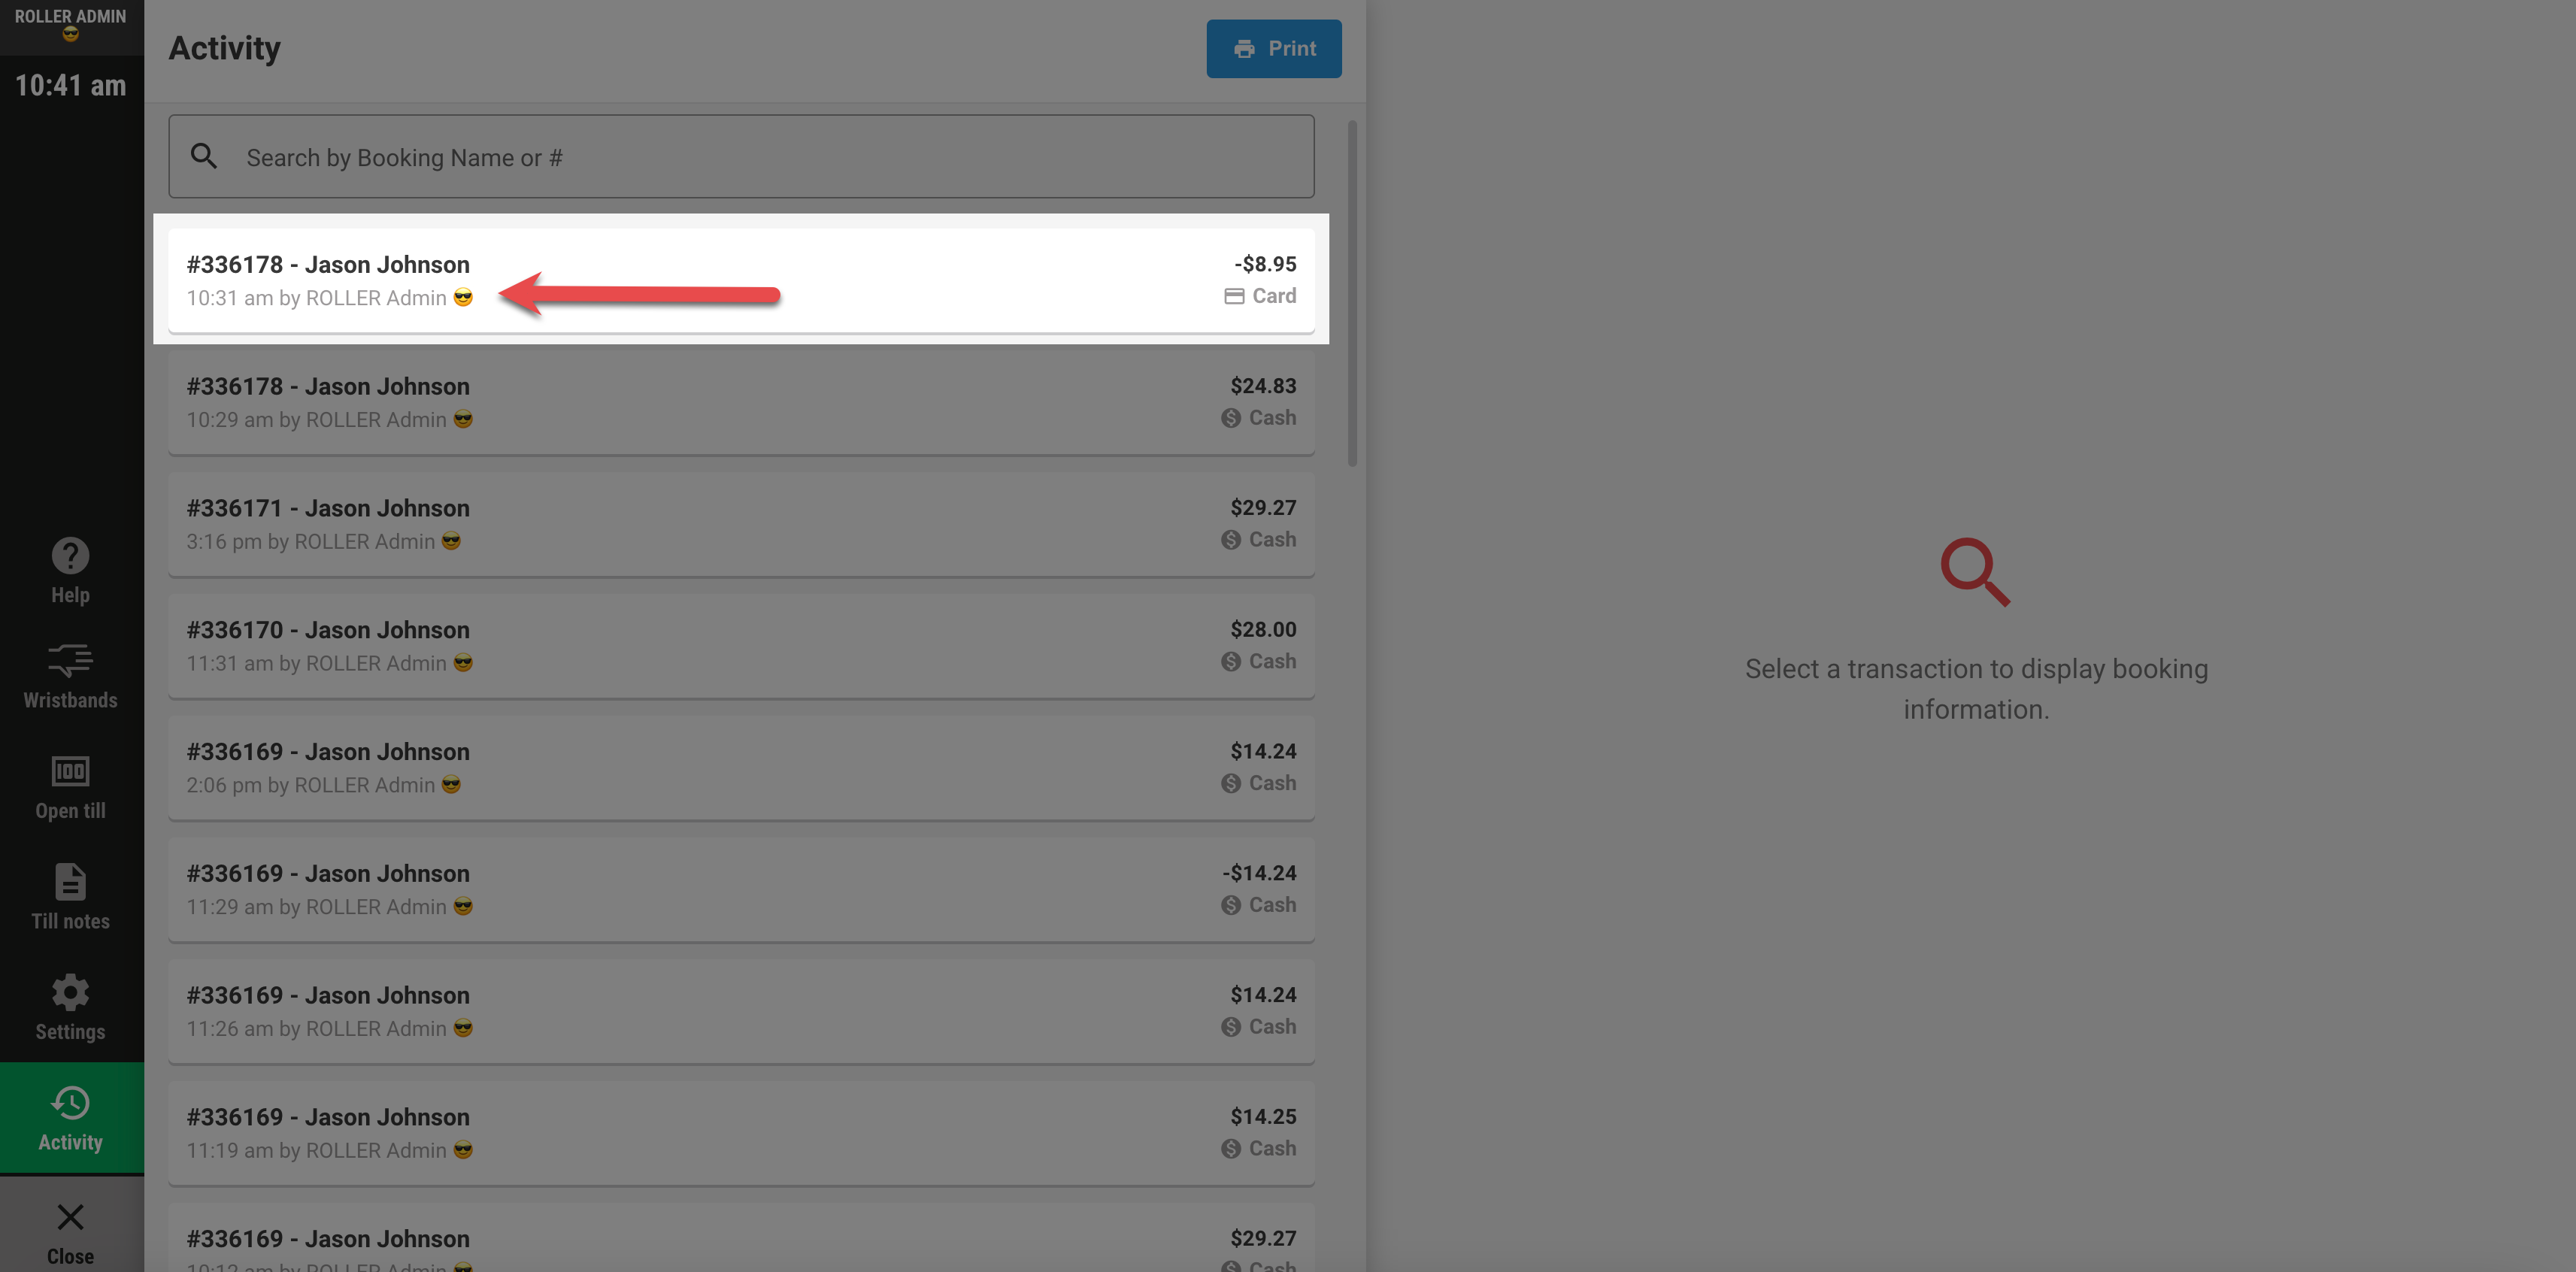
You can see which staff member issued a refund in the POS activity stream. The approving staff member’s name is shown below the refund activity item.
From POS:
Select More (bottom left) from the menu.
Select Activity.
Search for the booking by name or ID, or scroll through the activity stream.