Setting up cloud printing at your venue is a multi-stage process. But, once you’ve configured your printers, created your print stations in Venue Manager and run a successful test print, you’re ready to start printing at POS!
This guide walks through how to enable cloud printing at POS.
For a complete overview of the process, read the guide Getting started with cloud printing for production management.
Requirements
Before you can enable printing at POS, you need to work through a few requirements.
If your venue is using ROLLER’s mobile food & beverage checkout, you’ll also need to have at least one active checkout in order to print production dockets. Learn more
Enabling printing at POS
Once you’ve successfully completed the requirements listed above, you’re ready to enable printing at POS. Follow the steps below.
From Venue Manager, go to Settings > Devices.
Above your list of printers, there’ll be a banner prompting you to enable your print stations at POS. Select Switch to print stations.
A checklist will appear, asking you to confirm you’ve completed the required steps to print at POS. Select each checkbox and then select Switch to print stations.
To check that your print stations have successfully linked to your POS devices, follow the steps below.
From POS, go to More > Settings > Print stations.
You should see a list of all connected print stations with their print status.
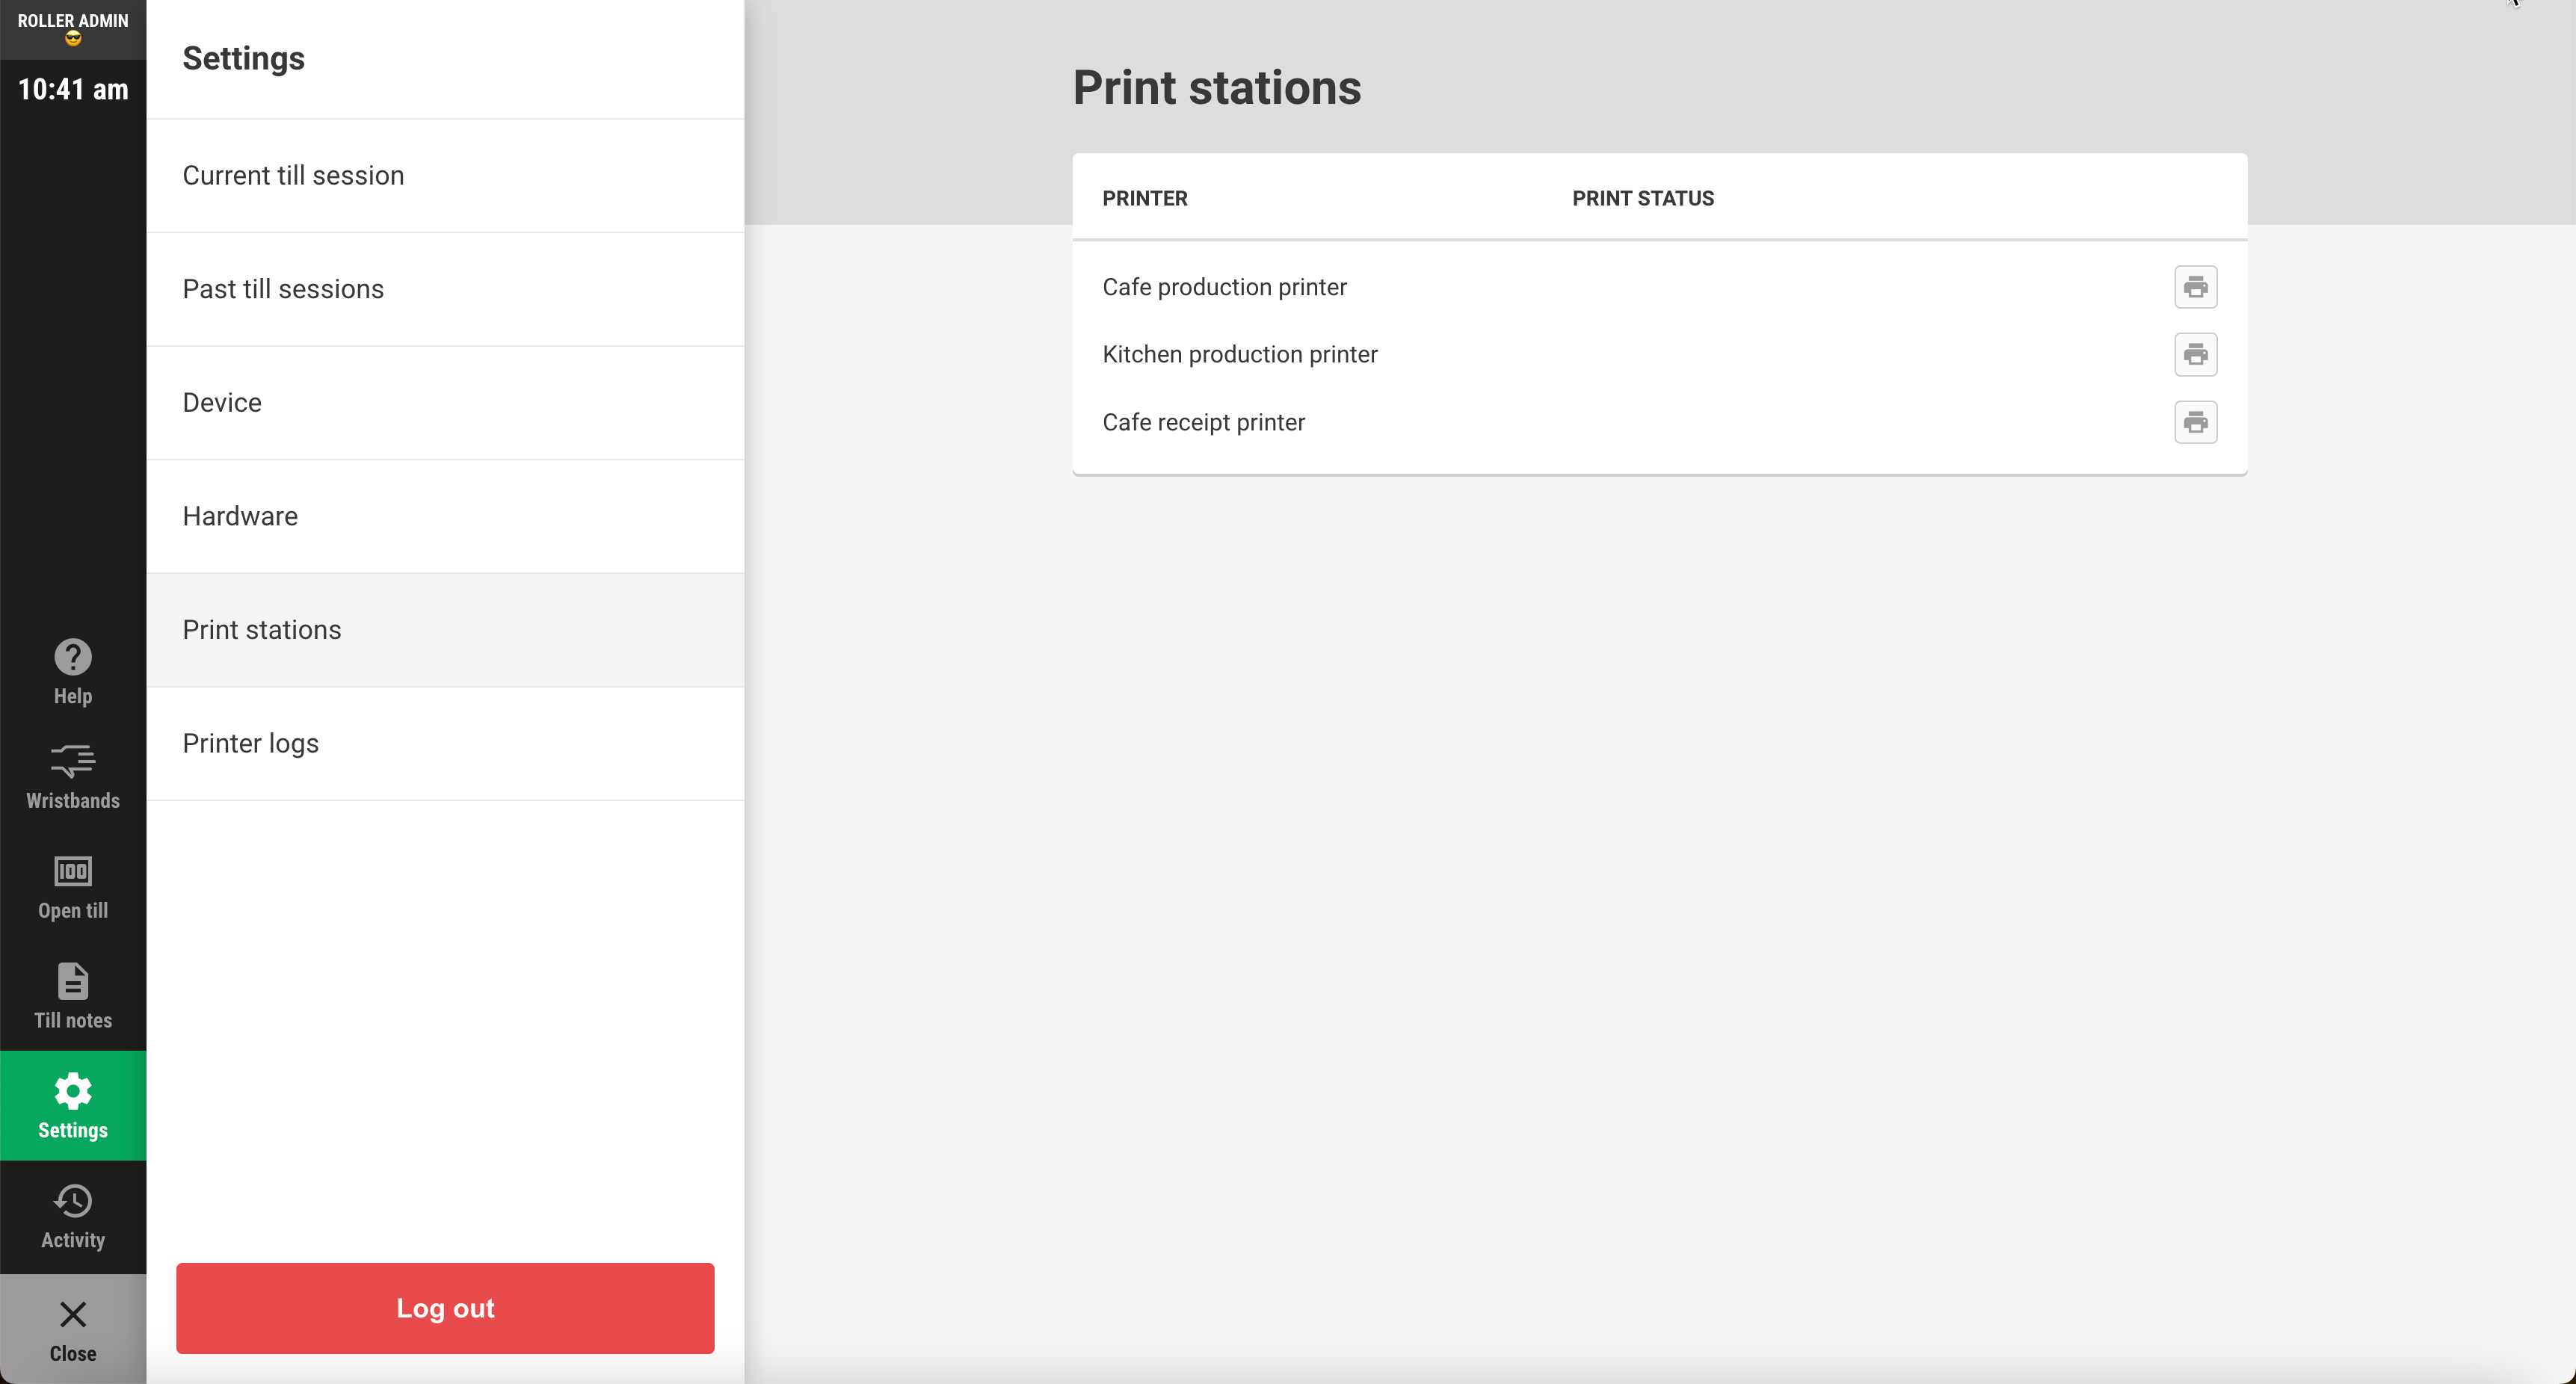
If you don’t see any print stations, refresh the page and they should appear.
Once this is done, we recommend that you run a few test prints from POS to ensure that printing is working as expected.
Arrive early on launch day for testing.
Disabling printing at POS
If you run into any issues on launch day, or printing isn’t working as expected, you can disable your print stations and revert back to your previous printer setup. Follow the steps below.
From Venue Manager, go to Settings > Devices.
Select the options menu (3 dots) in the top right of the page.
Select Disable print stations from the dropdown.
Then select Disable printers from the pop up to confirm the action.
When you’re ready to enable printing again, follow steps 1-3 from the Enabling printing at POS section above.