Improve the guest experience at your venue with ROLLER’s mobile food & beverage ordering feature.
Guests simply scan a QR code at your venue, then conveniently look through your menu at their leisure, add food and beverage items to their cart, customize their orders and pay, all without having to wait in a queue!
This will reduce pressure on your staff and save time, all while increasing your food and beverage revenue. This guide will walk through how your guests can order and pay for their food and beverages online.
For more information on how to create your food & beverage checkout in ROLLER for mobile food & beverage ordering, read the guide Create your food and beverage checkout for mobile food & beverage ordering.
Requirements
Before your guests can start to use mobile food & beverage ordering at your venue, there are a few requirements you need to work through first.
You'll need to be using ROLLER Payments to process payments.
You must have cloud printing set up.
You must have created at least one food & beverage checkout.
Premium feature
Streamline your restaurant operations and increase food and beverage revenue. To unlock this feature with a Premium plan and above, contact your customer success manager or the support team.
How it works
Watch this video to walk through the guest experience!
Guests scan a QR code and order
When your guests are ready to place a food and beverage order at your venue, they can quickly and conveniently scan a QR code to open the online menu on their smartphone.
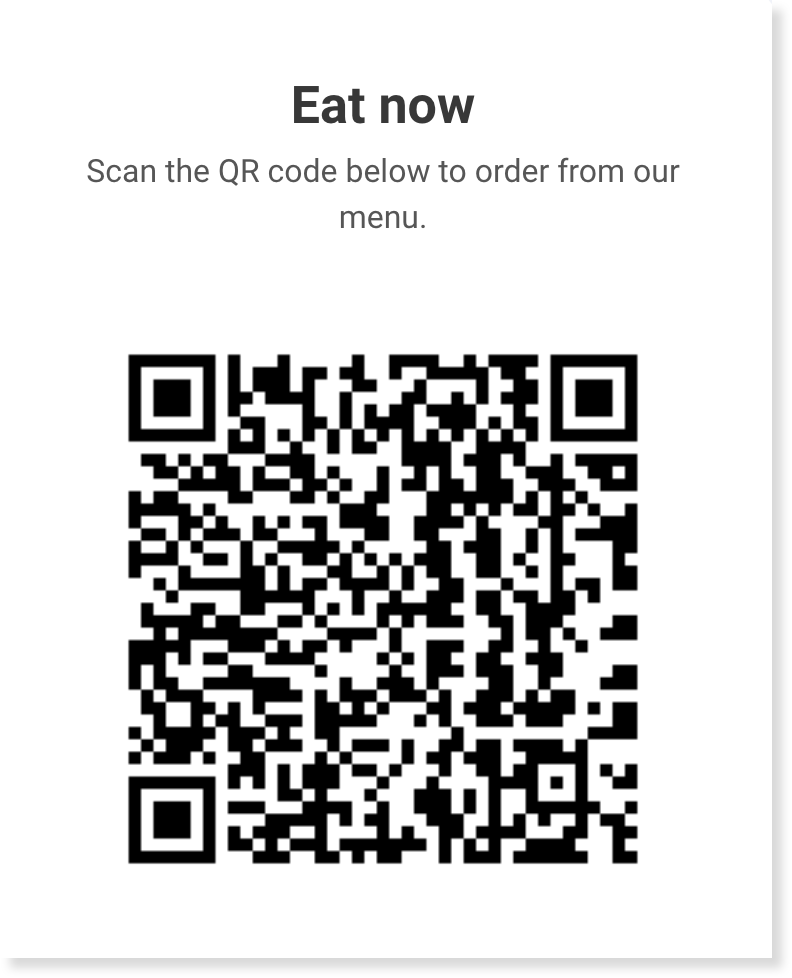
You can configure and print your QR codes in Venue Manager. To learn how, read the guide Create your food and beverage checkout for mobile food & beverage ordering.
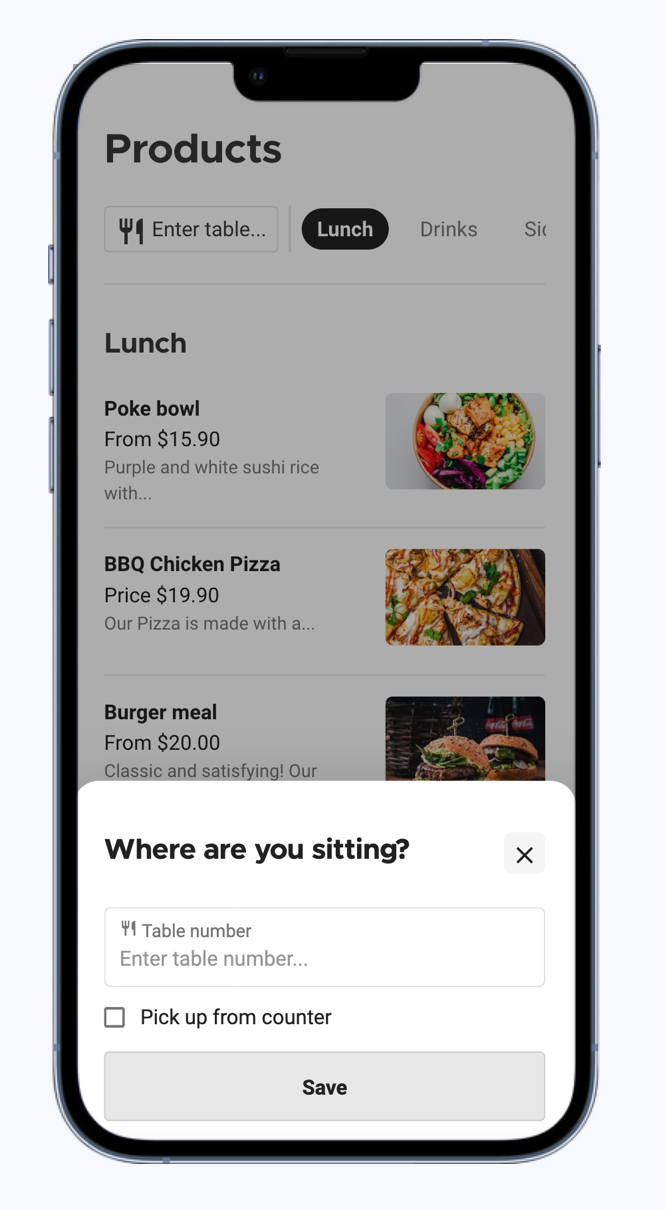
Depending on how you’ve configured your food & beverage checkout, your guests will then be prompted to enter their table number, or choose to pick up their order from the counter.
If guests access mobile food & beverage ordering outside of your set operating hours, they will not be able to place an order. To learn more about operating hours, read the guide Set up and manage operating hours.
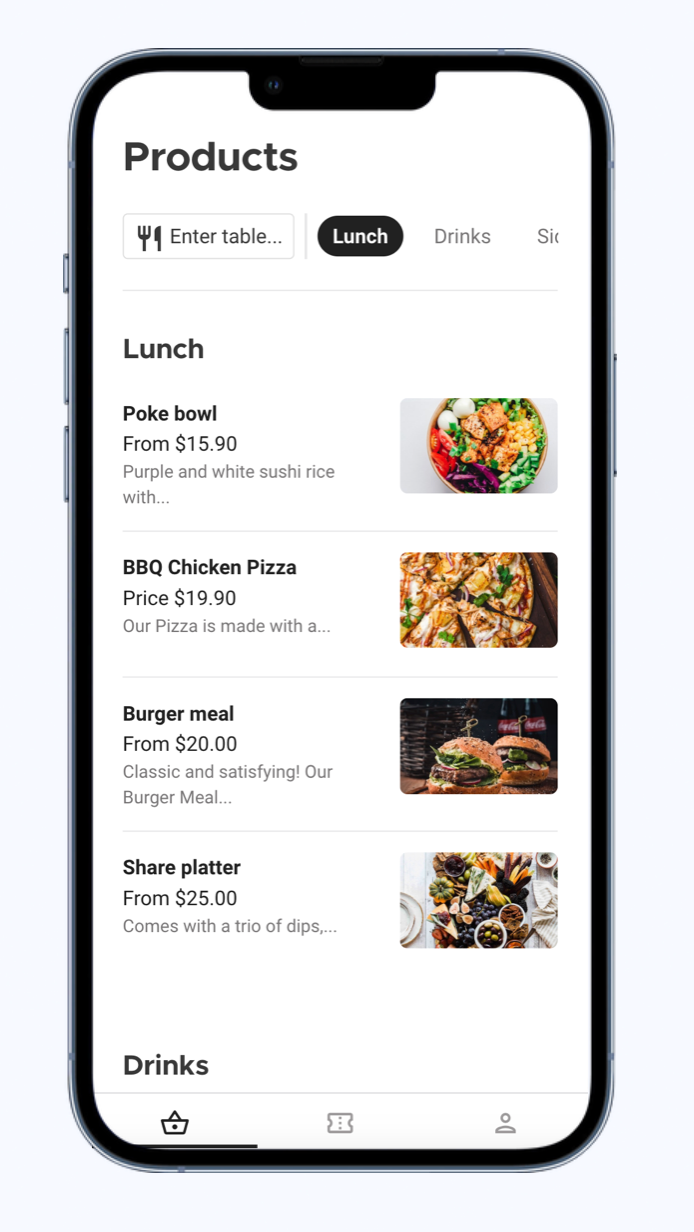
Menu sections are listed across the top of the screen. Guests can then select which section they’d like to order from, or scroll down the page to see a list of each food and beverage product available to order.
Guests can scroll through the menu and select each item they’d like to order. Depending on how your stock products and checkout are configured, when a guest selects a menu item, they can:
Select any available variations. For example, if a guest selects a poke bowl, they may then have the option to choose whether they want chicken, salmon or tofu as their protein option.
Select any modifiers. For example, guests may get to choose extra toppings or seasonings for their poke bowl.
Add any special instructions they might want your kitchen staff to know. For example, any allergies or specific requests. Special instructions will appear on printed production dockets, KDS screens and at POS (simply search for and view the order like you would for a regular booking at POS).
Select the quantity (this automatically defaults to 1, but can be adjusted for more).
Once guests have made their choices, they can select Add to cart, and their cart will be updated.
Guests review their cart and checkout
As guests add products to their cart, they can see a preview of their order by selecting View cart, along the bottom of the screen.
Guests can edit their order from their cart preview, as well as remove products they no longer want.
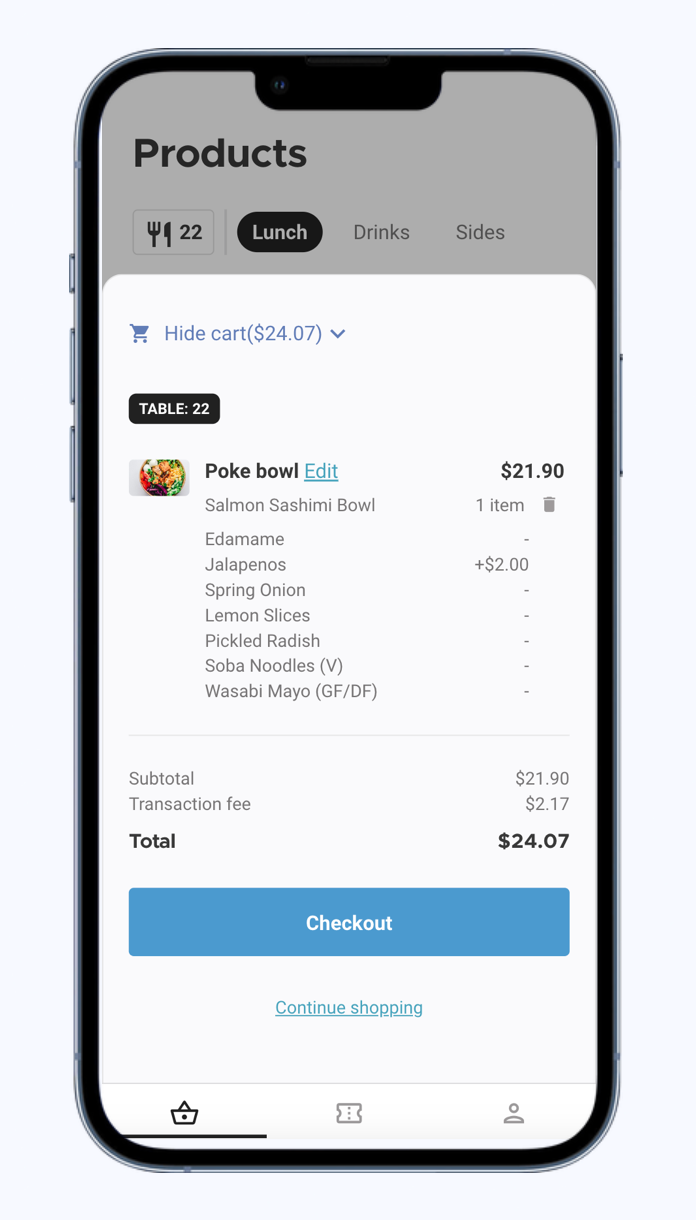
Once your guests have finalized their order, they can select Checkout and move onto details and payment.
Guests fill in their details
When a guest selects Checkout, they’ll be taken to the Your details page. Here they will need to enter their name, email address and contact number first.
If guests have an online account and haven’t already logged in, they can do so from here. If they don’t have an online account, they have the option to create one here as well. They can also checkout without an online account.
Guests can apply any discounts they might have to their order by selecting Redeem now. Before agreeing to any terms and conditions. They then select Continue to move on.
Guests pay for their order
If you’ve configured your checkout to accept tips, then before your guests can add their payment details, a pop-up will appear from the bottom of the screen requesting them to add a tip. Guests can choose from pre-configured amounts, choose their own amount or elect not to add a tip to their order.
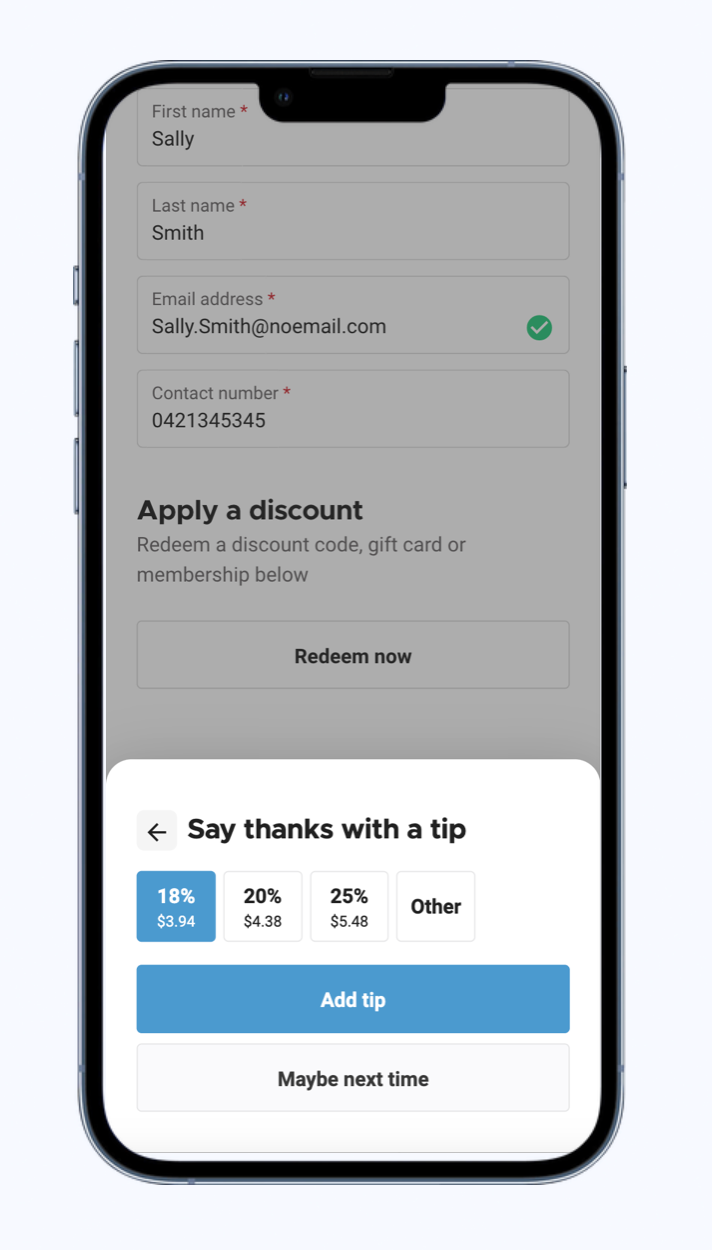
Guests can then add their preferred payment method and select Pay, to complete their order.
If a guest is logged into their online account, they’ll be prompted to use their saved payment method. To learn more, read the guide Configure online guest accounts in progressive checkouts.
Guests receive an order confirmation
The final page guests will see is the Order confirmation page (they'll also receive a confirmation email for their order). This will show them the details of their order, plus the status of their order.
Green: Order sent
Yellow: Order failed
When an order has been sent, the production docket will automatically print to the correct print station. To learn more, read the guide Create your food and beverage checkout for mobile food & beverage ordering.
Staff receive the production docket and prepare order
While your guests sit back and relax, the production docket is sent to your staff and they can prepare the order.
Once done, depending on how your food and beverage operations work, guests can then pick up their orders from your counter or your staff can deliver it to their table.