What you'll learn in four minutes or less
How to create a schedule with sessions that occur at regular intervals, but are not linked to either your venue's opening or closing times
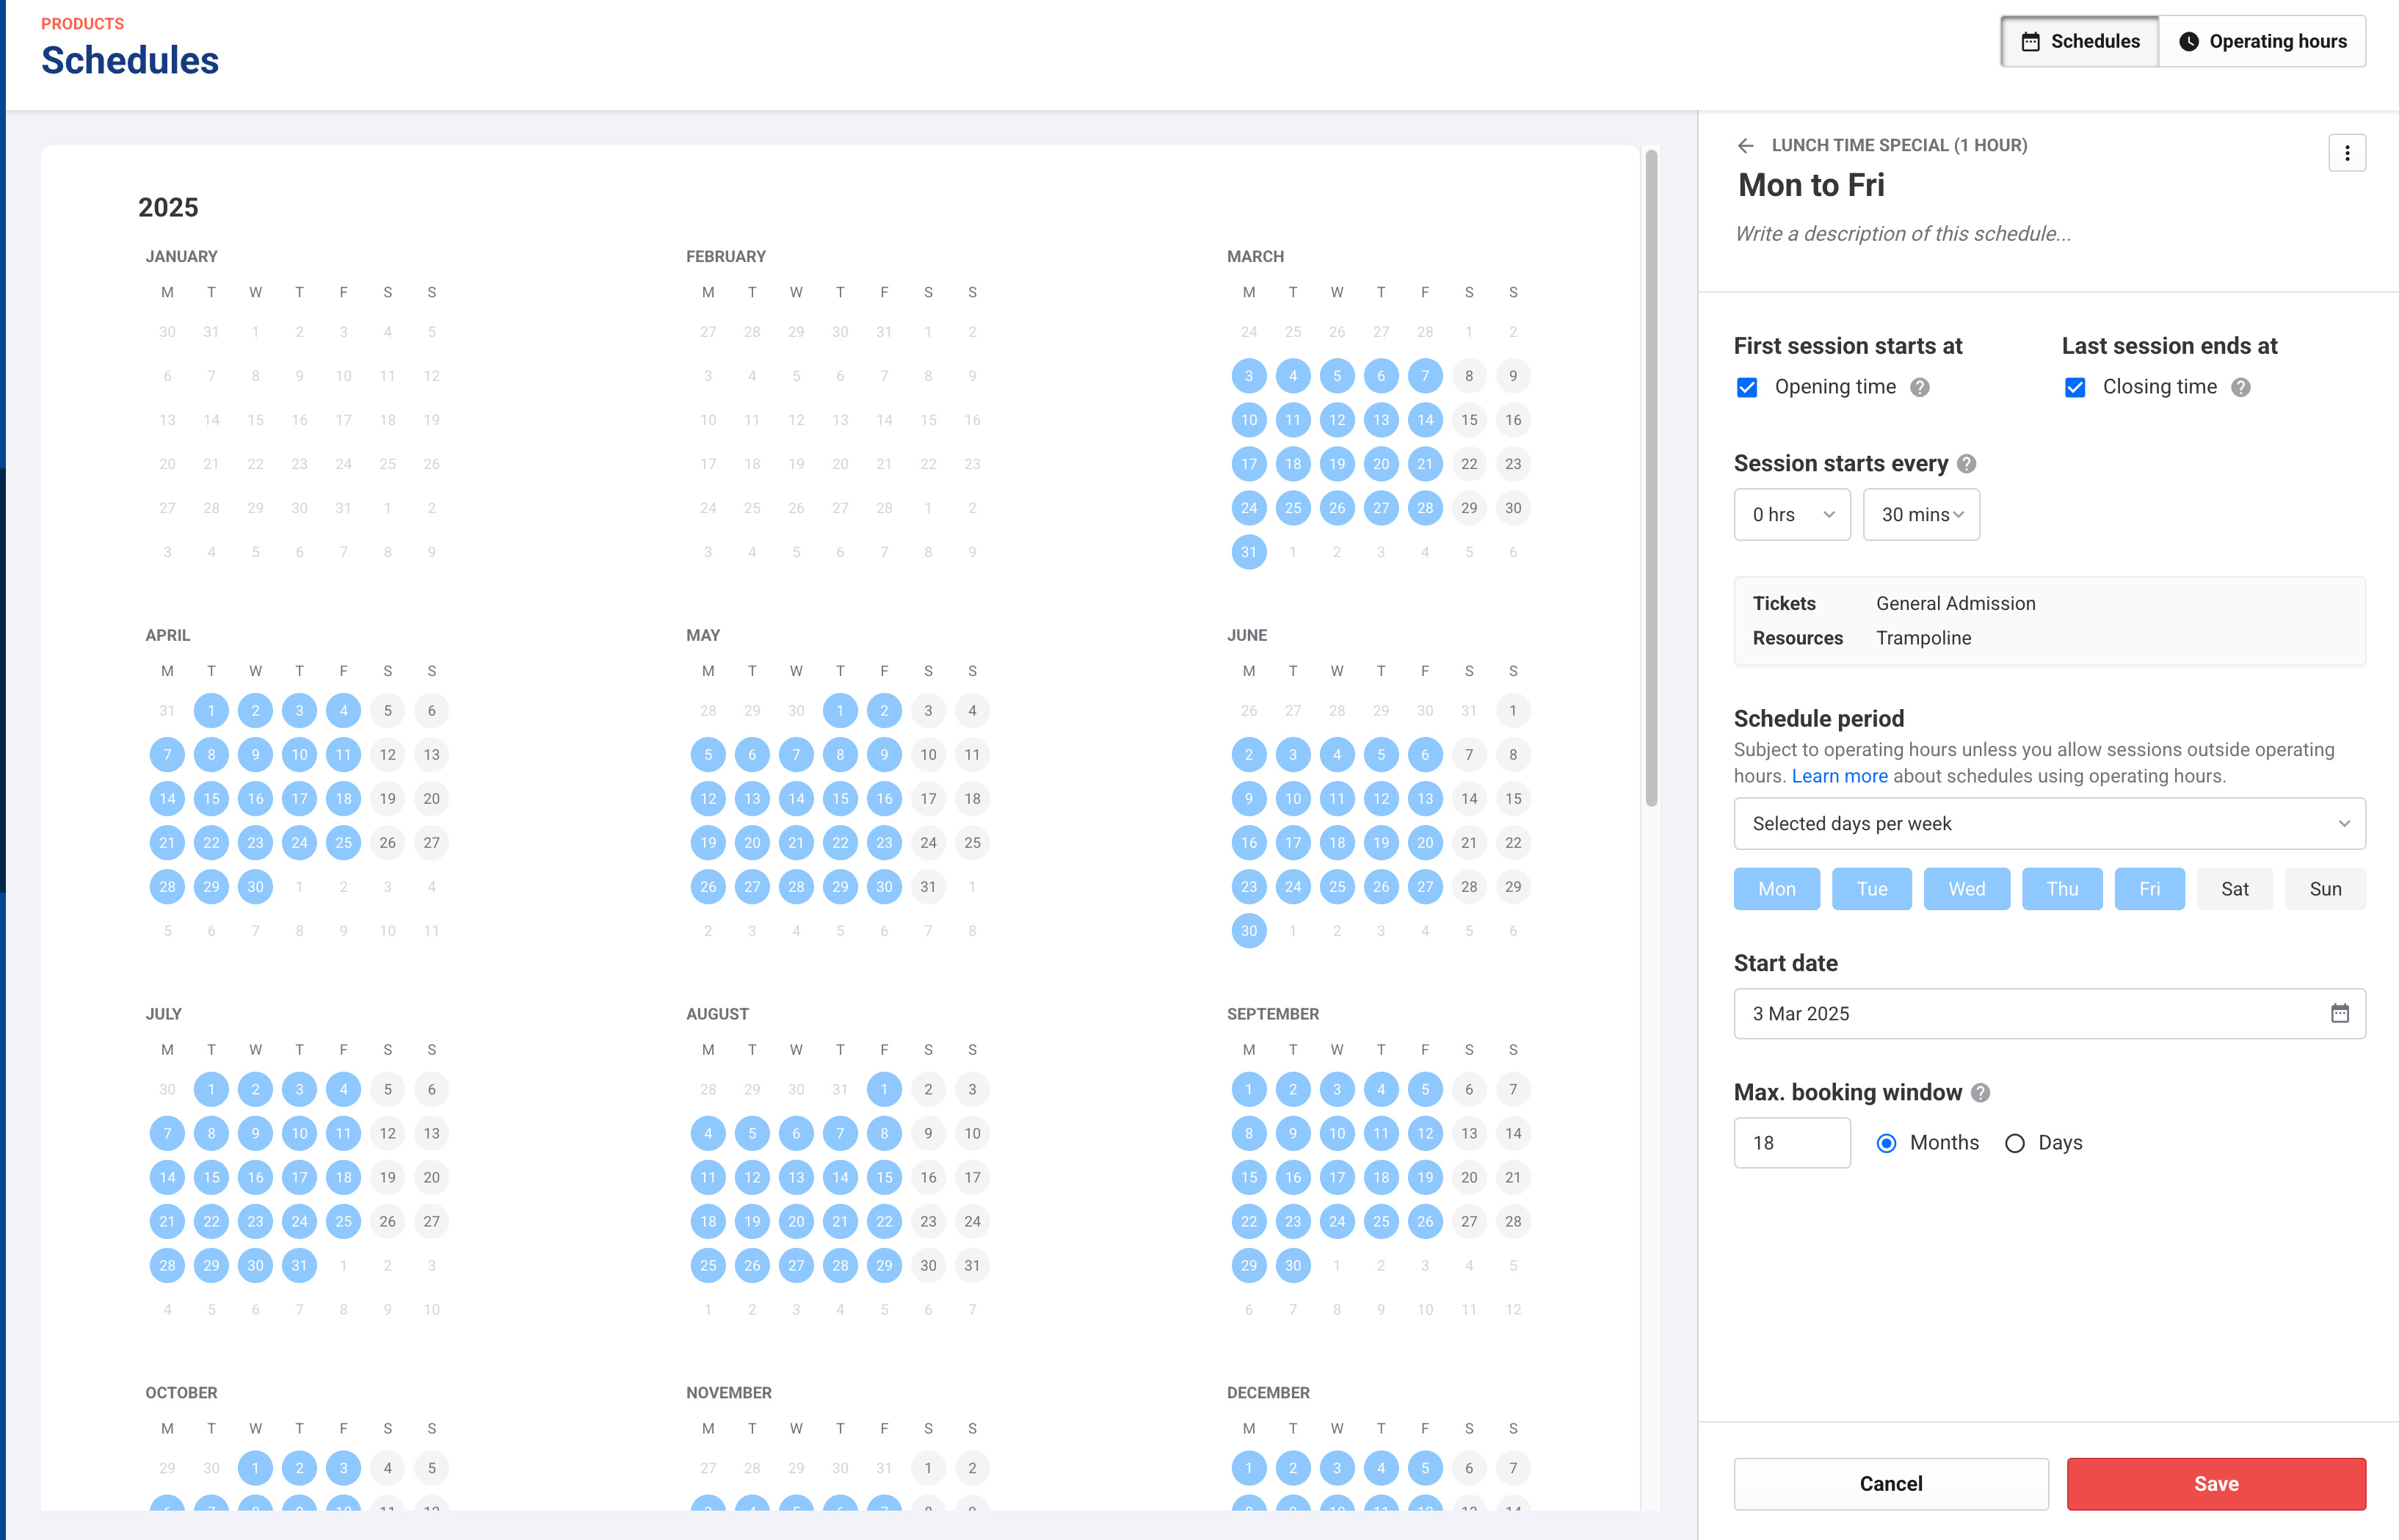
For example, a couple of regularly occurring one hour sessions which run Monday to Friday with session start times of 12 PM and 1 PM.
Before getting started
Set up your operating hours in Venue Manager.
Create resources for the session pass product to automatically manage venue capacity and ticket availability.
Create a session pass product and its tickets.
Assign the resources to the session pass product in the product and ticket settings. Resources must be assigned to all session-based products to create and save product schedules.
Remember to assign resources to your product tickets so that ROLLER can manage capacity and ticket availability for each session time.
Create the schedule
For this example, you'll need to set the start time and end time for the sessions by unlinking the schedule from the venue's opening times and closing times, then choose a custom time for when the first session starts and the last session ends.
Follow the steps below to create this type of schedule for your venue.
From Venue Manager, go to Products > Schedules.
Select the product for the schedule you want to create.
Select Create schedule.
Give the schedule a name and description.
Then complete the schedule options as follows.
Option | Steps |
|---|---|
First session starts at |
|
Last session ends at |
|
Allow sessions outside of operating hours |
|
Session starts every |
|
Tickets and resources |
|
Schedule period | Choose when you want the schedule to be available, subject to operating hours:
|
Start date | Select the Start date for the sessions to be available. |
Maximum booking window | Select the maximum booking window for guests to be able to book into the future. The maximum booking window automatically extends each day on a rolling basis. |
Select Save. Session tickets will be available at the specific times, dates and days you've specified, within operating hours, unless you choose to allow sessions outside of operating hours.
To check if tickets are available, go through the process of booking guests through Venue Manager or sell tickets at POS, or booking a session via the online checkout.
Create a booking in Venue Manager and go through the booking flow for the product.
Add the product to an online checkout and go through the online purchase flow for the product.
Add the product to a POS menu, launch the relevant POS device and check the tickets are available on the right days and times.
If sessions are not appearing how you think they should be, check how your operating hours are set up, including any scheduled changes and any temporary hour overrides to standard hours.
Learn more about creating your product schedules using operating hours.