In this article, you will learn how to download & install drivers for Worldpay (Vantiv) Lane 3000 networked devices.
1. Download triPOS and Terminal Driver Software
Access the Lane 3000 driver and tripos file packages
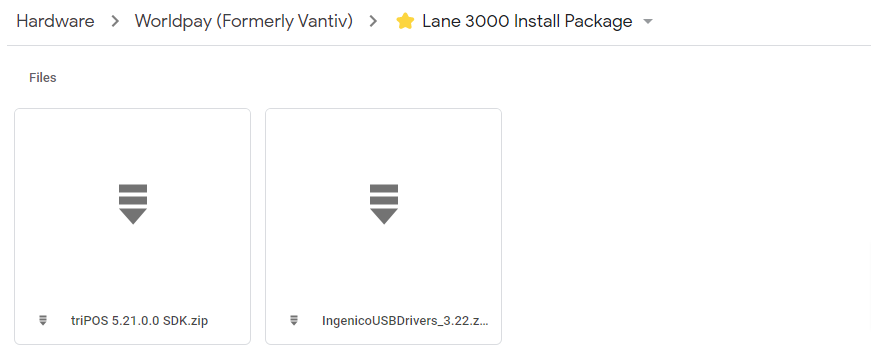
Download the triPOS 5.21.0.0 SDK and the IngenicoUSbDrivers file within the folder.
2. Obtain Worldpay processing credentials (Account ID, Acceptor ID & Account Token)
When your Worldpay account was created, you should have been sent through your Account ID, Acceptor ID & Account Token. If you're unsure what your Account ID, Acceptor ID & Account Token credentials are please follow the instructions below:
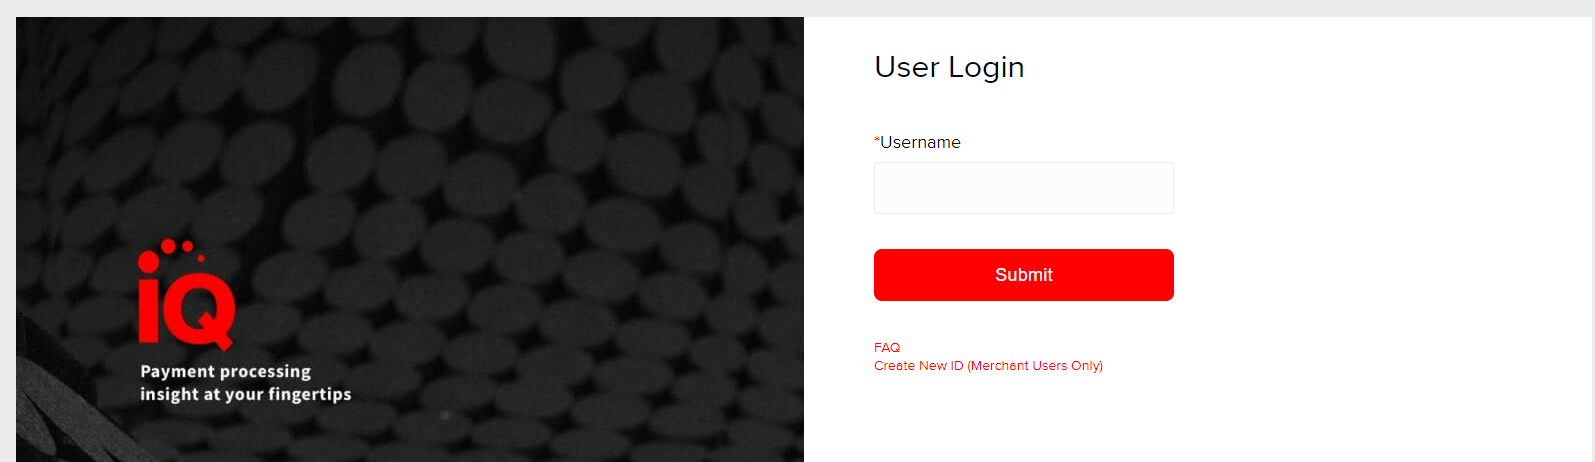
Copy this link into your browser https://www.accessmyiq.com/ to access the myIQ login
Select the Self-service option to access your merchant details
Retrieve your express merchant details. You can find them under the processing credentials tab. Please copy down your Account ID, Acceptor ID, and Account Token as these are required for future steps

If you're unsure how to log in to your IQ portal, contact the support team or speak to your customer success manager for assistance.
3. Install triPOS
Open File Explorer and navigate to Downloads
Right-click on the triPOS 5.21.0.0 SDK and select Extract all
If triPOS SDK is not appearing please try downloading again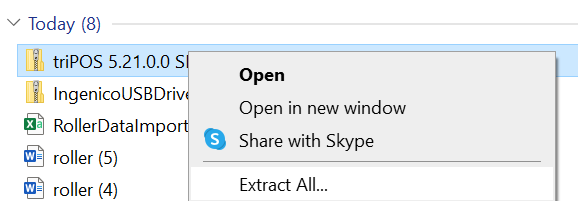
In the window that appears, change nothing and click extract
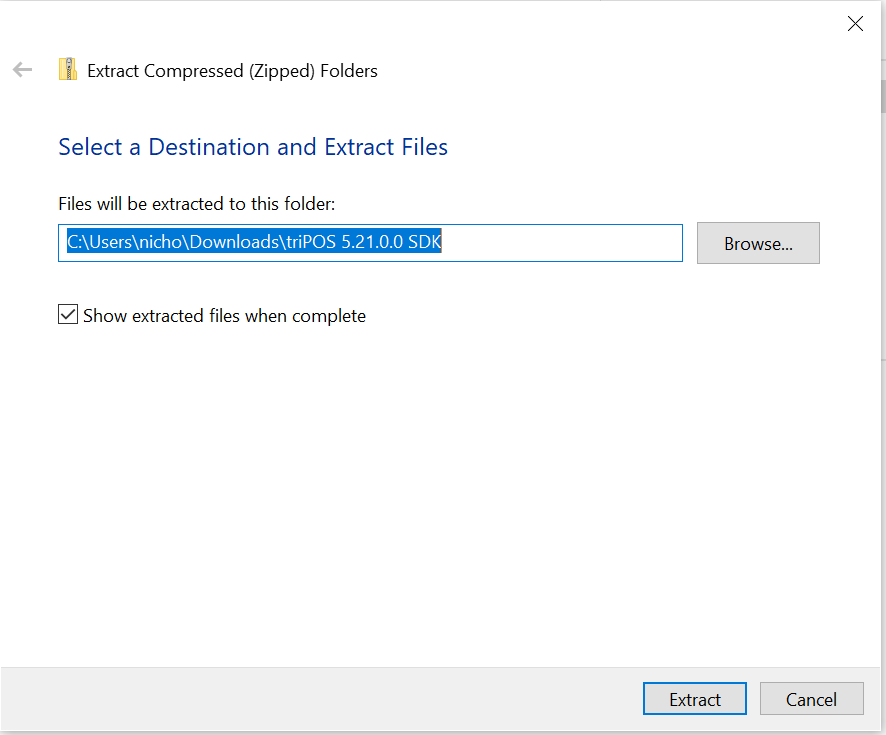
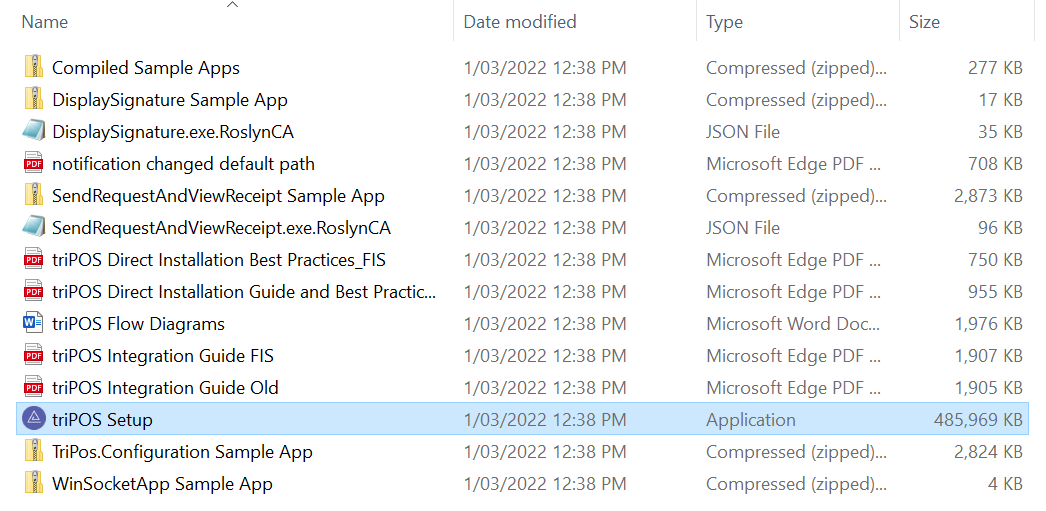
In the window that appears, double click the triPOS Setup application to begin the installation
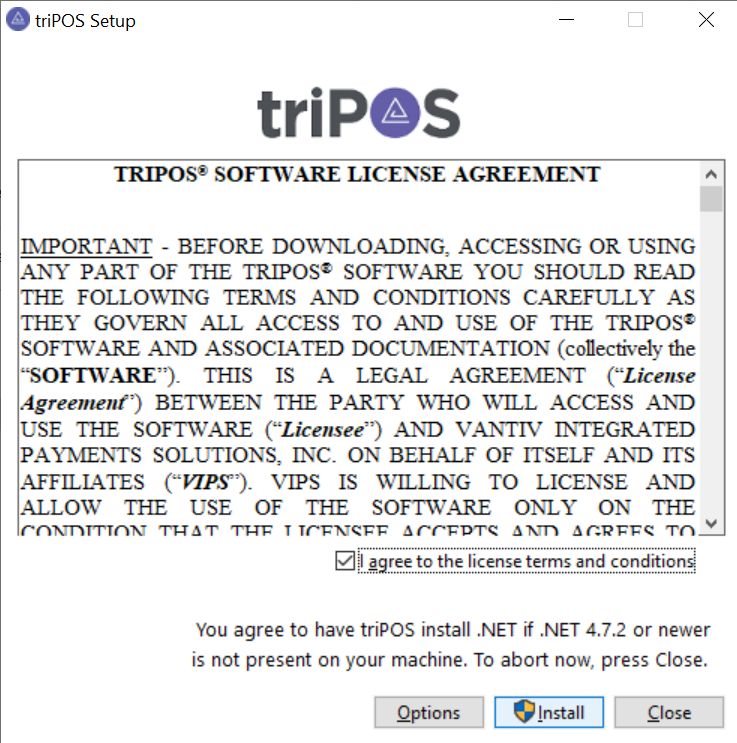
Agree to the License Agreement, then click Install
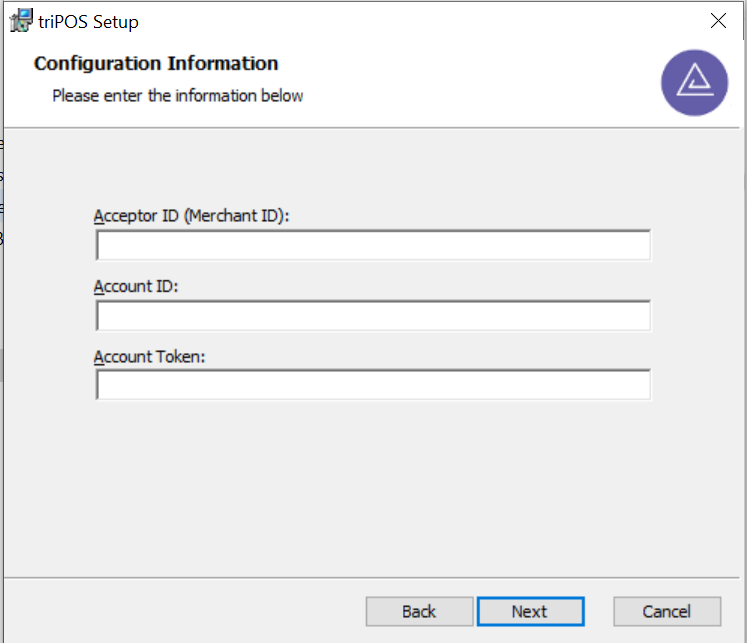
Click next through the setup wizard until you reach the configuration information page
Enter the Configuration Information that was retrieved through my IQ (Step 2), then click next
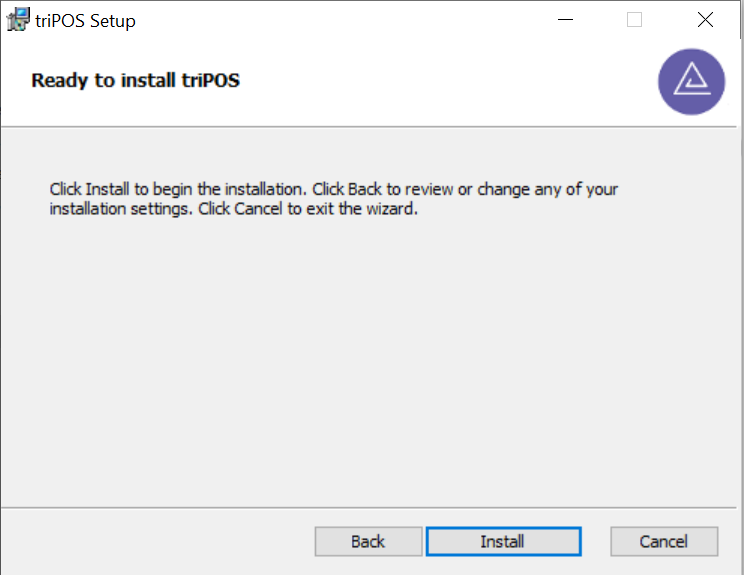
Click Install to apply the configuration information
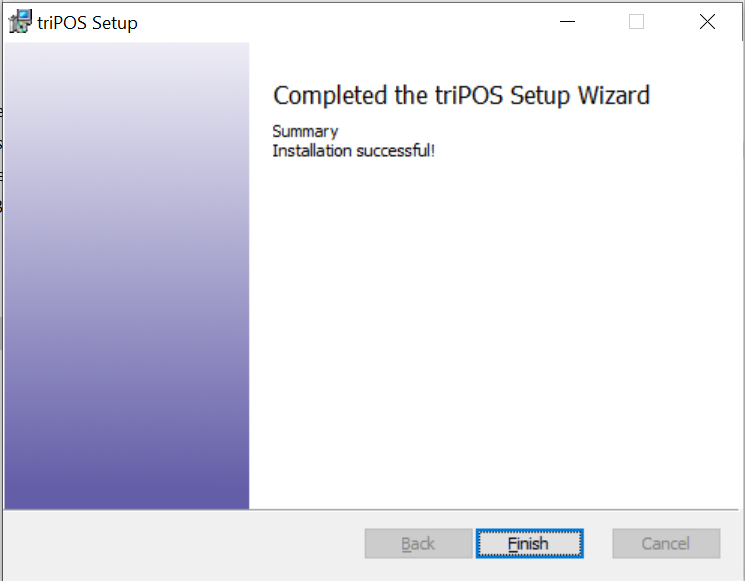
Click Finish to finalize the installation process
4. Install Ingenico Driver
Open the file explorer and navigate to downloads
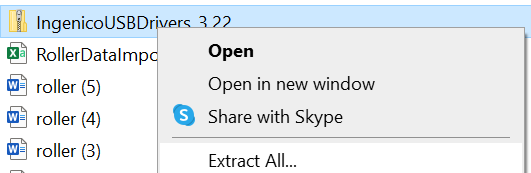
Right Click on the IngenicoUSBDriver folder and select extract
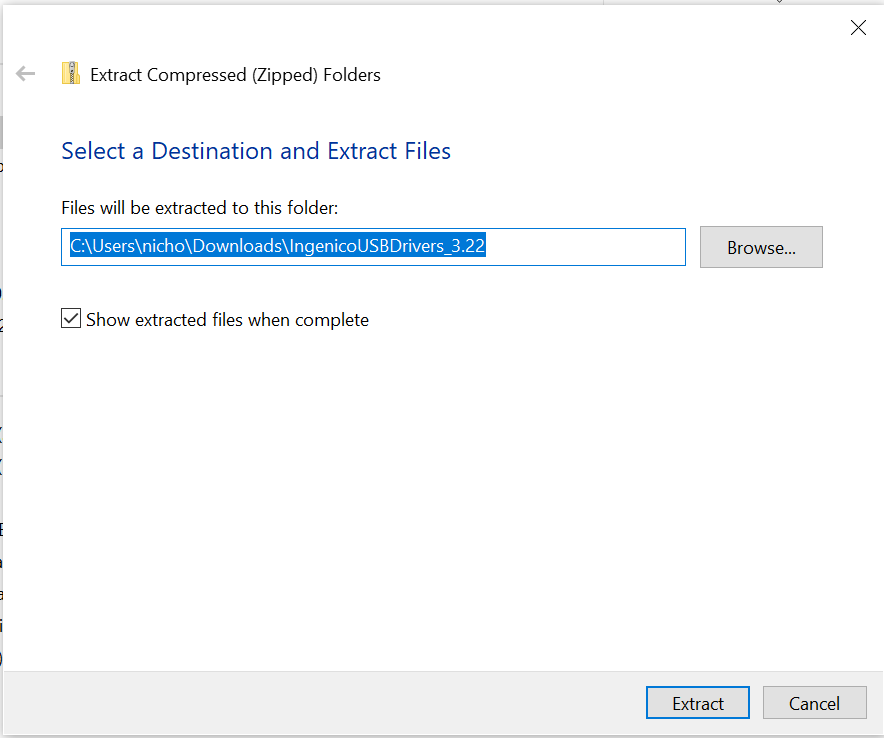
In the window that appears, change nothing and click extract
In the window that appears, double-click the IngenicoUSBDrivers setup application
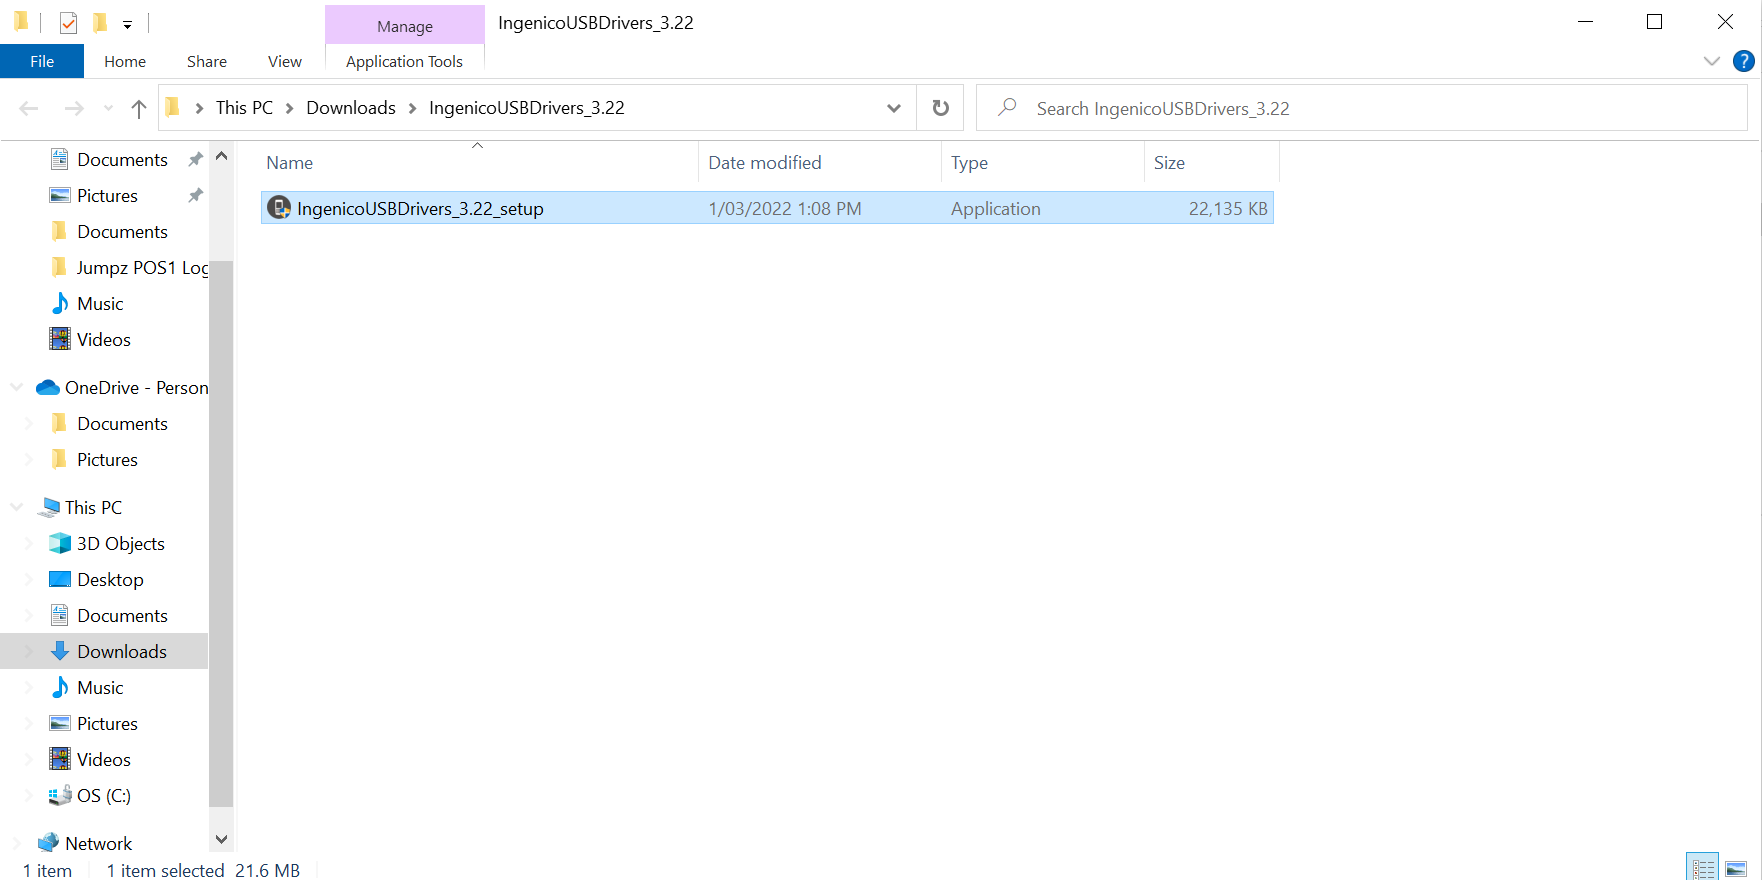
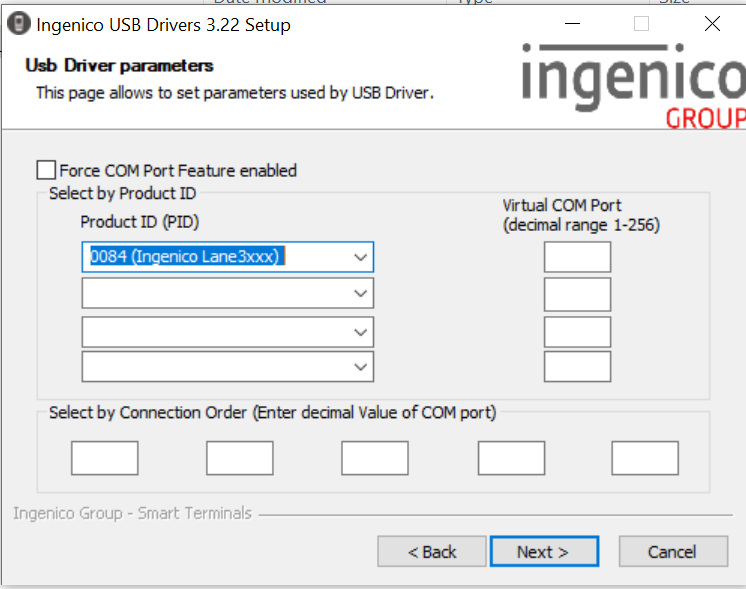
Click Next until the USB Driver Parameters page appears
In the top Product ID dropdown box, select 0084 (Ingenico Lane3xxx), then click next
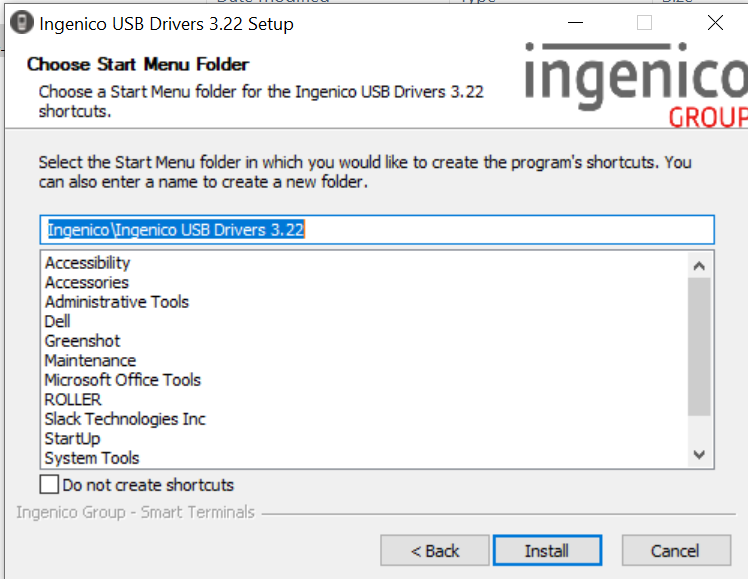
Continue to click next until you reach the Start Menu Folder page, then click install
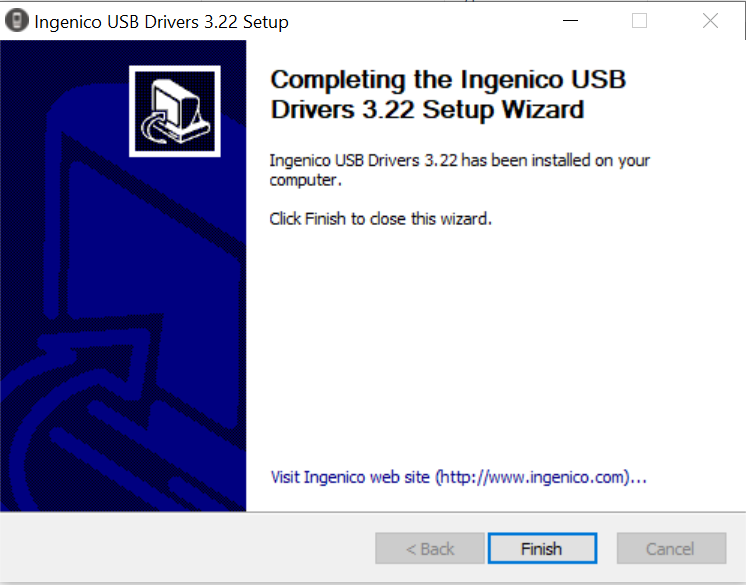
Click Finish to finalize the Driver installation process
5. Configure triPOS.config file
Refer to this guide on how to configure the triPOS.config file.
6. Configure ROLLER Connect
If you're yet to download ROLLER Connect, see the guide Install ROLLER Connect.
If you have already downloaded ROLLER Connect, follow the instructions below to configure ROLLER Connect:
Open the ROLLER Connect file:
For ROLLER Connect Windows Service, open C:\ProgramData\ROLLER\rc.toml using a text editor (ie Notepad) and a Windows account with administrator privileges.
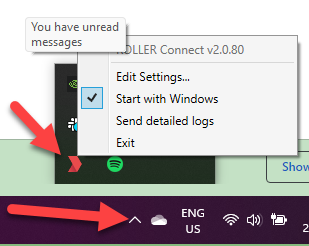
For ROLLER Connect Legacy, open the task tray, right-click the ROLLER Connect icon > click Edit Settings ...
Change Terminal type = "VantivTriPos"
Change the following parameters found under "# Vantiv specific settings":
LaneID = 1
Address1 = "VenueName" (Example: "ROLLER World")
Address2 = "StreetAddress1" (Example: "1330 Scheels Drive #250)
Address3 = "StreetAddress2" (Example: "Sparks, Nevada 89434")
Address4 = "StreetAddress3" (Leave Blank)
PhoneNumber = "BusinessPhone" (Example: 61381033032)
AppID = "8328"
Click File > Save