This guide walks through how to install ROLLER Connect for printing, which you can use to manage connections to external devices such as receipt printers from ROLLER POS.
If your venue has a firewall, make sure port 2468 is open.
Two installation options are available:
ROLLER Connect Windows Service
ROLLER Connect Legacy
This guide is for venues using ROLLER Connect to manage receipts, tickets, and dockets from ROLLER POS. For venues using cloud printing, refer to this guide to learn more.
Which option should I use?
Use the ROLLER Connect Windows Service for the following reasons:
The service automatically starts. This prevents the red 'ROLLER Connect is offline' notification from appearing when the ROLLER Connect Legacy application does not start prior to opening ROLLER POS in the browser.
POS operators do not need a Windows administrator user account to use the services provided by ROLLER Connect.
What does ROLLER Connect do?
ROLLER Connect provides the following services:
Formatting your receipts correctly
Printing your receipts automatically (if configured)
Sending a production docket to your nominated printer (if configured)
Printing your sticker or wristband tickets with the correct format (if configured)
Install ROLLER Connect Windows Service
The following outlines the process to download and install ROLLER Connect Windows Service on a POS device.
Speak to your venue's IT/technical support representative if you're not sure how to perform the following tasks or need administrator privileges for your Windows user account to do them.
Before you begin
Perform the following tasks on the physical POS device before installing the ROLLER Connect Windows Service:
If your device has the ROLLER Connect Legacy application installed, you must uninstall it before installing the ROLLER Connect Windows Service.
You may need to allow modifying of the Windows hosts file in any antivirus software installed on your POS device. The ROLLER Connect Windows Service needs to be able to modify the hosts file to automatically start.
By default, your antivirus software may disable modifying the hosts file. Most antivirus software allows you to change this default setting in its security settings.You may need to allow the ROLLER Connect Windows Service applications in any firewall or antivirus software you have installed as this software can block the service from running.
Add rc-win-service.exe and rc-update-service.exe as trusted applications in the firewall or antivirus software settings.
Download & install ROLLER Connect Windows Service
To download and install the ROLLER Connect Windows Service on to your POS device:
From the physical POS device, log in to ROLLER POS with a ROLLER administrator account.
Click the More menu > Settings > Hardware.
Click the Download ROLLER Connect Windows Service link to download the setup package (ZIP file) to a temporary location on your computer (eg Desktop or Downloads folder).
You need to be logged in to ROLLER POS as a ROLLER administrator to access this link.Find the downloaded ZIP file in the above location, right-click to select Extract all and follow the instructions.
Do not run the Setup.exe file directly from the ZIP file.Click the ROLLER Setup.exe from the extracted files to run and install the service.
If your Windows account does not have the right privileges to install the application on the POS device, you'll be prompted for an administrator to authorize the installation. Contact your venue's IT/Technical support representative for assistance.
If during installation you're asked to download a .NET version, then download the version specified. You may need to restart during this installation process.
If Windows prompts that the ROLLER Connect Windows Service application is not verified from the Microsoft store, click Install Anyway.
Select to run the service as Local System (selected by default), then click Next.
If you want to use a custom domain account, contact your IT/Technical support representative for assistance.Once the installation is complete, the service starts automatically.
Check ROLLER Connect is connected
Refresh the ROLLER POS browser and a green bar appears at the top of the page showing ROLLER Connect is connected.
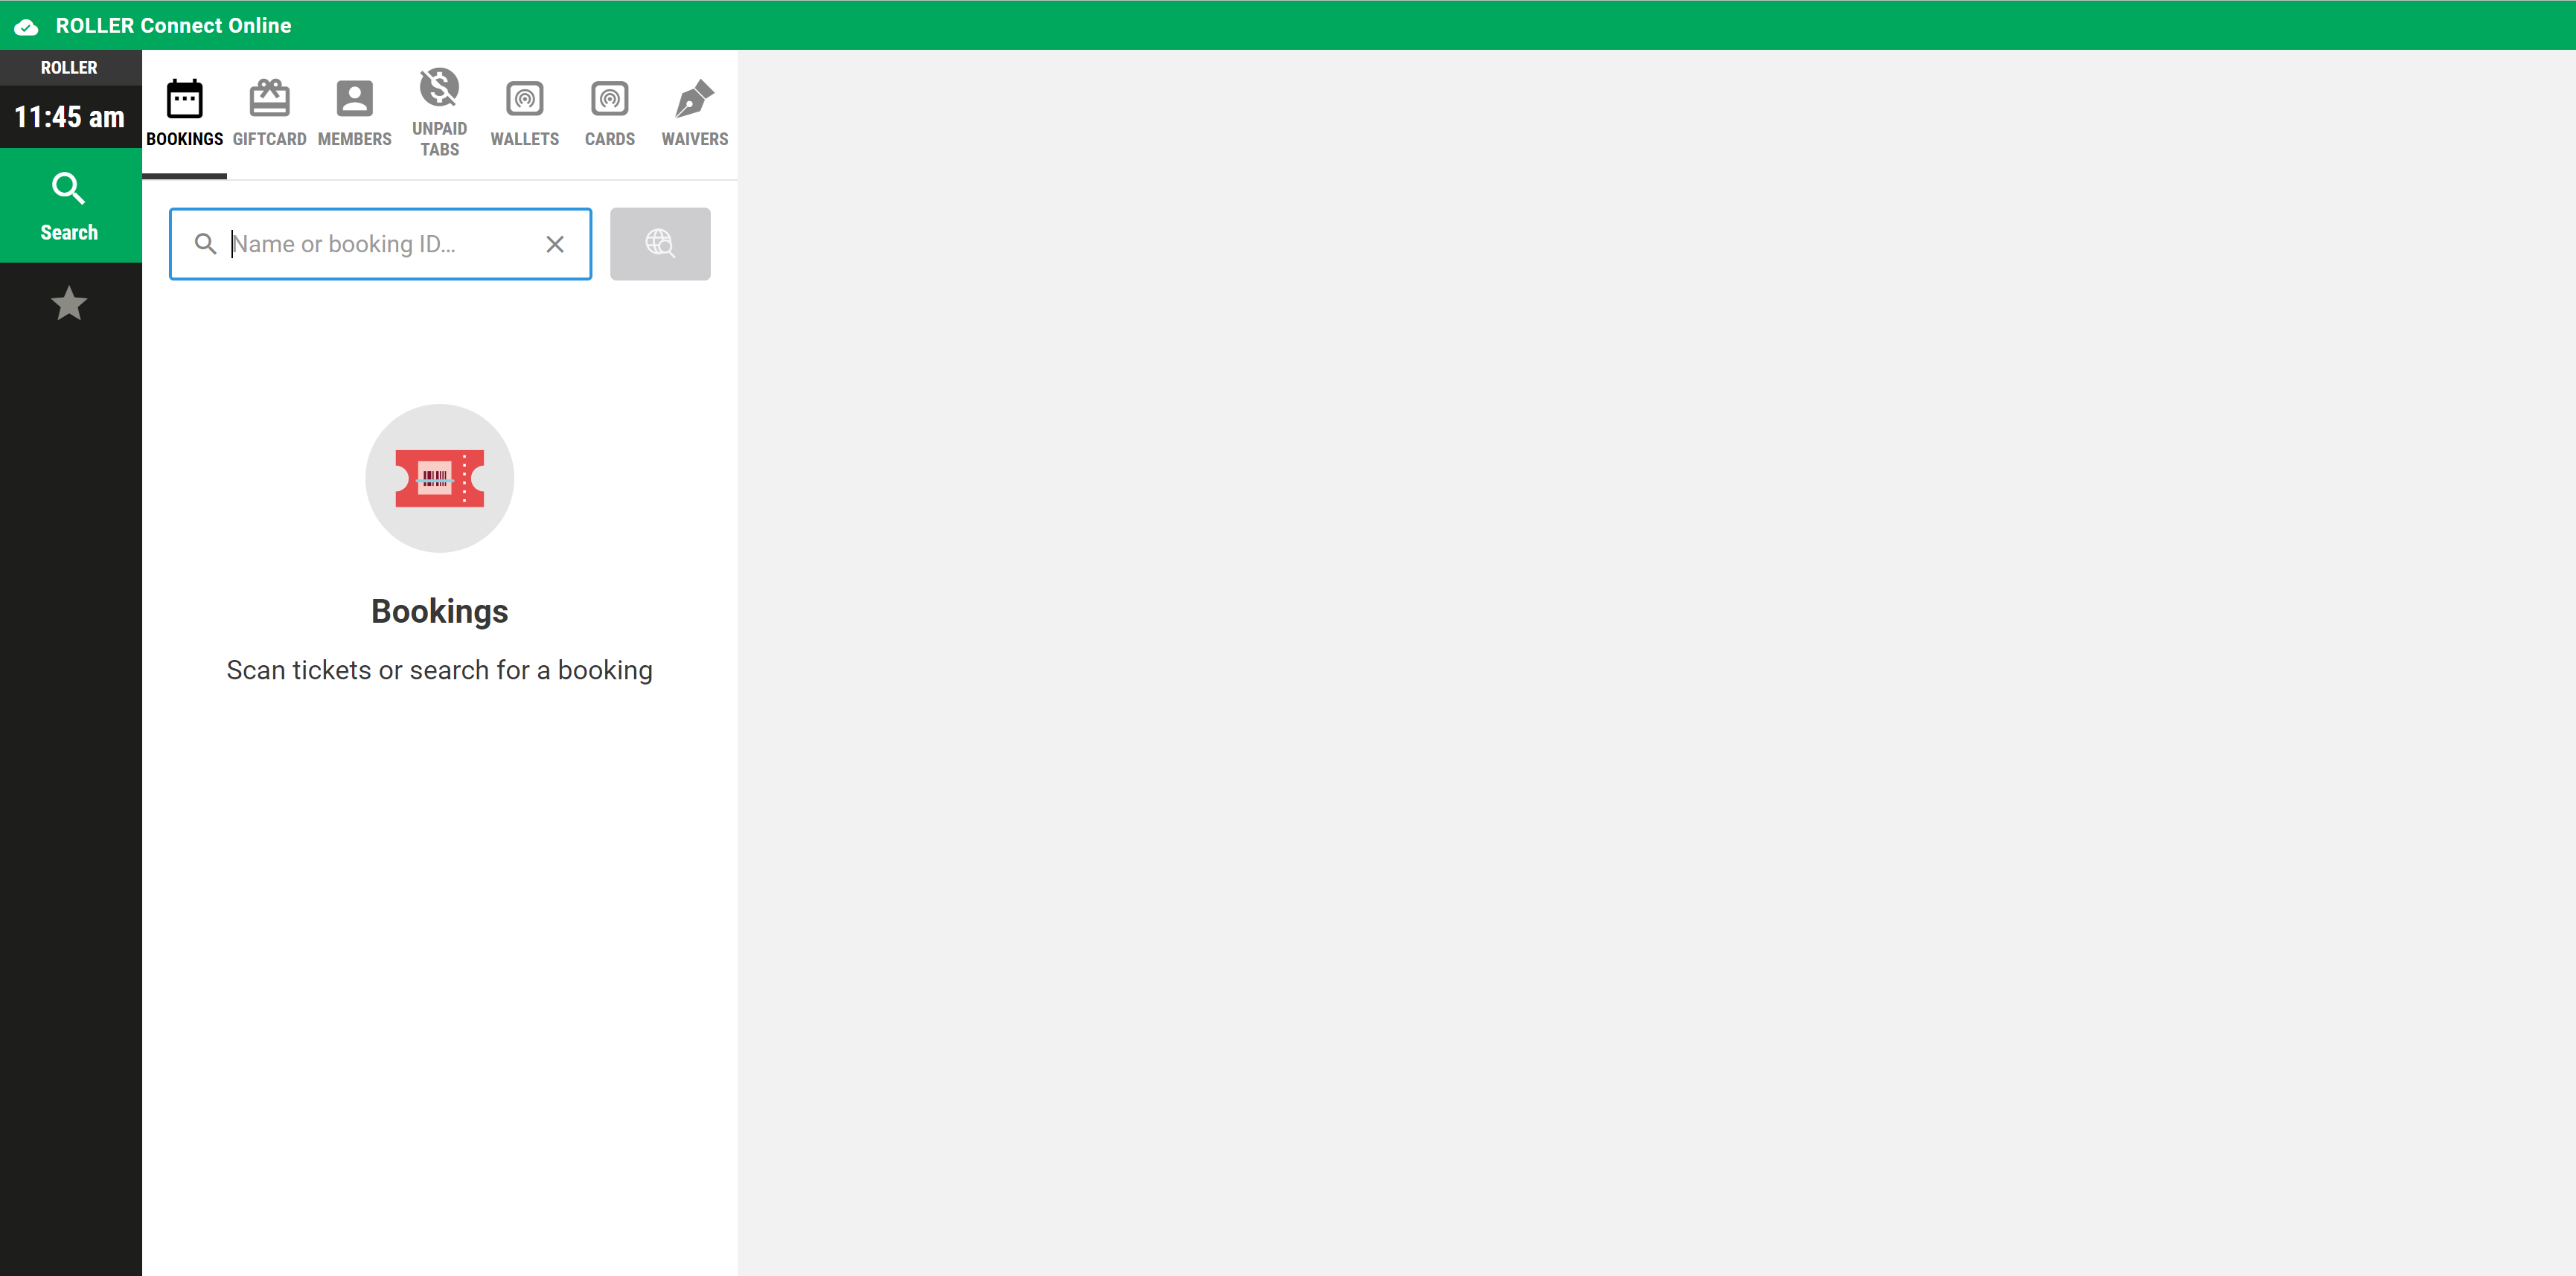
You can also check via the hardware settings (More > Settings > Hardware) in ROLLER POS.

If you've followed the above process, and the ROLLER Connect Windows Service is not connecting, contact the ROLLER support team.
There is no ROLLER Connect icon in the taskbar tray as there is with ROLLER Connect Legacy.
Edit the ROLLER Connect rc.toml settings file to specify your default receipt printer
Using your Windows search, type Printers & Scanners
Select your default receipt printer to access its settings
Select Printer properties
Copy the printer name
Using your Windows search, type Notepad
Right click Notepad and select Run as Administrator
Enter admin username & password if on a local account
Once Notepad opens, click File > Open
Navigate to C:\ProgramData\ROLLER
Filter for All files (only text documents (*.txt) display by default)
Open the file rc.toml
Navigate to the bottom of the file and add a line of text:
DefaultPrinter = "insert printer name"Replace insert printer name in the above line with your default printer name
Select File > Save
Restart ROLLER Connect Windows Service for the change to be applied:
Using your Windows search, search for and select Services App
Scroll to find the ROLLERConnect application
Right click ROLLERConnect and select Restart
Install ROLLER Connect Legacy
The following outlines the process to download and install ROLLER Connect Legacy on a POS device.
Check that you have a Windows administrator account login
ROLLER Connect Legacy only runs if the user is logged into the physical POS device with a Windows administrator account. This means POS operators must be logged in to the physical POS device using a Windows account with administrator privileges.
To check if you have a Windows administrator account:
Click the Windows Start menu on your POS device.
Click your User icon.
Select Change account settings.
Under Your info you should see your username and it should say Administrator.
If you are not able to change your Windows Account Type to Administrator then contact your IT/technical support representative. Do not contact ROLLER Support as we will not be able to help resolve this issue.
Download & install ROLLER Connect Legacy
From your physical POS device, log in to ROLLER POS.
Click the More menu > Settings > Hardware.
Click the Download Connect link.
You need to be logged into ROLLER POS as a ROLLER administrator to access this link.Once downloaded, click the downloaded file to run the installation. If prompted, click Run Anyway.
Close the browser.
Verify the installation
Open ROLLER POS and log in.
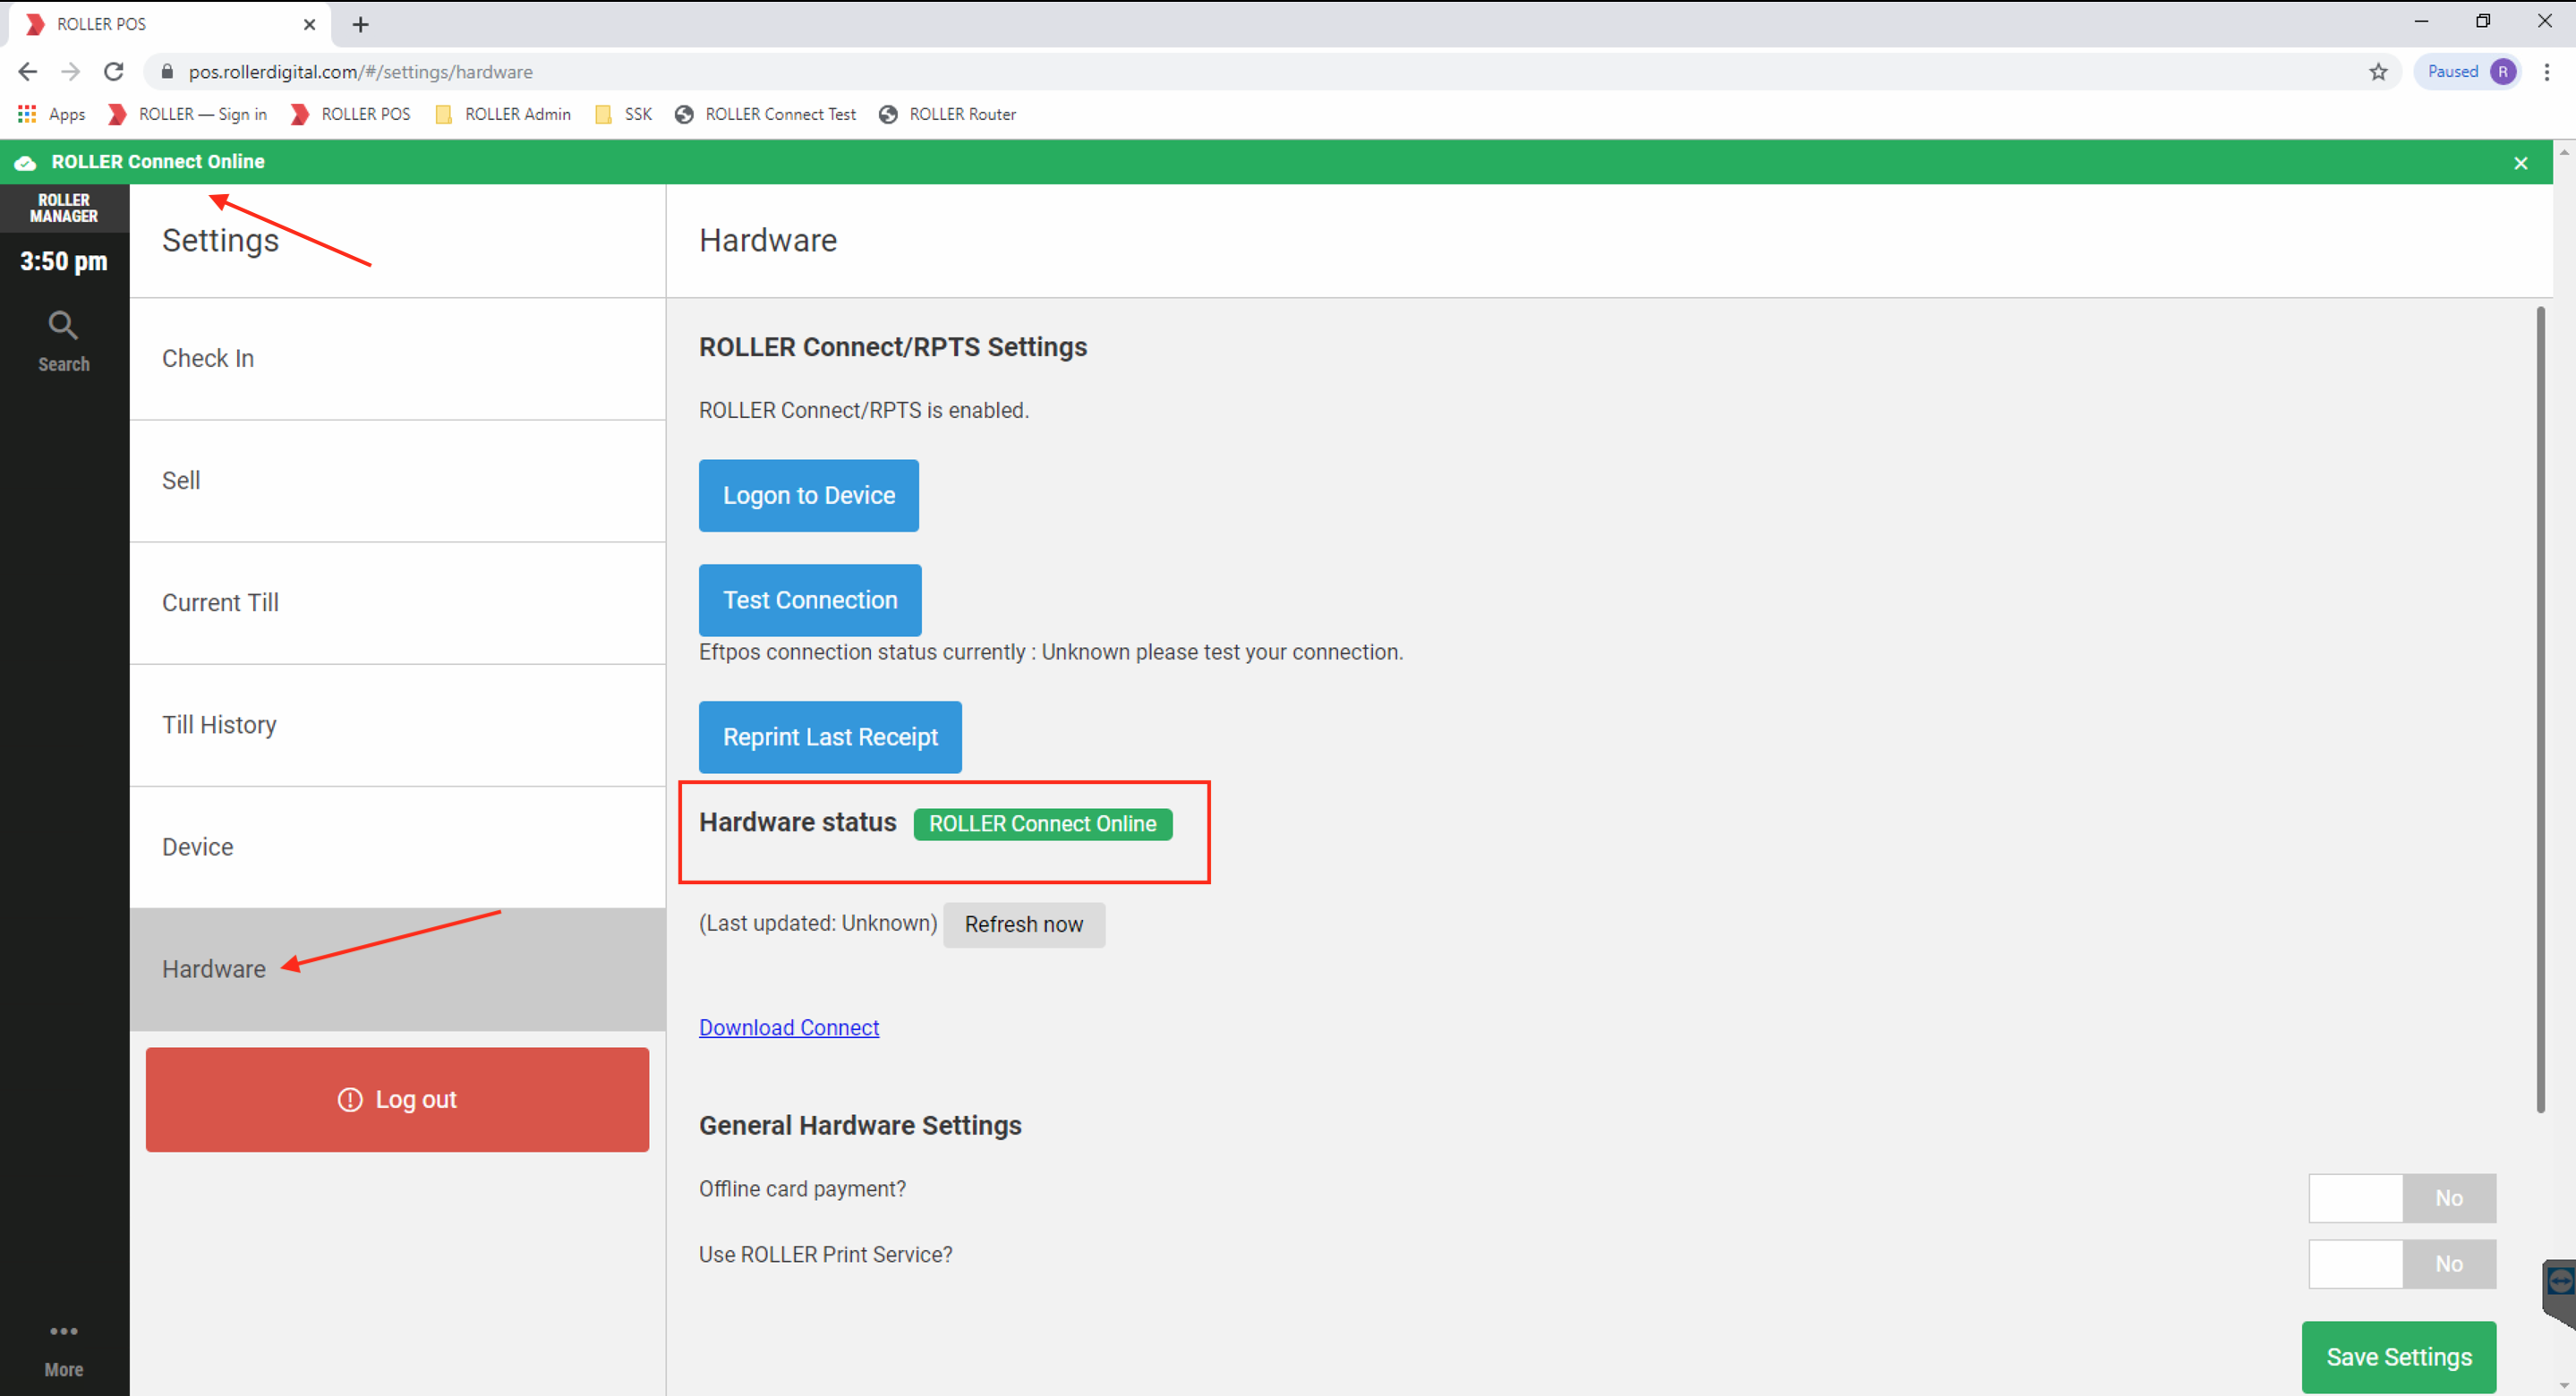
If ROLLER Connect has been successfully installed and is running before ROLLER POS was opened, you will see a green ROLLER Connect Online notification.
You can also check via the hardware settings (More > Settings > Hardware) in ROLLER POS.
Troubleshooting steps
If you have followed the above steps and you are being presented with a red "ROLLER Connect is offline" notification, refer to the guide Reset ROLLER Connect Legacy.
If you've successfully followed all steps and you're still having problems, contact the ROLLER support team.