This guide walks through how to log in to ROLLER POS and allocate the correct POS device to your POS computer or tablet.
Watch how to log in to POS
Watch how to get a POS device ready for the day — log in with your PIN and log out so the next team member can jump in.
Access ROLLER POS
There are two ways you can access ROLLER POS:
Navigate to http://pos.roller.app in your Google Chrome browser.
Alternatively, from Venue Manager, go to Apps > Point of Sale > Launch POS.
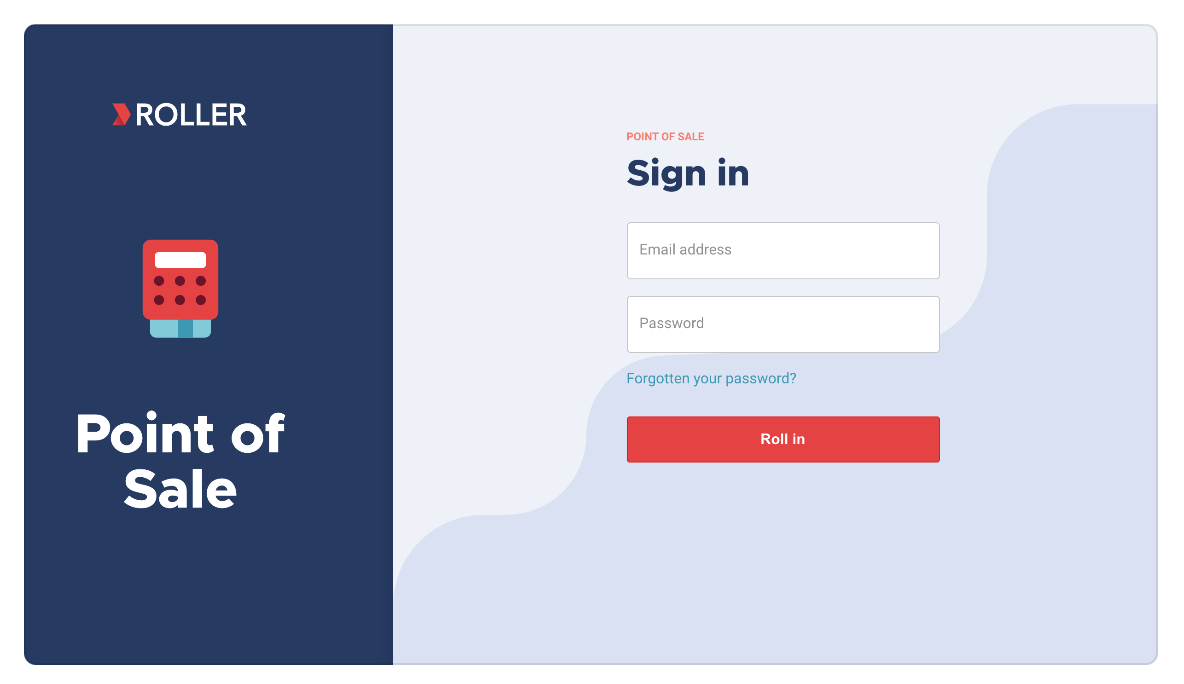
Sign in using email address and password
When you first access a POS device, you may be prompted to enter your staff account email and password. This is the email address and password you set up when you first activated your ROLLER account.
To successfully log in to a POS device, you must make sure that you have an active staff account with permissions to access POS.
Allocate a POS device
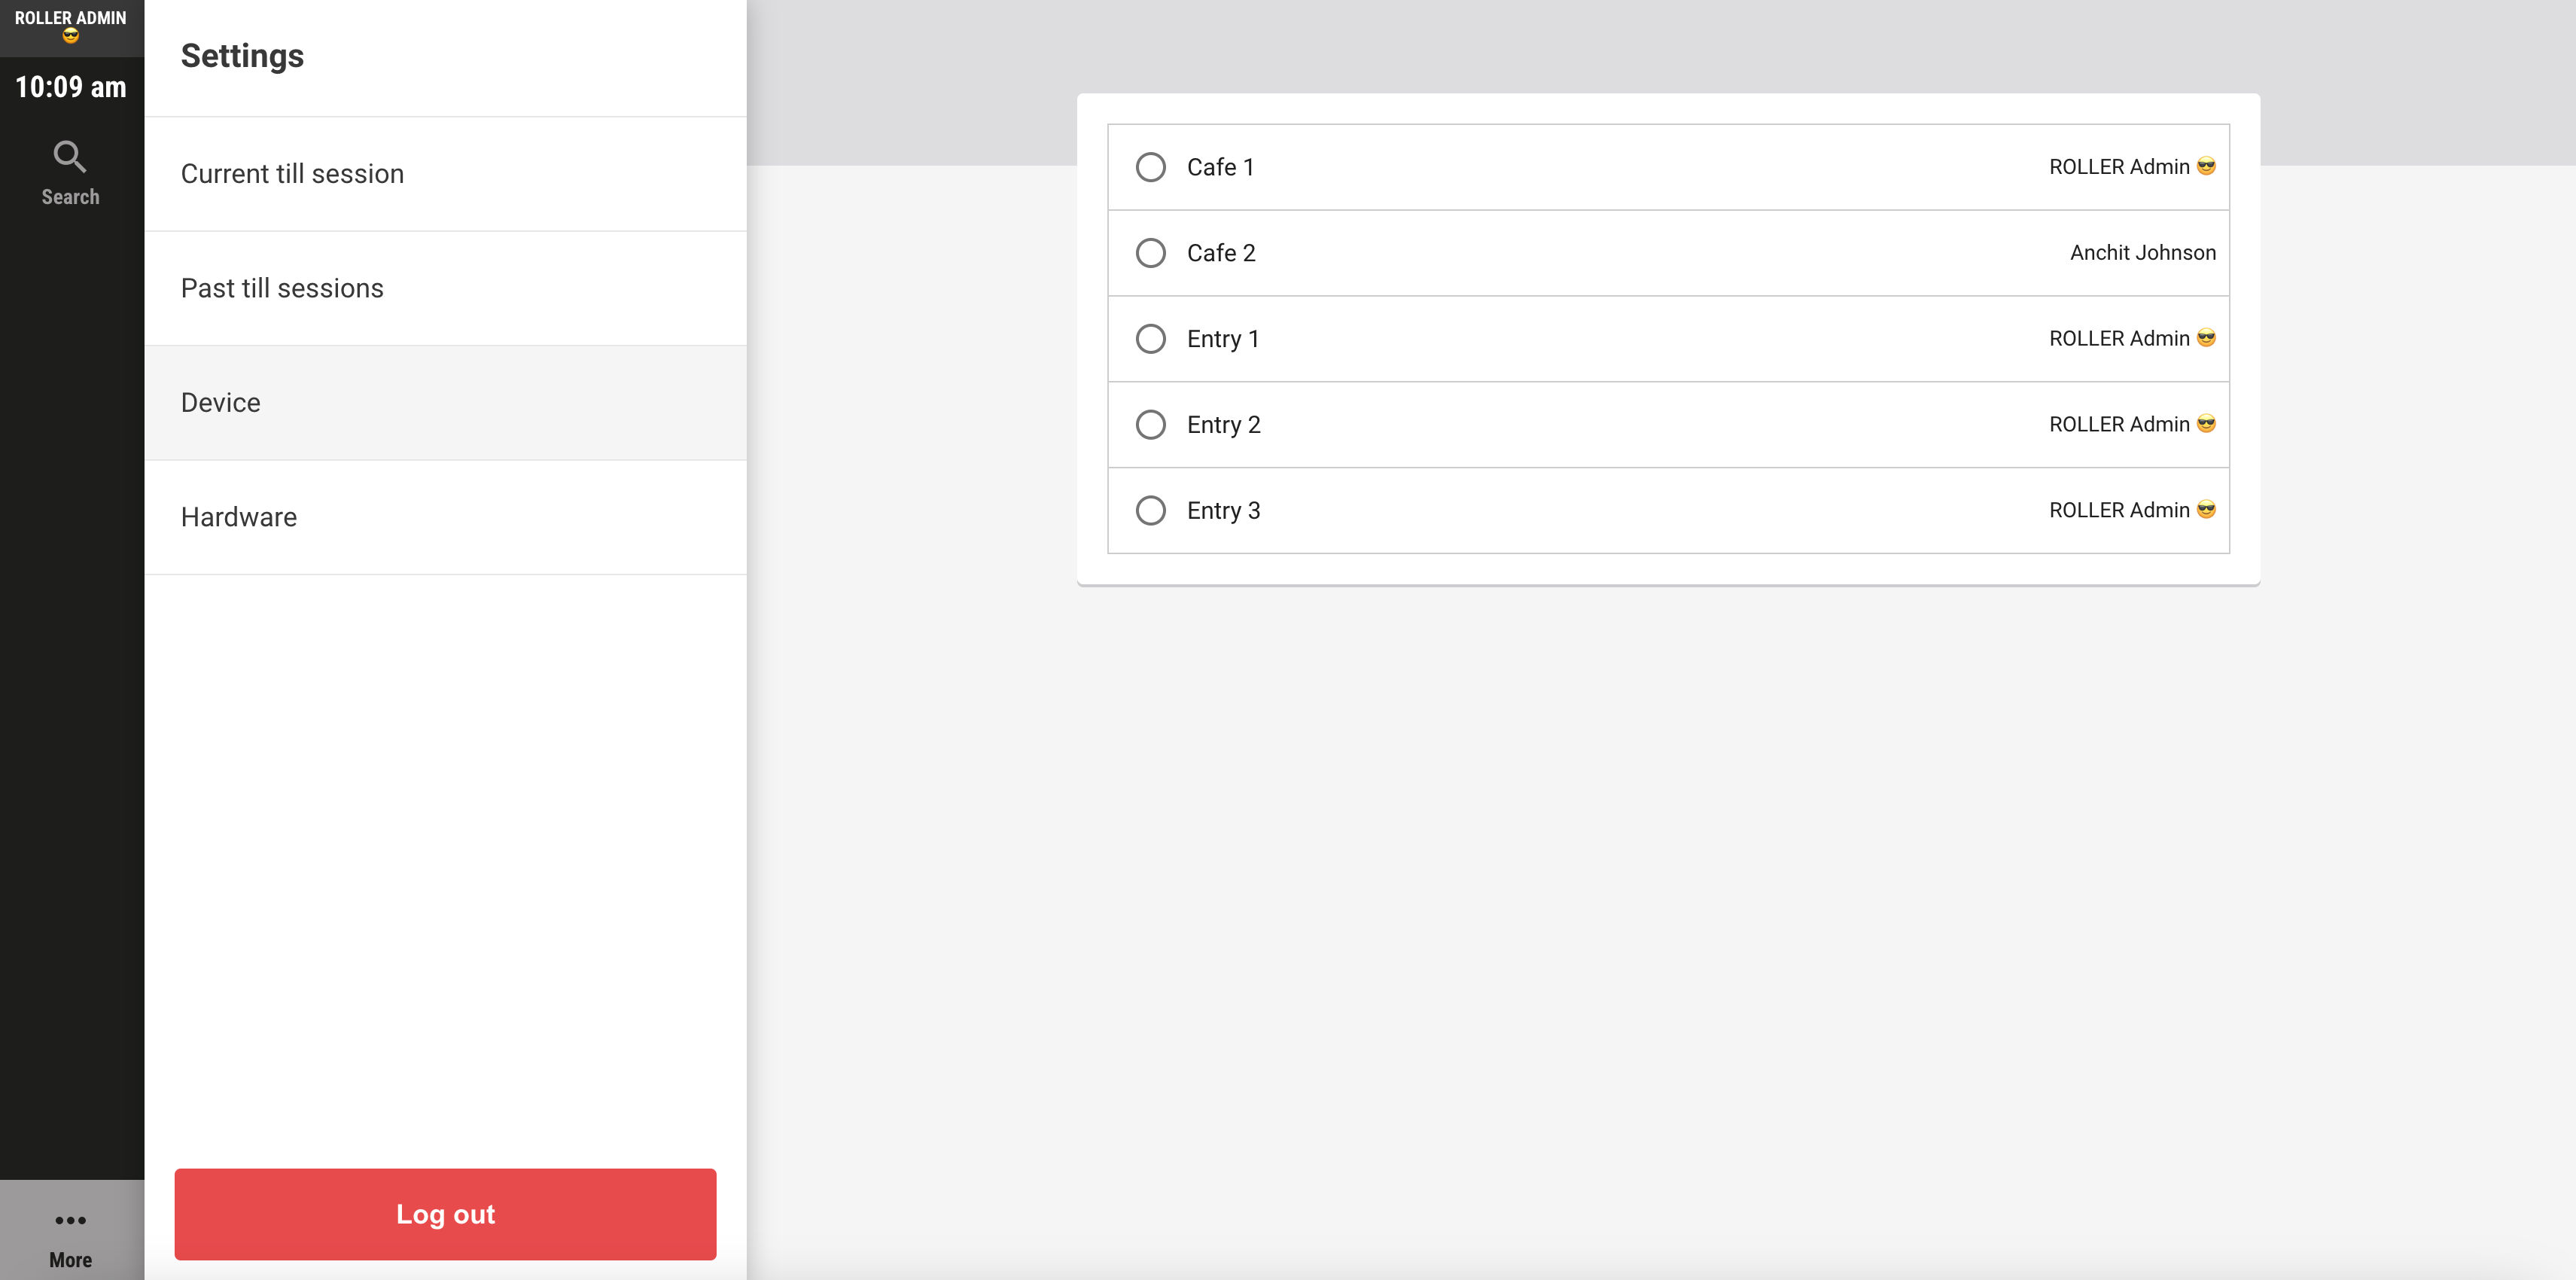
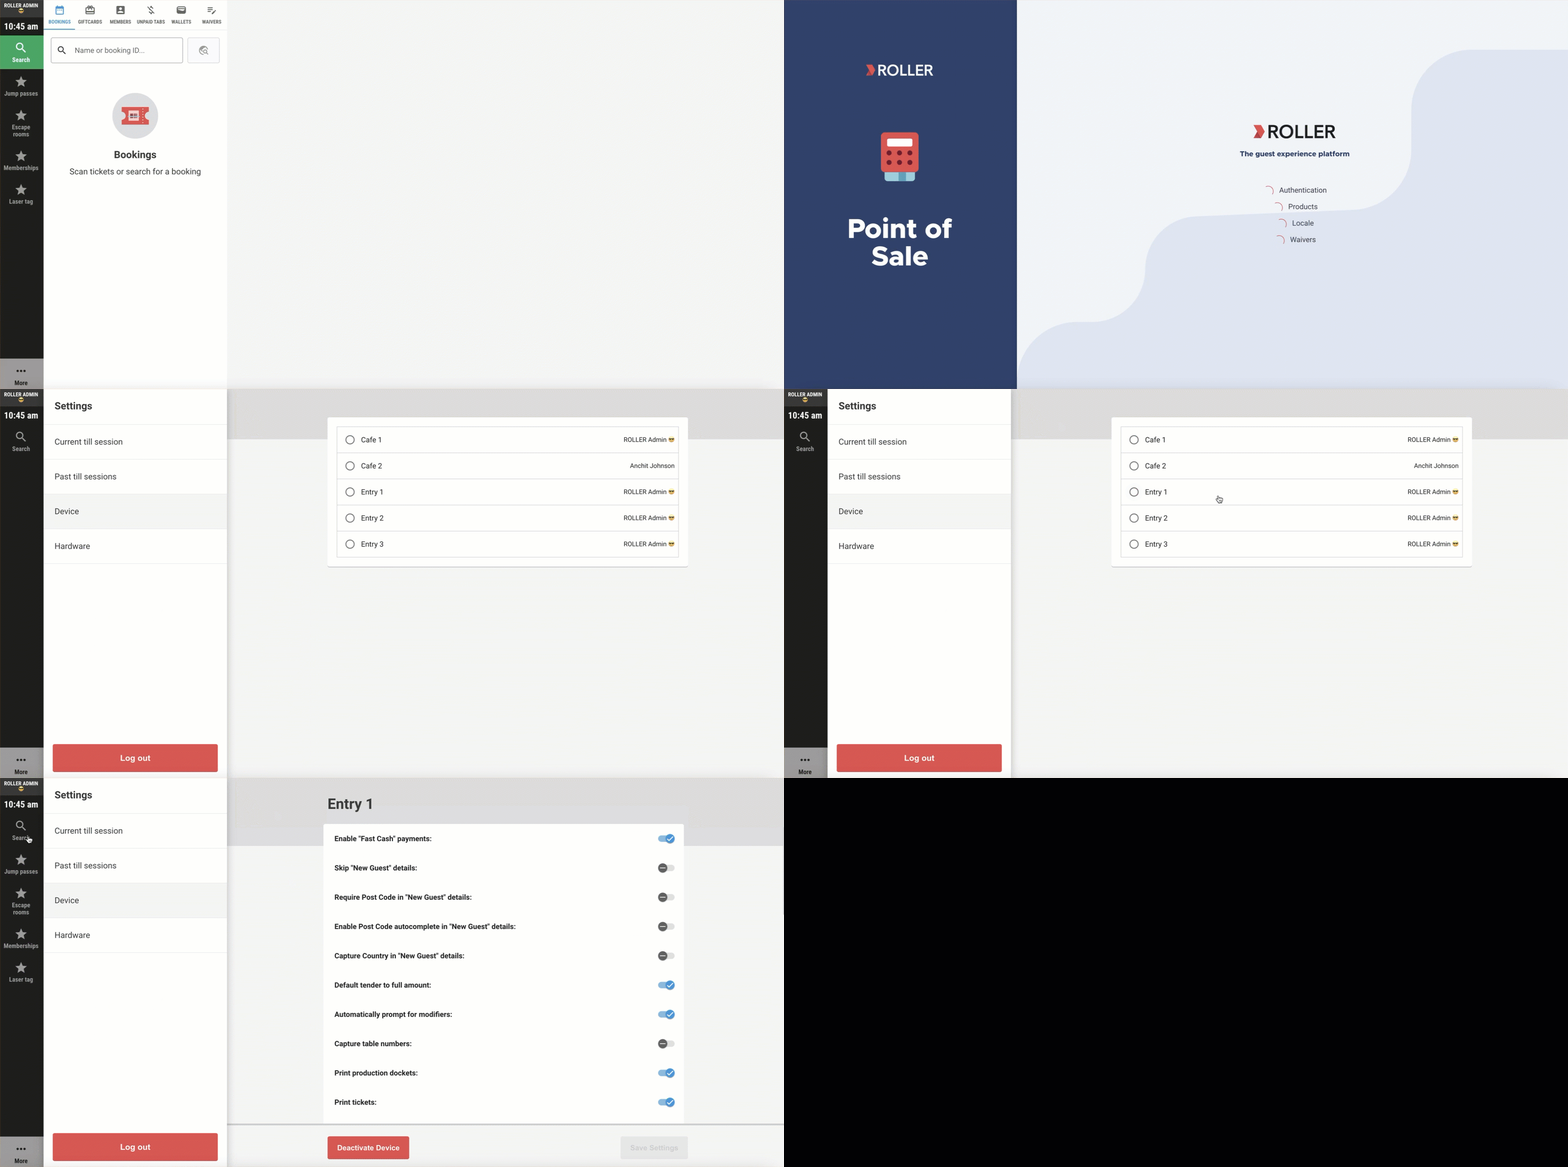
When you first access POS, you may be prompted to select a POS device from the list. This will assign the POS device to the computer or tablet. You can only use one POS device at a time on a computer.
Log in using a POS PIN
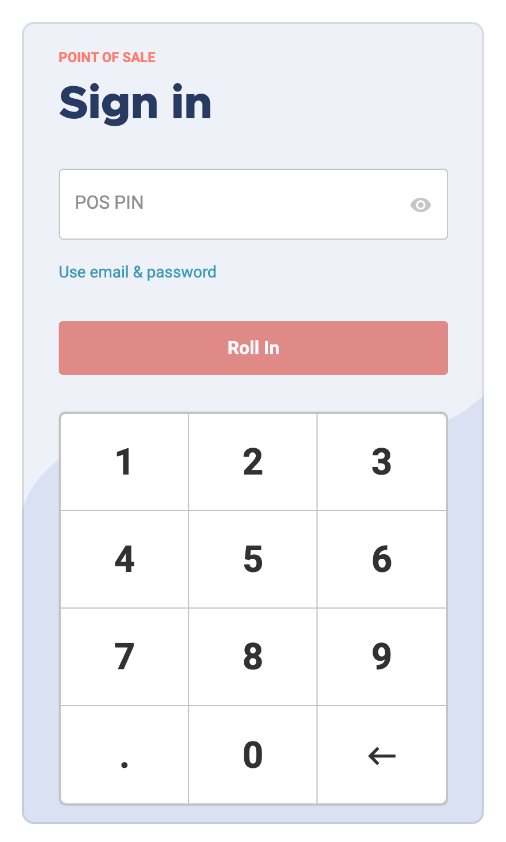
Following the initial successful login using email and password, staff can use their POS PIN when logging in to POS for quicker access.
Sign out of a POS device
To sign out of POS, follow the steps below.
From POS, in the bottom left select the Log out button
This button instantly logs the user out and device displays the Sign in screen
Automatic logout
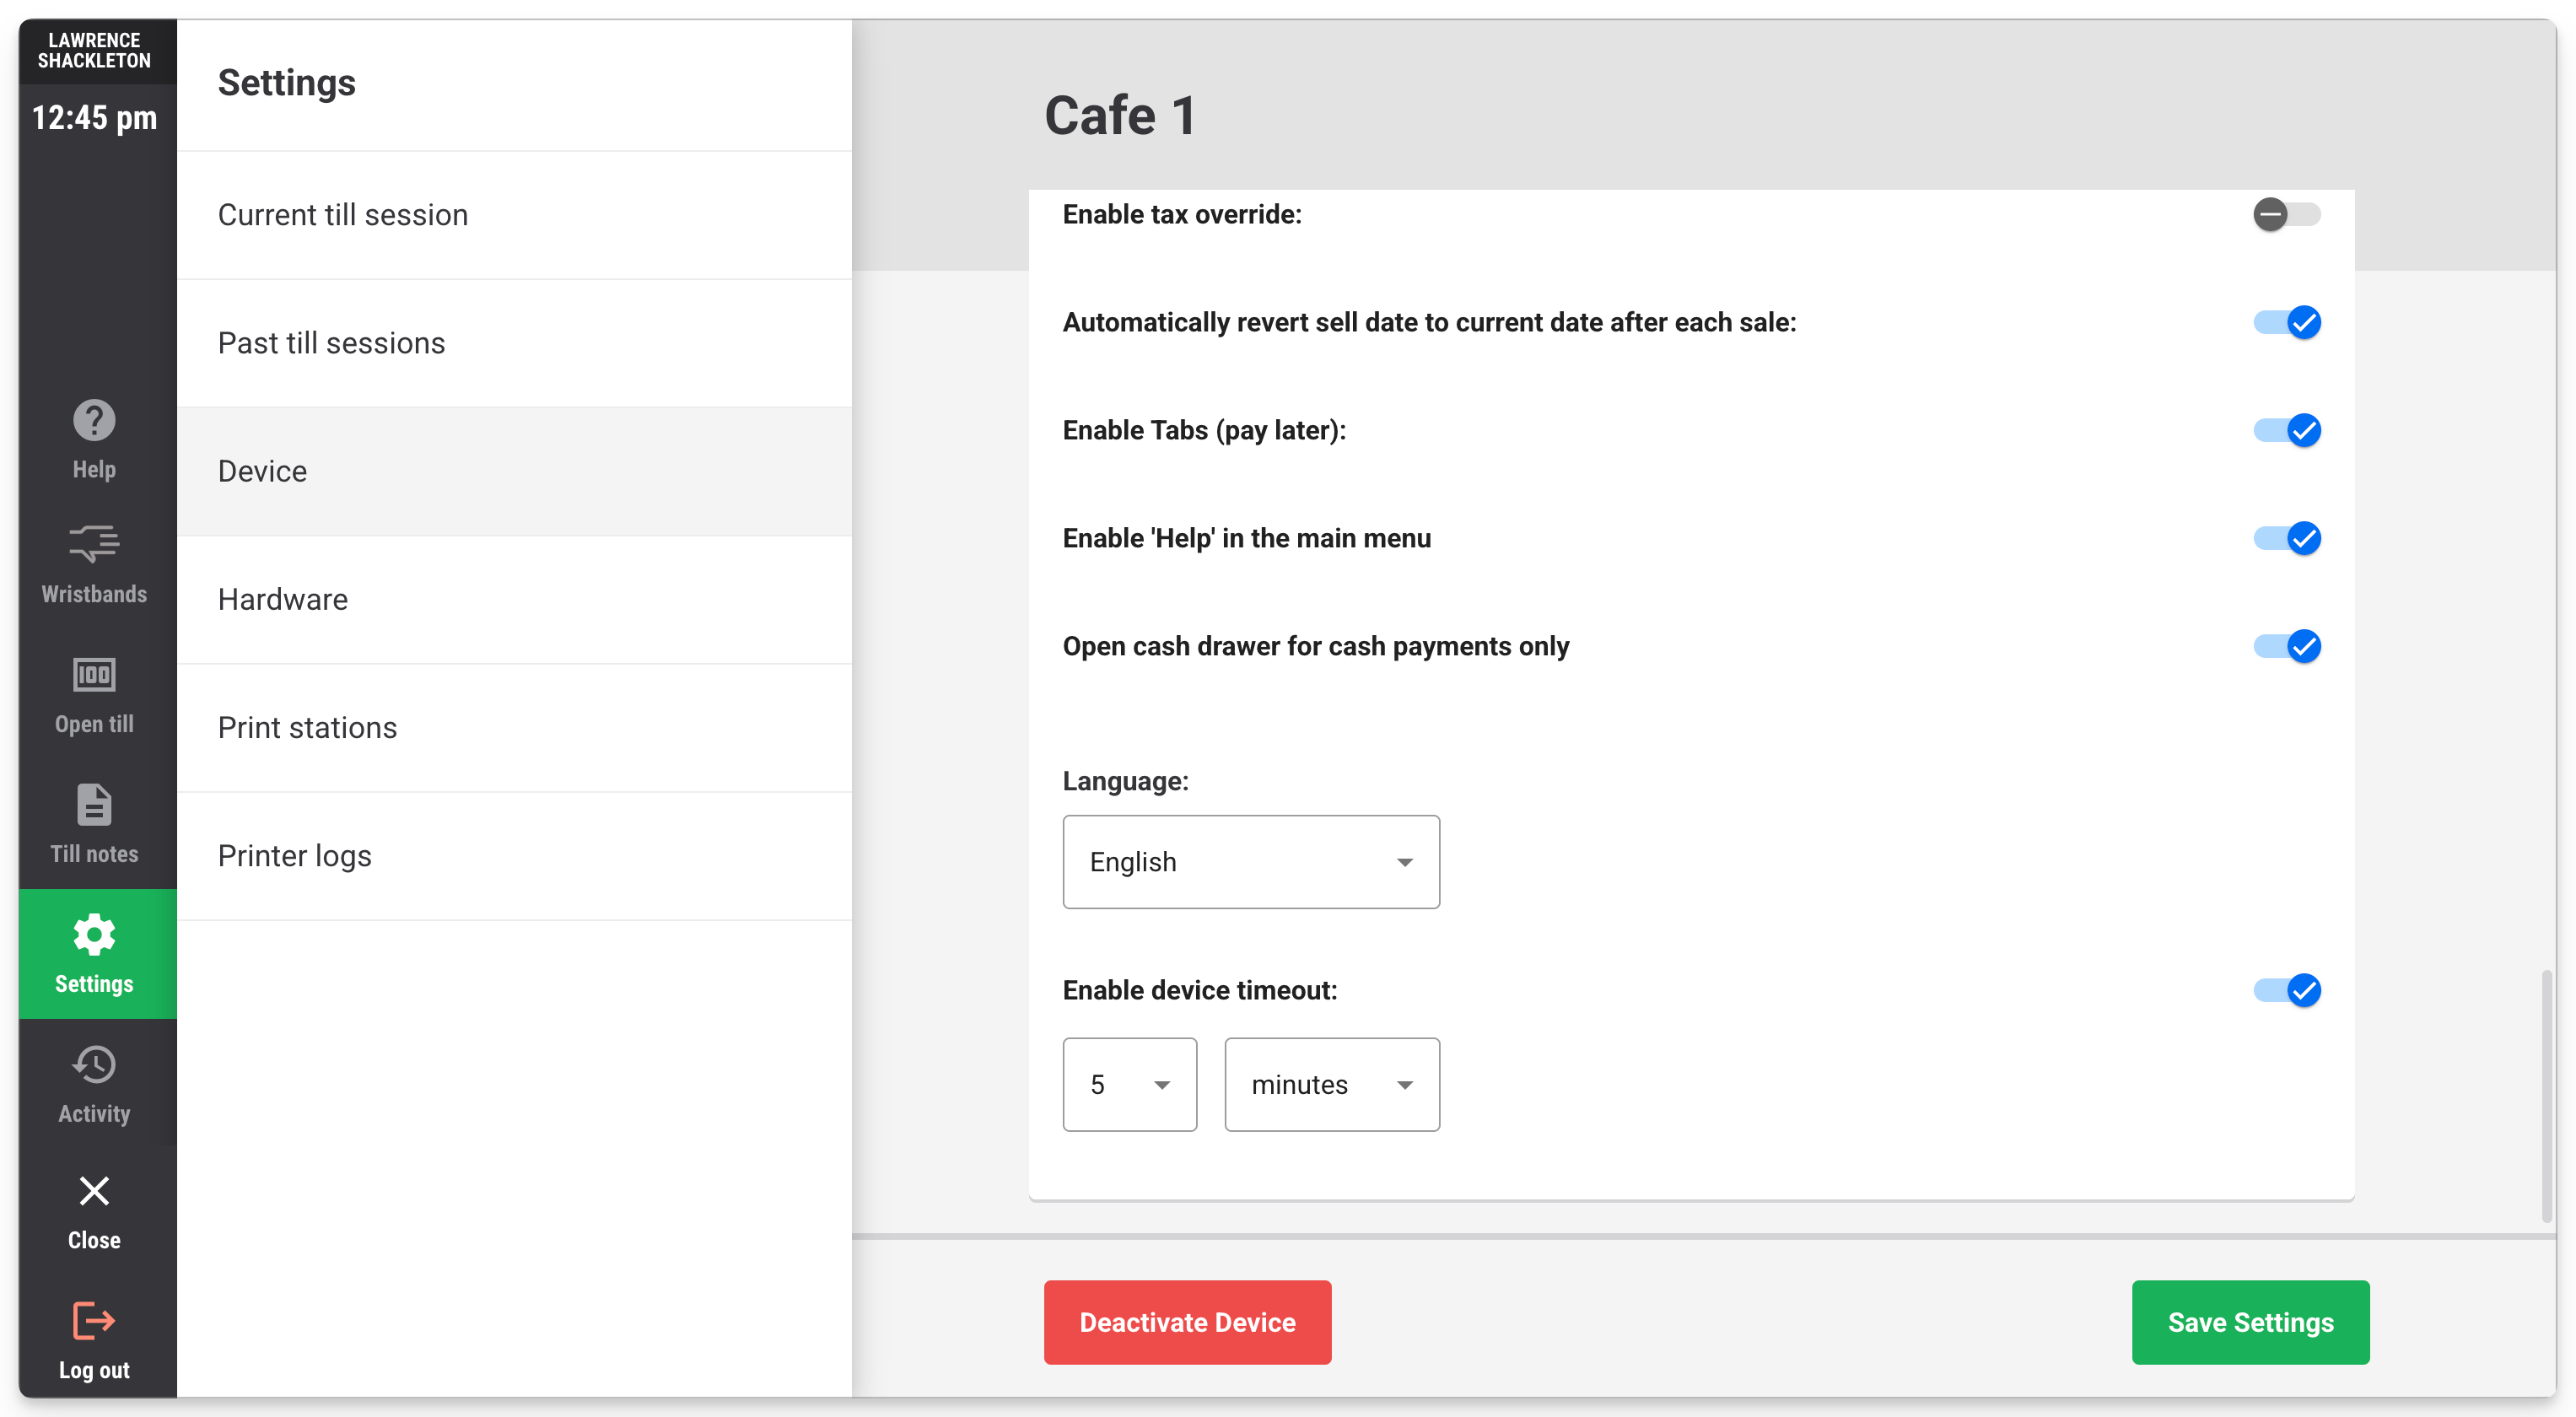
You can set a POS device to automatically return to the sign-in screen after a specific period of inactivity. This can be useful as a security precaution. To configure device timeout, follow the steps below.
While logged into your POS device, select More at the bottom left of the screen.
Select Settings > Device.
Scroll to the bottom of the device settings list to Enable device timeout and use the drop down lists to select a value in minutes and/or seconds.
Select Save Settings.
Switch between staff users
To keep track of who made each sale, you can switch between users in a POS device.
Transactions are recorded as being completed by the staff member logged in when the transaction was completed. This staff member name is shown in reports such as Detailed Transactions, and also on any receipts that are printed from the POS device in use.
To switch between staff users, follow the steps below.
From POS, select More at the bottom left of the screen.
Select Settings > Log out.
The new staff member can now sign into the POS device. If they have their POS PIN code set, they can use this for quick access.
Check POS allocation
When using POS, make sure that the computer or tablet device you're using is allocated to the correct POS device profile that has previously been created in Venue Manager.
The device stays allocated to the same POS device profile unless your cache is cleared, or someone deallocates your POS device (to learn more, keep reading).
To make sure you're allocated to the correct POS device when logged into POS:
Select More at the bottom left of the screen.
Select Settings > Device.
If you're not currently allocated to any device, you'll see a full list of POS devices to choose from.
If you're already allocated to a device, you'll see the name of the device you're allocated to at the top of the screen. If you want to change the POS device, you'll need to deallocate it.
If you can't allocate a device because it's grayed out, then you must deallocate the device in Venue Manager, and refresh your POS browser and try again.
Deallocate a POS device profile
You should only deallocate a device if it's not currently in use. If someone is using the device, it will prevent them from finishing any transactions or processes they are actioning and log them out.
To deallocate a POS device profile, follow the steps below.
From Venue Manager, go to Apps > Point of Sale > Devices.
Find the device you want to deallocate and select the options menu (3 dots) at the end of the row.
From the dropdown, select Deallocate > Yes, deallocate it.
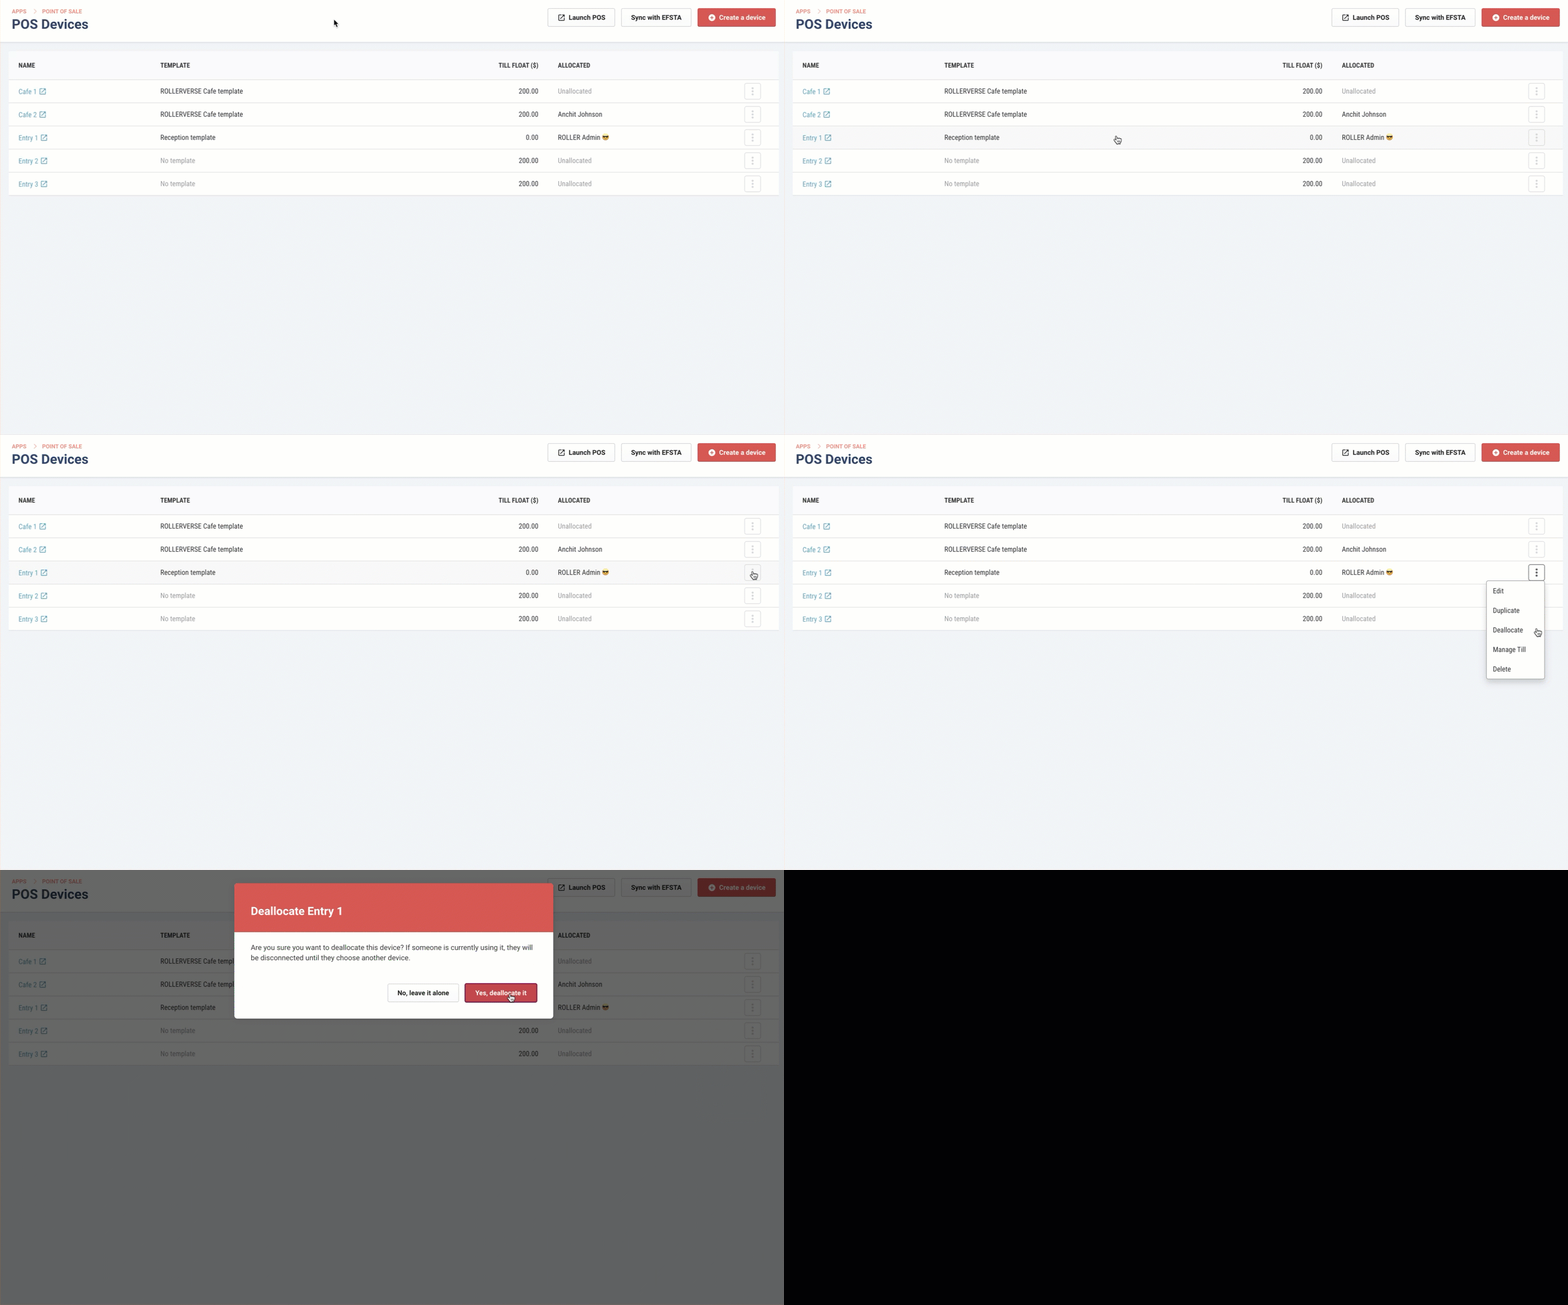
Under the Allocated column in the device list, you'll be able to confirm if the device is in use or not. If not in use, you can go ahead and deallocate the device.
Assign a new POS device profile
Once the device has been deallocated, you can reload your POS page and select another POS device profile to assign to the physical POS device and then launch it.
Introduction to POS
Watch this video to help you navigate ROLLER POS.