Manage staff permissions in ROLLER by assigning them specific roles, allowing you to control their access and actions within ROLLER.
There are two types of roles available: system roles, which have fixed permissions and are available for all plans, and custom roles, which have modifiable permissions and are available for the Pro plan and higher.
The permission Can access staff settings is required to manage staff permissions & roles. The administrator system role has this permission enabled by default.
System roles
Here are the five system roles in ROLLER:
System role | Permissions |
|---|---|
Administrator | Can access everything in ROLLER |
Manager | Can access everything except for online checkout settings, reconciled till sessions editing, account details, staff settings, payment settings, integration settings, GX score settings and scheduled reports. |
Booking agent | Can manage bookings in Venue Manager and access POS |
POS operator | Can only access and use POS to serve your guests and process transactions. |
Dashboard | Can view the dashboard in Venue Manager which contains booking overviews, revenue generated and available products for sale. |
Permissions for system roles
To see the specific permissions enabled for each system role, refer to the guide Permissions by feature and system role.
You can also see system permissions in Venue Manager.
From Venue Manager, go to Settings > Staff > Roles.
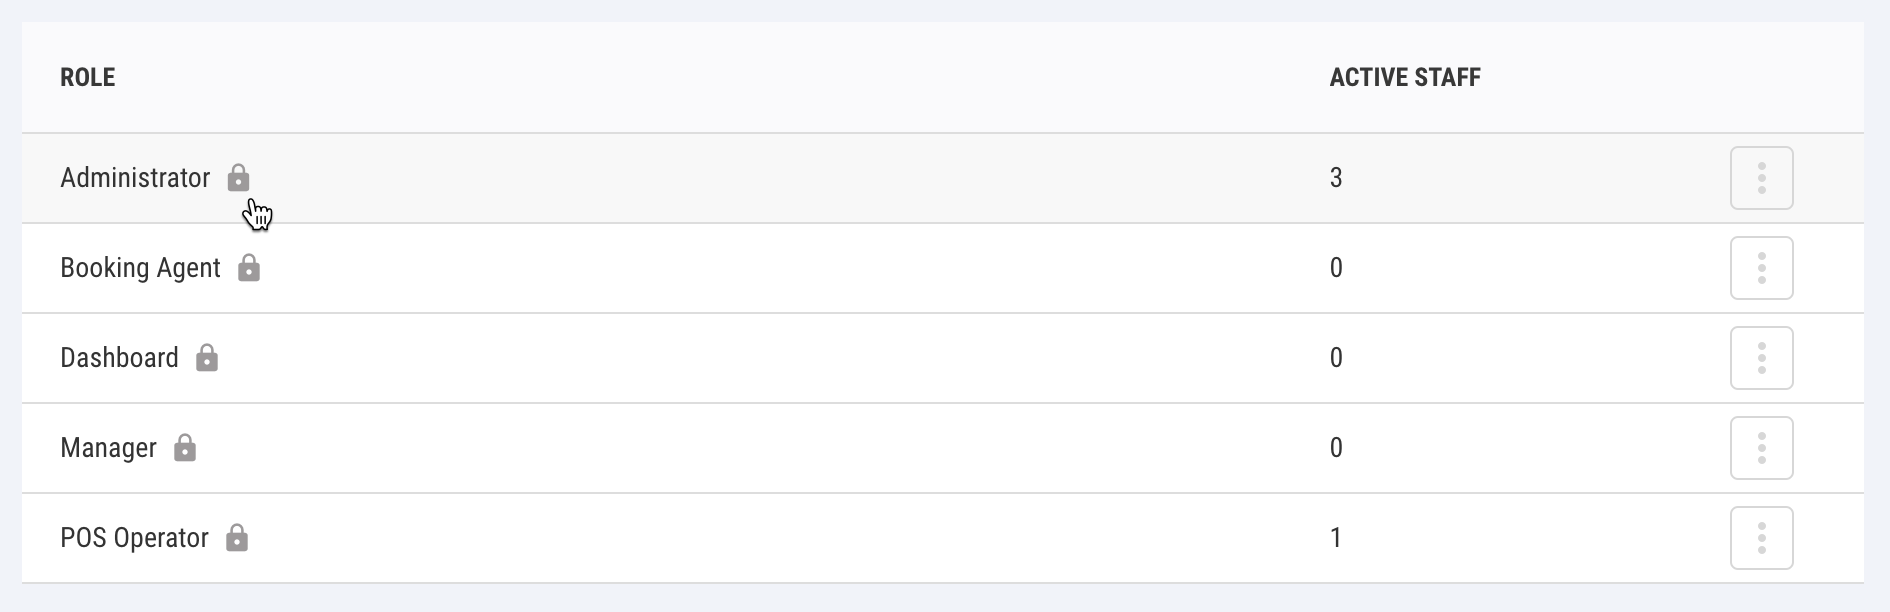
The roles for your venue appear showing how many active members there are per role. System roles are easily identifiable with the lock icons.
Select the options menu (3 dots) for a system role.
Select View.
The list of permissions appear. The permissions available for the role are checked.
System role permissions can't be edited. To customize permissions for staff, create a custom role (Pro plan and above). Read on below to learn more.
Change a staff member's role
To change an assigned role for a staff account:
From Venue Manager, go to Settings > Staff > All staff. A list of all staff accounts appears.
For the staff member, select the options menu (3 dots).
Select Edit.
Change the system role from the drop-down, then select Save.
Create custom roles
Custom roles in ROLLER let you fine-tune staff permissions.
Pro feature and above
Fine-tune permissions with custom roles. To unlock, contact your customer success manager or the support team.
To create a custom role:
From Venue Manager, go to Settings > Staff > Roles.
Select Create role button at the top right.
Name the new role and select an Associated role.
Choose an associated role that is most similar to the role you want to create.
The association will be used to inherit any future role permissions created.
Enable/disable permissions as required.
You can select or deselect a group of permissions using the Select: All / None toggle options.
Select Save changes to create the custom role.
Once created, assign the custom role when creating a new staff member or editing an existing staff account.
Edit custom role permissions
From Venue Manager, go to Settings > Staff > Roles > All roles.
Select the options menu (3 dots) for a custom role, then select Edit. You can only edit permissions for custom roles.
Enable or disable permissions as required.
Select Save.
The permissions of all staff assigned to the custom role are updated.