Staff member accounts provide staff at your venue with access to ROLLER. This guide shows you how to create a staff member account.
The permission Can access staff settings is required to create staff accounts. The administrator system role has this permission by default.
Getting started
Watch the video walkthrough to help you get started.
Add a staff member
From Venue Manager, go to Settings > Staff > Add a staff member
Fill in the staff details (* indicates required fields):
Name*
Enter the staff member's first name and last name
Email*
Provide a unique email address for the staff member
Role*
Assign a staff role. The role assigned determines which areas of ROLLER staff have have access to. Each role has its own set of user permissions.
System roles include:
Administrator: Can access everything in ROLLER
Manager: Can access everything except for online checkout settings, reconciled till sessions editing, account details, staff settings, payment settings, integration settings, GX score settings and scheduled reports.
Booking agent: Can manage bookings in Venue Manager and access POS
POS operator: Can only access and use POS to serve your guests and process transactions.
Dashboard: Can view the dashboard in Venue Manager which contains booking overviews, revenue generated and available products for sale.
The permissions each system role has can't be modified. For Pro plans and above, you can create and assign custom roles with adjusted permissions.
Display name
Enter a nickname to be used in ROLLER
POS PIN
A unique numeric code for a staff member to quickly log in to POS. This code is autogenerated but can be modified.
Once complete, click Save and send invite.
ROLLER sends an invite to the staff member's email address asking them to activate their account.
Unique email addresses
Email addresses must be unique in ROLLER. No two staff member accounts (even in unrelated venues) can use the same email address.
If a staff record with the same email address exists, a pop up appears asking if you want to give the existing staff member access to your venue.
Select Confirm to grant access to your venue. The staff member can use their existing credentials to log in.
Email invite and account activation
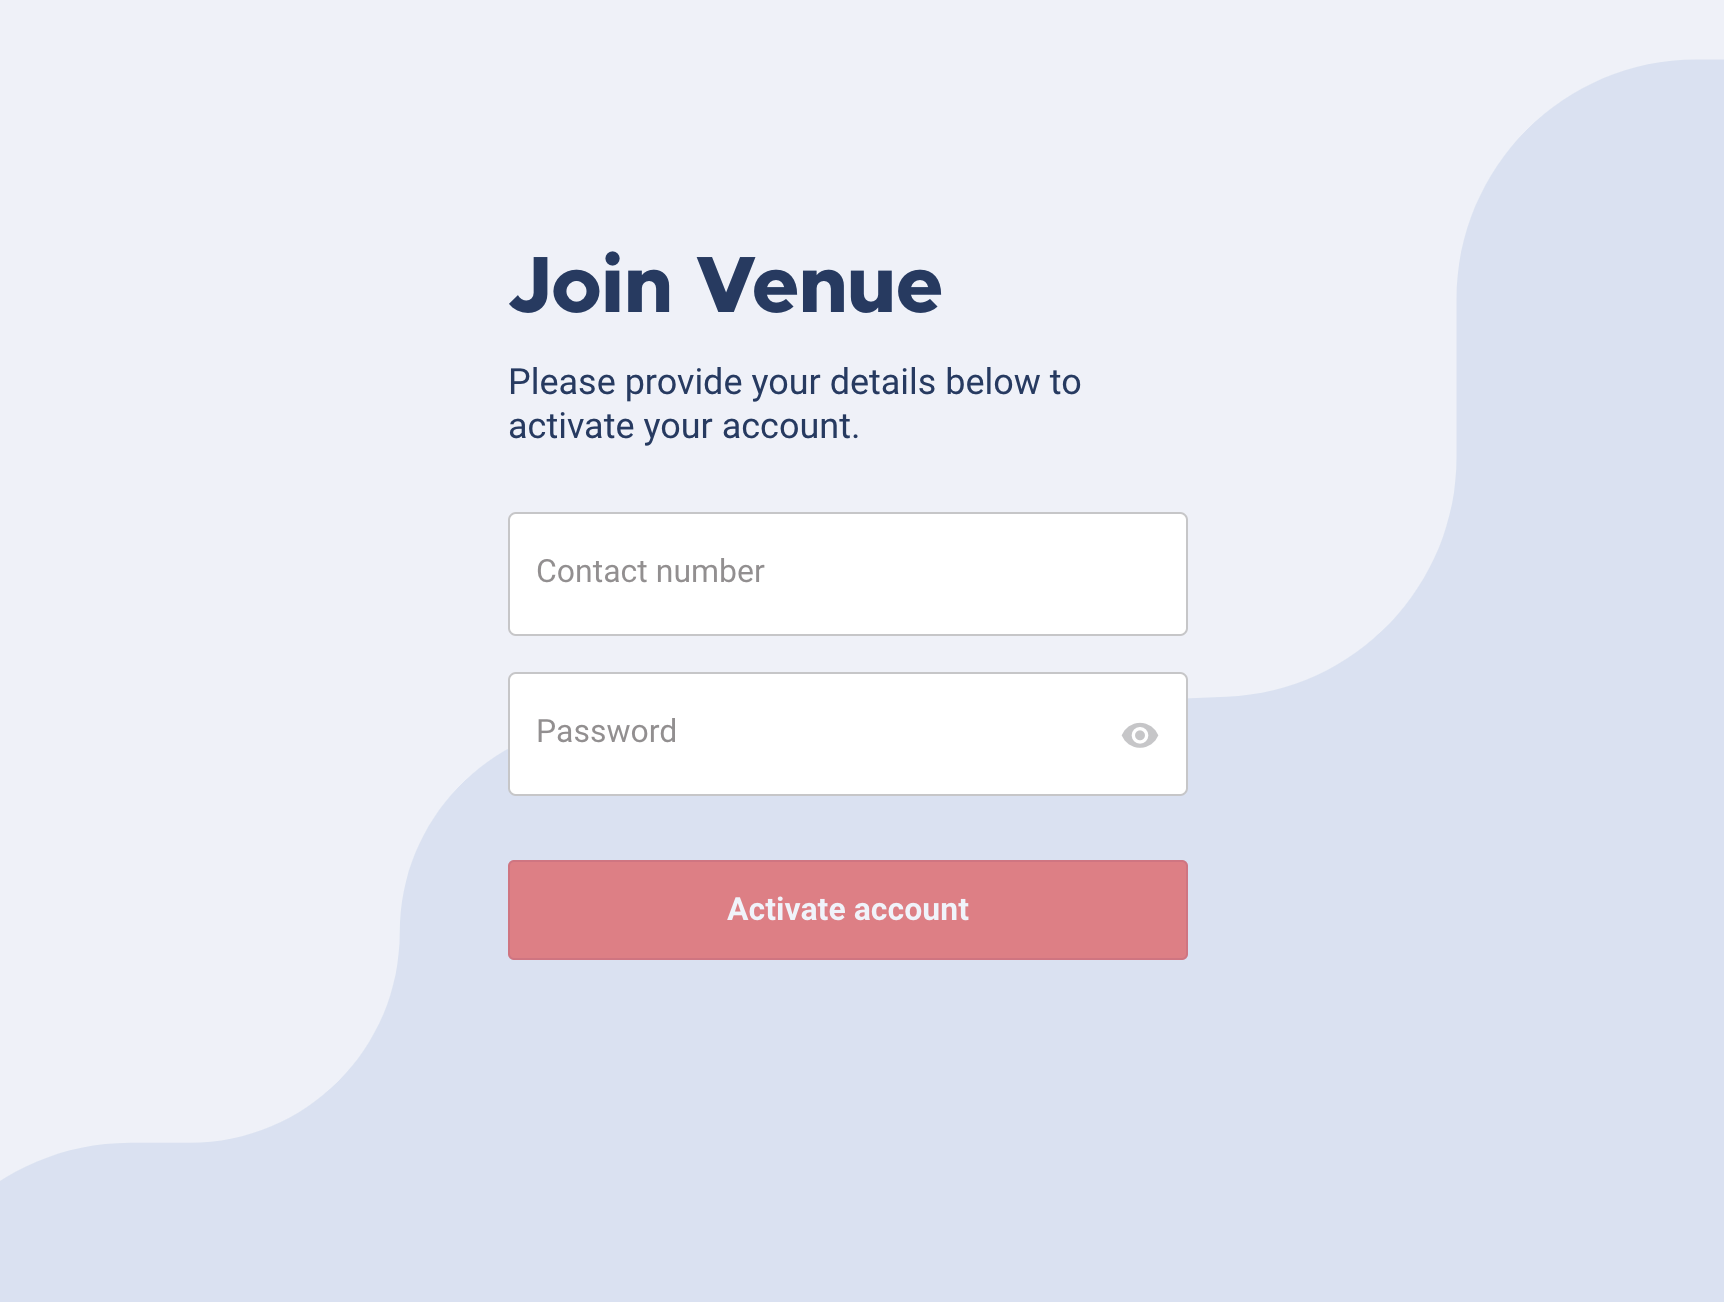
ROLLER emails the staff member a welcome email with the subject line Invitation from [Your Venue Name]. The staff member must select Activate account in the email to activate their account. They'll be taken to the account activation screen. From here, they'll be asked to:
Enter a contact number and set a new password.
Select Activate account, which takes them to the login page.
Enter their email and password they set to access ROLLER.
Edit or remove a staff account
See the guide Edit and delete staff member accounts .
Reset a password or POS pin
See the guide Change staff passwords and POS PINs.
HQ multi-location staff access
If you operate multiple ROLLER accounts, you can configure a staff member's access to different accounts. For information on setting up HQ staff access, see the guide Managing HQ staff and roles.