HQ products let you build products in your HQ account and share them across one, many or all of your managed venues. This saves time, reduces duplication, and keeps product setup consistent.
This guide walks through how to create a product in HQ and make the products available to one venue, a group of venues or all your venues.
HQ subscription
Available for all HQ venues. To learn more, contact your customer success manager or the support team.
Who does what
HQ venue | Managed venues |
|---|---|
Create products in HQ with shared names and codes. | Add HQ products into their product list (HQ products are marked with an HQ label). |
Assign access to venues using venue tags. | Complete the venue’s own setup, such as resources and tax overrides. |
Control what fields venues can edit using HQ venue permissions. | Cannot edit HQ-locked fields. |
Edit a product and publish the change to the venues you choose, now or on a schedule. | Receive updates pushed from HQ. |
Create HQ products
In your HQ account, from Venue Manager, go to Products > Create product.
Select the type of product (eg pass, party, package).
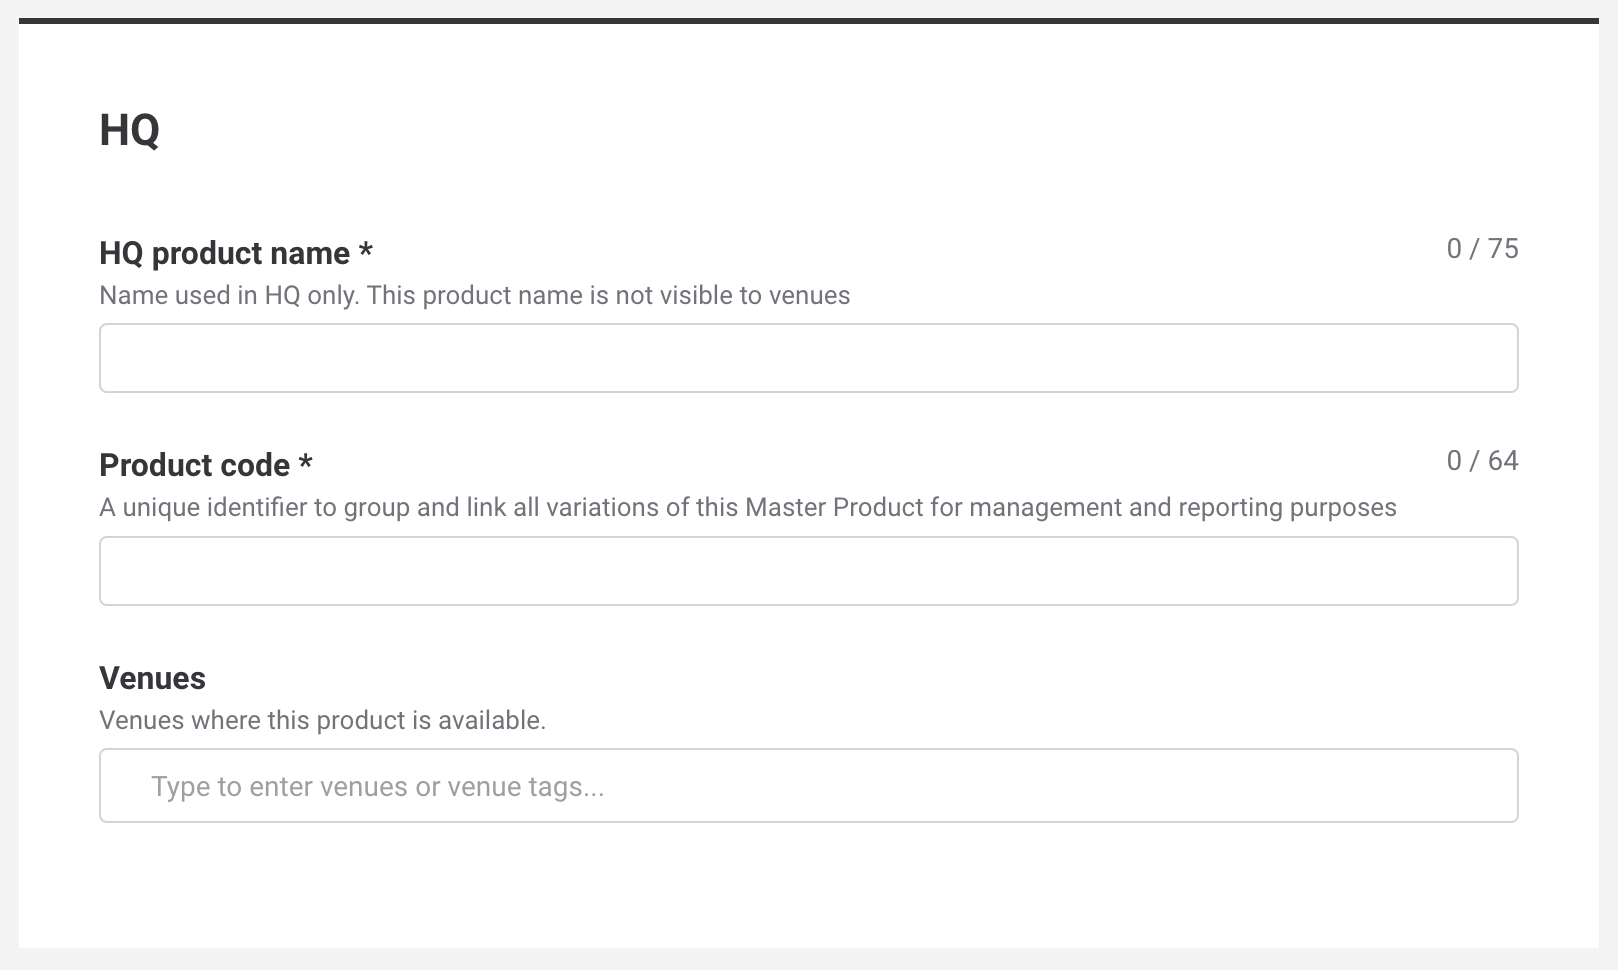
Add HQ product details:
Name: unique identifier used for reporting across venues (eg “1 Hour Jump”); used only in HQ.
Product code: unique identifier for tracking and reporting (can be same as name).
Venues: assign access using venue tags.
Complete the rest of the product details as you would normally in Venue Manager.
Save the product. The product is available for the assigned venues to add to their product list.
Learn more about creating and sharing HQ stock products with managed venues.
Add HQ products to managed venues
Once a product is shared from HQ, managed venues must add it to their own product list in Venue Manager before it can be sold. Once added, HQ products are marked with an HQ label.
From a managed venue:
Go to Products > All products or Products > All stock.
Select Add managed product or Add managed stock.
Choose the product from the list of HQ products available to the venue.
Complete the venue’s own setup, such as resources and tax overrides.
Learn more about adding products to managed venues.
Add products in the right order
When adding products to managed venues (pulling down from HQ), add products in dependency order — products that are included in or discounted by others must exist first.
Stock and session/standard passes: add first, as they can be the core inclusions for product types that bundle items together.
Gift cards: add before any packages, party packages or memberships that reference them.
Packages and party packages: add after their inclusions (stock/passes) are available.
Memberships: add last, since they can discount stock, passes, packages and party packages.
During initial setup, if you add an included product later, it won’t automatically link to packages, party packages or memberships that were already added.
Keep products in sync
A venue adding the product for the first time receives the current HQ version.
Edit the product in HQ, then select Select Venues to publish the change to the venues you choose, now or on a schedule.
Only the fields you change are published. Everything else on each venue’s copy stays as it is, including changes the venue made locally.
A venue that was not included in the change keeps the version it already has.
Learn more about editing products from HQ and publishing changes now or on a schedule.