HQ stock products save you time and reduce mistakes. Create and update stock products once at HQ and share them with one, many or all venues — no duplication required.
This guide explains how HQ stock products work, how to create them and how to share them with managed venues.
HQ subscription
Available for all HQ venues. To get started, contact your customer success manager or the support team.
Why use HQ stock products
HQ stock products make it easier to manage food & beverage and retail items across multiple venues. They let you:
Create each product once at HQ instead of rebuilding it in every venue
Keep naming, pricing and images consistent across venues and checkouts
Edit a product in HQ and publish the change to the venues you choose, now or on a schedule
Control which fields each venue can edit, using venue permissions
Stock products are usually the first products to set up, since packages, party packages and memberships can depend on them. See Add products shared from HQ for details.
Who does what
HQ does this | Managed venues do this |
|---|---|
Create stock products and variations in HQ. Make available to venues using venue tags | Add HQ stock products into their own stock list (Venue Manager). Configure local overrides (eg tax, if relevant) |
Control editable fields with HQ venue permissions | Can edit only fields allowed by HQ (eg stock levels, PAR, local variations) |
Edit a stock product and publish the change to the venues you choose, now or on a schedule | Receive the changes HQ publishes to them. Only the fields HQ changed are updated |
Create an HQ stock product
Creating an HQ stock product is similar to creating one for individual venues, but with additional HQ options.
From your HQ Venue Manager, go to Products > Stock > Create stock.
Enter the HQ product name (eg Soft drinks). This product name is not visible to your managed venues.
Add a Product code (unique identifier for reporting and grouping). This can be the same as the HQ product name.
Select venue tags to define which venues can access this stock product. To create a new venue tag (venue group), see the guide Create and manage venue tags (groups) in HQ.
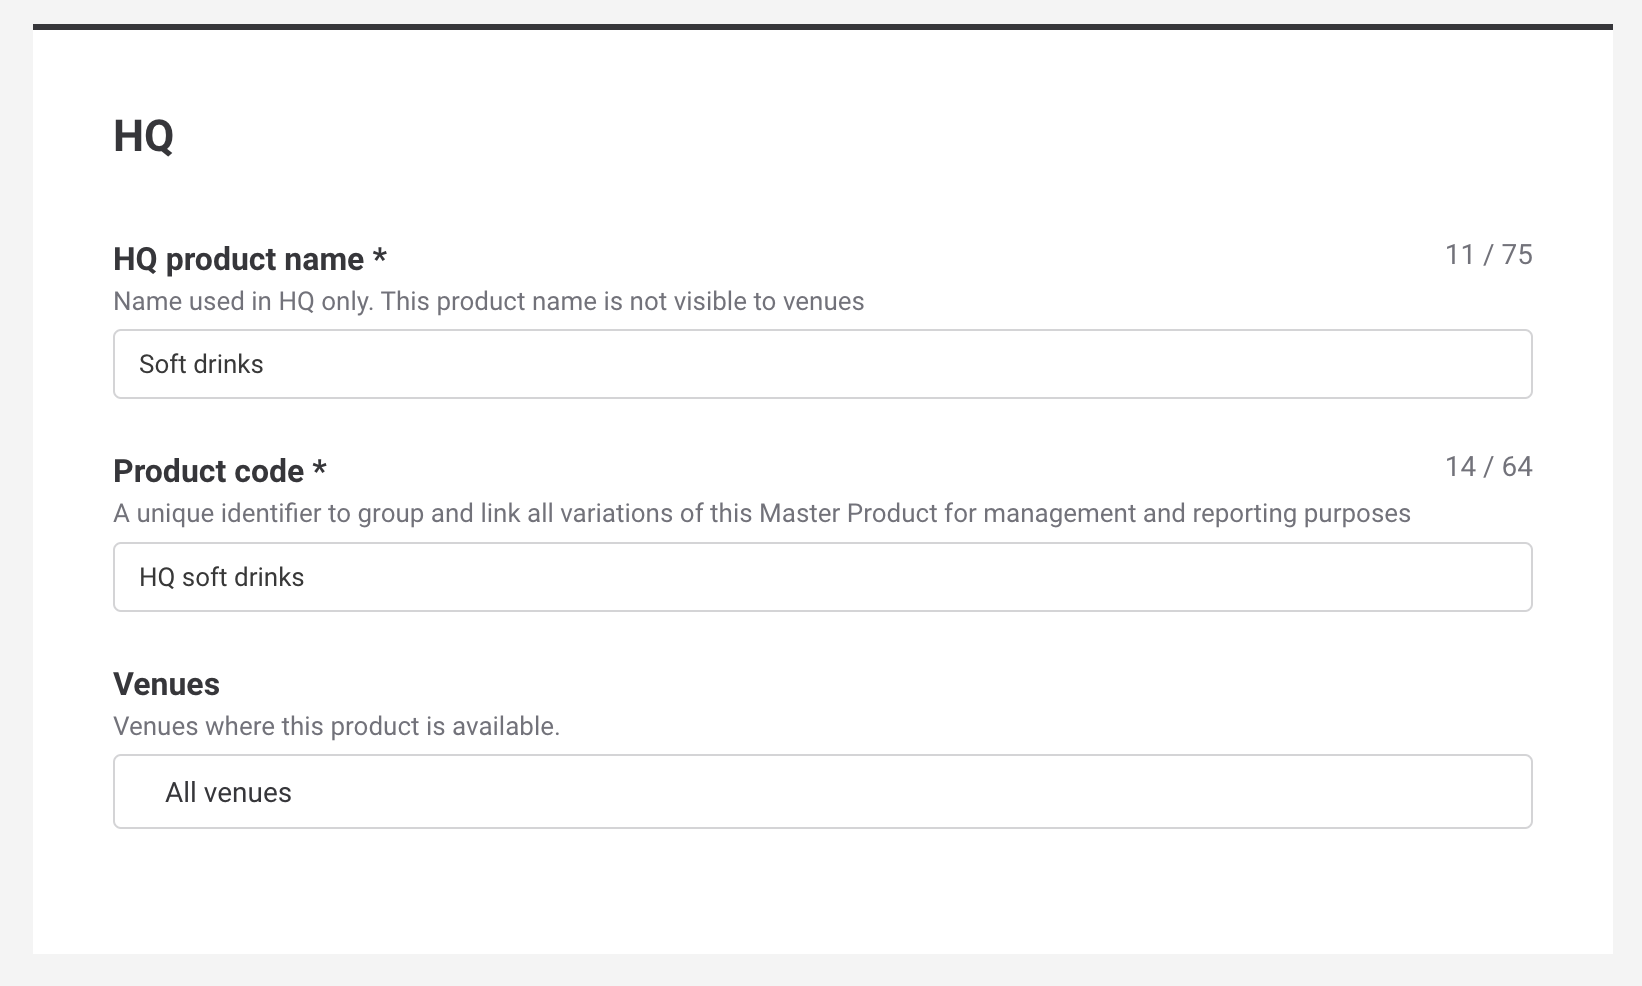
Add content
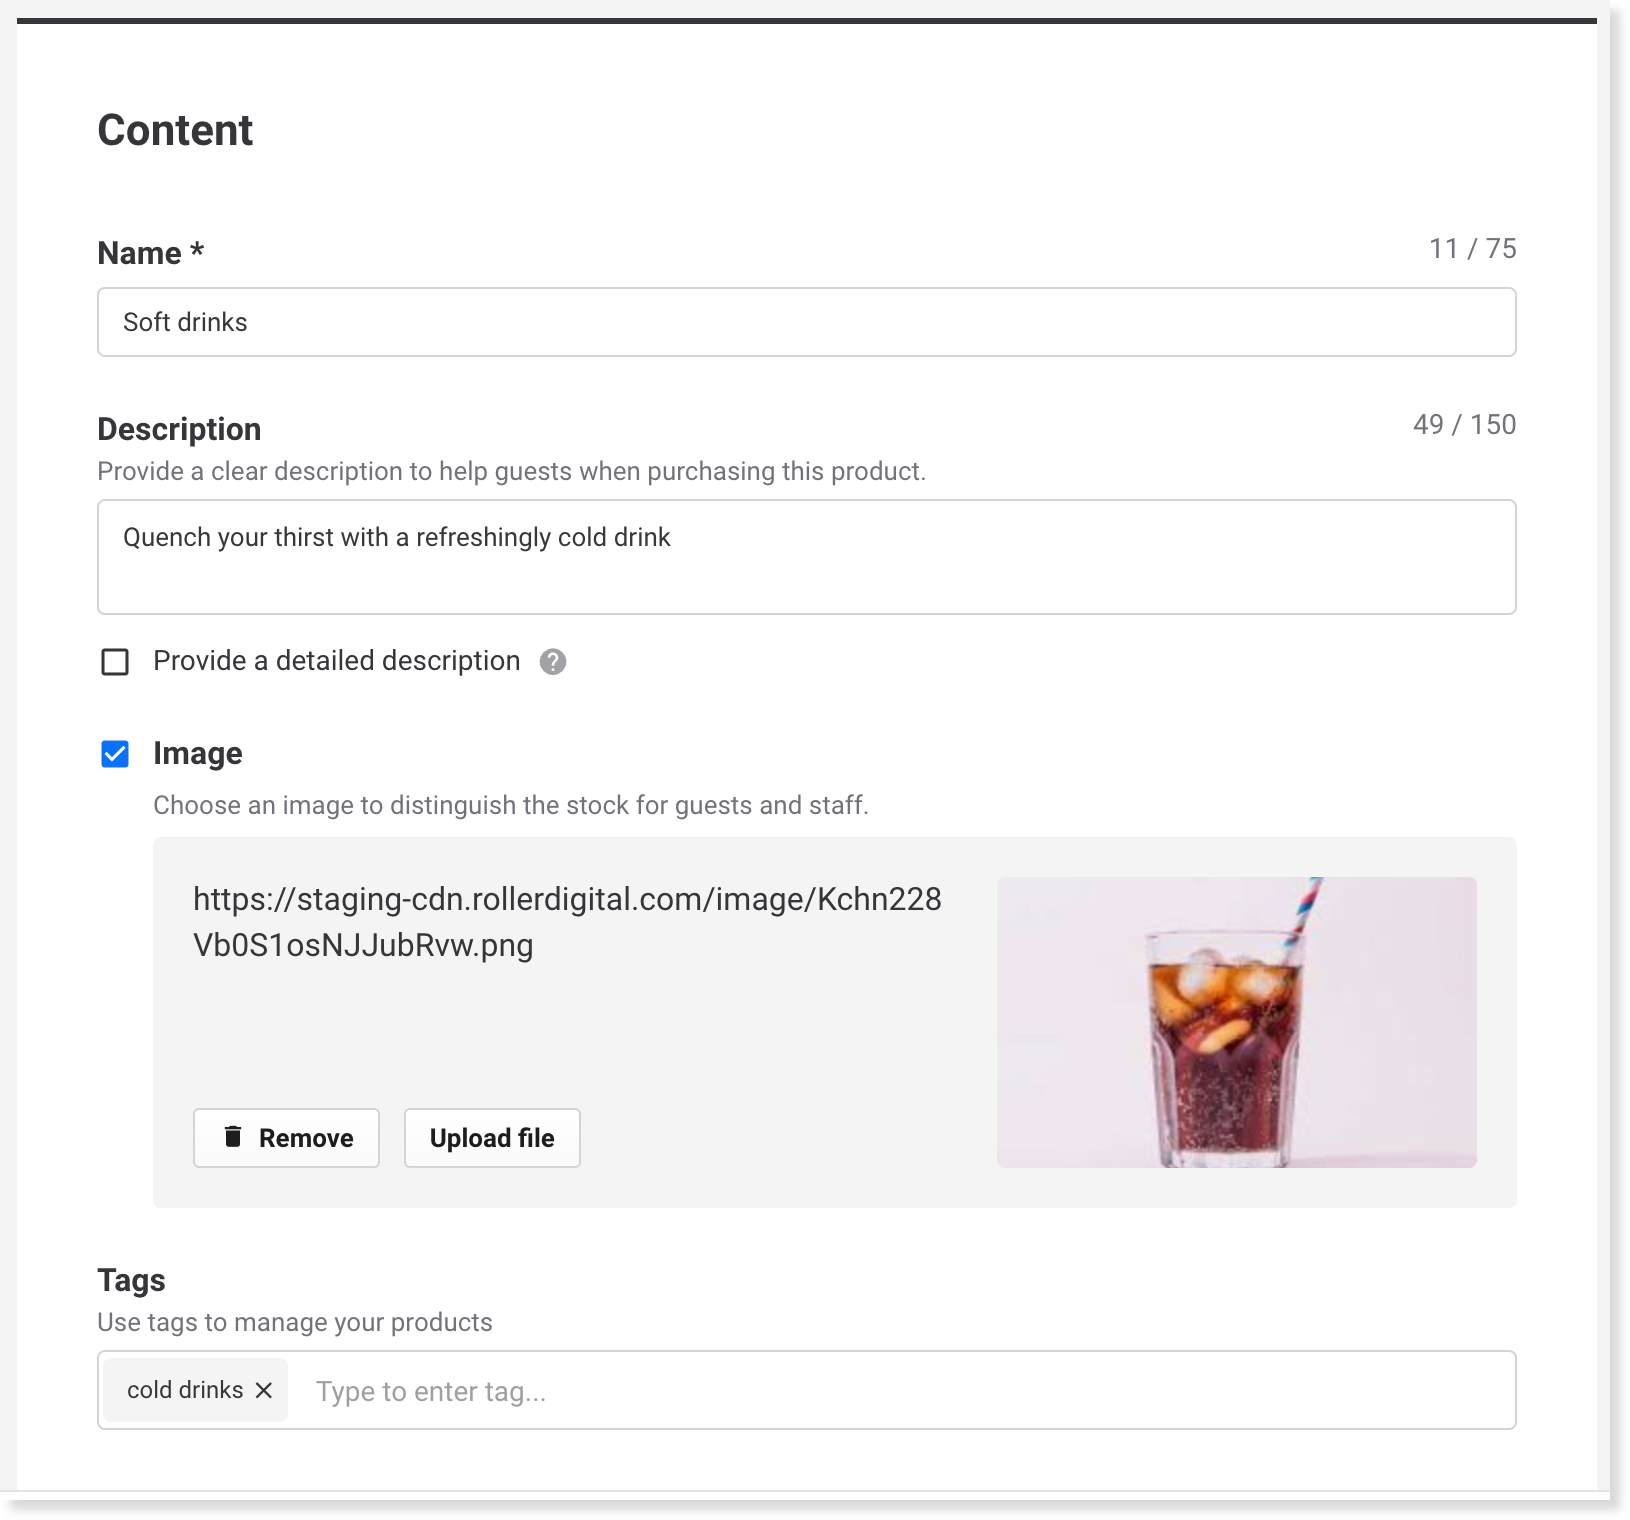
In the Content section, add the details that venues and guests will see:
Name (eg Soft drinks, Latte, Pepperoni pizza).
Enter the name of the stock product (eg Pepperoni pizza or Cappuccino).
Use the name for the main item guests will recognize and add variations for sizes or small differences (eg Pepperoni pizza > Small, Medium, Large). This keeps checkout lists short and easy to scan, while still giving you detailed reporting on variations.Description
This will display when a guest selects the product in the online checkout or mobile food & beverage checkout. Keep it concise so guests know at a glance what they’re ordering.Image
Upload a product image (JPG or PNG, up to 1 MB, best size: 640 × 390 px). Drag the crop marks to frame your image — anything with a dark overlay will be cropped out.
Choose bright, high-quality images that make the product instantly recognizable.Tags
Apply tags to group and organize your stock products. When you add or remove a tag from a stock product, the change automatically flows to any POS template or checkout using that tag — no manual updates needed.
Use simple, consistent tags (eg pizza, drinks).
Note: Product tags are different from venue tags. Venue tags decide which venues can access a stock product. Product tags group products (eg “pizza,” “drinks”) to organize them in POS templates and checkouts.
From the Tags page in Venue Manager (HQ release, August 2025), you can create, rename and organize all tags from one place. This is the easiest way to keep your tags consistent across products. Contact your customer success manager or the support team to enable this feature.
Add your stock details
Once you’ve added the basic content, you can set up variations and key details for your stock product.
From the Stock details section, select Create variation.
Enter a Name (eg Small, Medium, Large — or Cappuccino, Latte).
Set the Price.
Choose Unlimited quantity if you don’t track stock levels. Otherwise, enter the Qty and PAR Qty (the minimum inventory level to keep on hand).
(Optional) Open Advanced options to add a variation image, barcode ID, user-defined cost, hide from online sales or set cost of goods.
Repeat for every variation you want to add.
(Optional) Tick the box to assign a Reporting category.
Don’t forget to Save.
Repeat the steps above for every stock variation you want to add.
Use variations for differences in size, flavor, or type instead of creating separate stock products.
Finally, you can include a Reporting category by ticking the box. And, don’t forget to Save!
Need to make changes to your HQ stock products and update them for each of your managed venues? Read the guide Edit products from HQ and publish changes now or on a schedule to learn more.
Add HQ stock products to managed venues
Once you’ve created your HQ stock products, you can share them with managed venues. Venues then add the products to their own stock catalog (stock list in Venue Manager) before selling them online or at POS.
To learn more about the venue side, read the guide Add products shared from HQ.
Need to update products you’ve already shared? Edit the product in HQ, then select Select Venues to publish the change to the venues you choose, now or on a schedule. Only the fields you change are published. See Edit products from HQ and publish changes now or on a schedule.
What's next?
Once you’ve created your HQ stock products and added them to your managed venues, you’re ready to add the products to HQ POS template menus and HQ checkout sections. Read the guides below to get started!