Offering guest tabs at your venue enhances the guest experience and increases revenue by allowing frictionless ordering without the need for guests to pay each time they want to purchase something. Guests benefit from faster service, while your venue increases operational efficiency as payment only needs to be processed once, at the end of the visit.
This guide walks through how to create and manage your guest tabs at POS.
Pro feature and above
Run tabs to let guests order and settle payment at the end of their visit. To unlock, contact your customer manager or the support team.
Enable tabs at POS
You can enable tabs on individual POS devices. Follow the steps below.
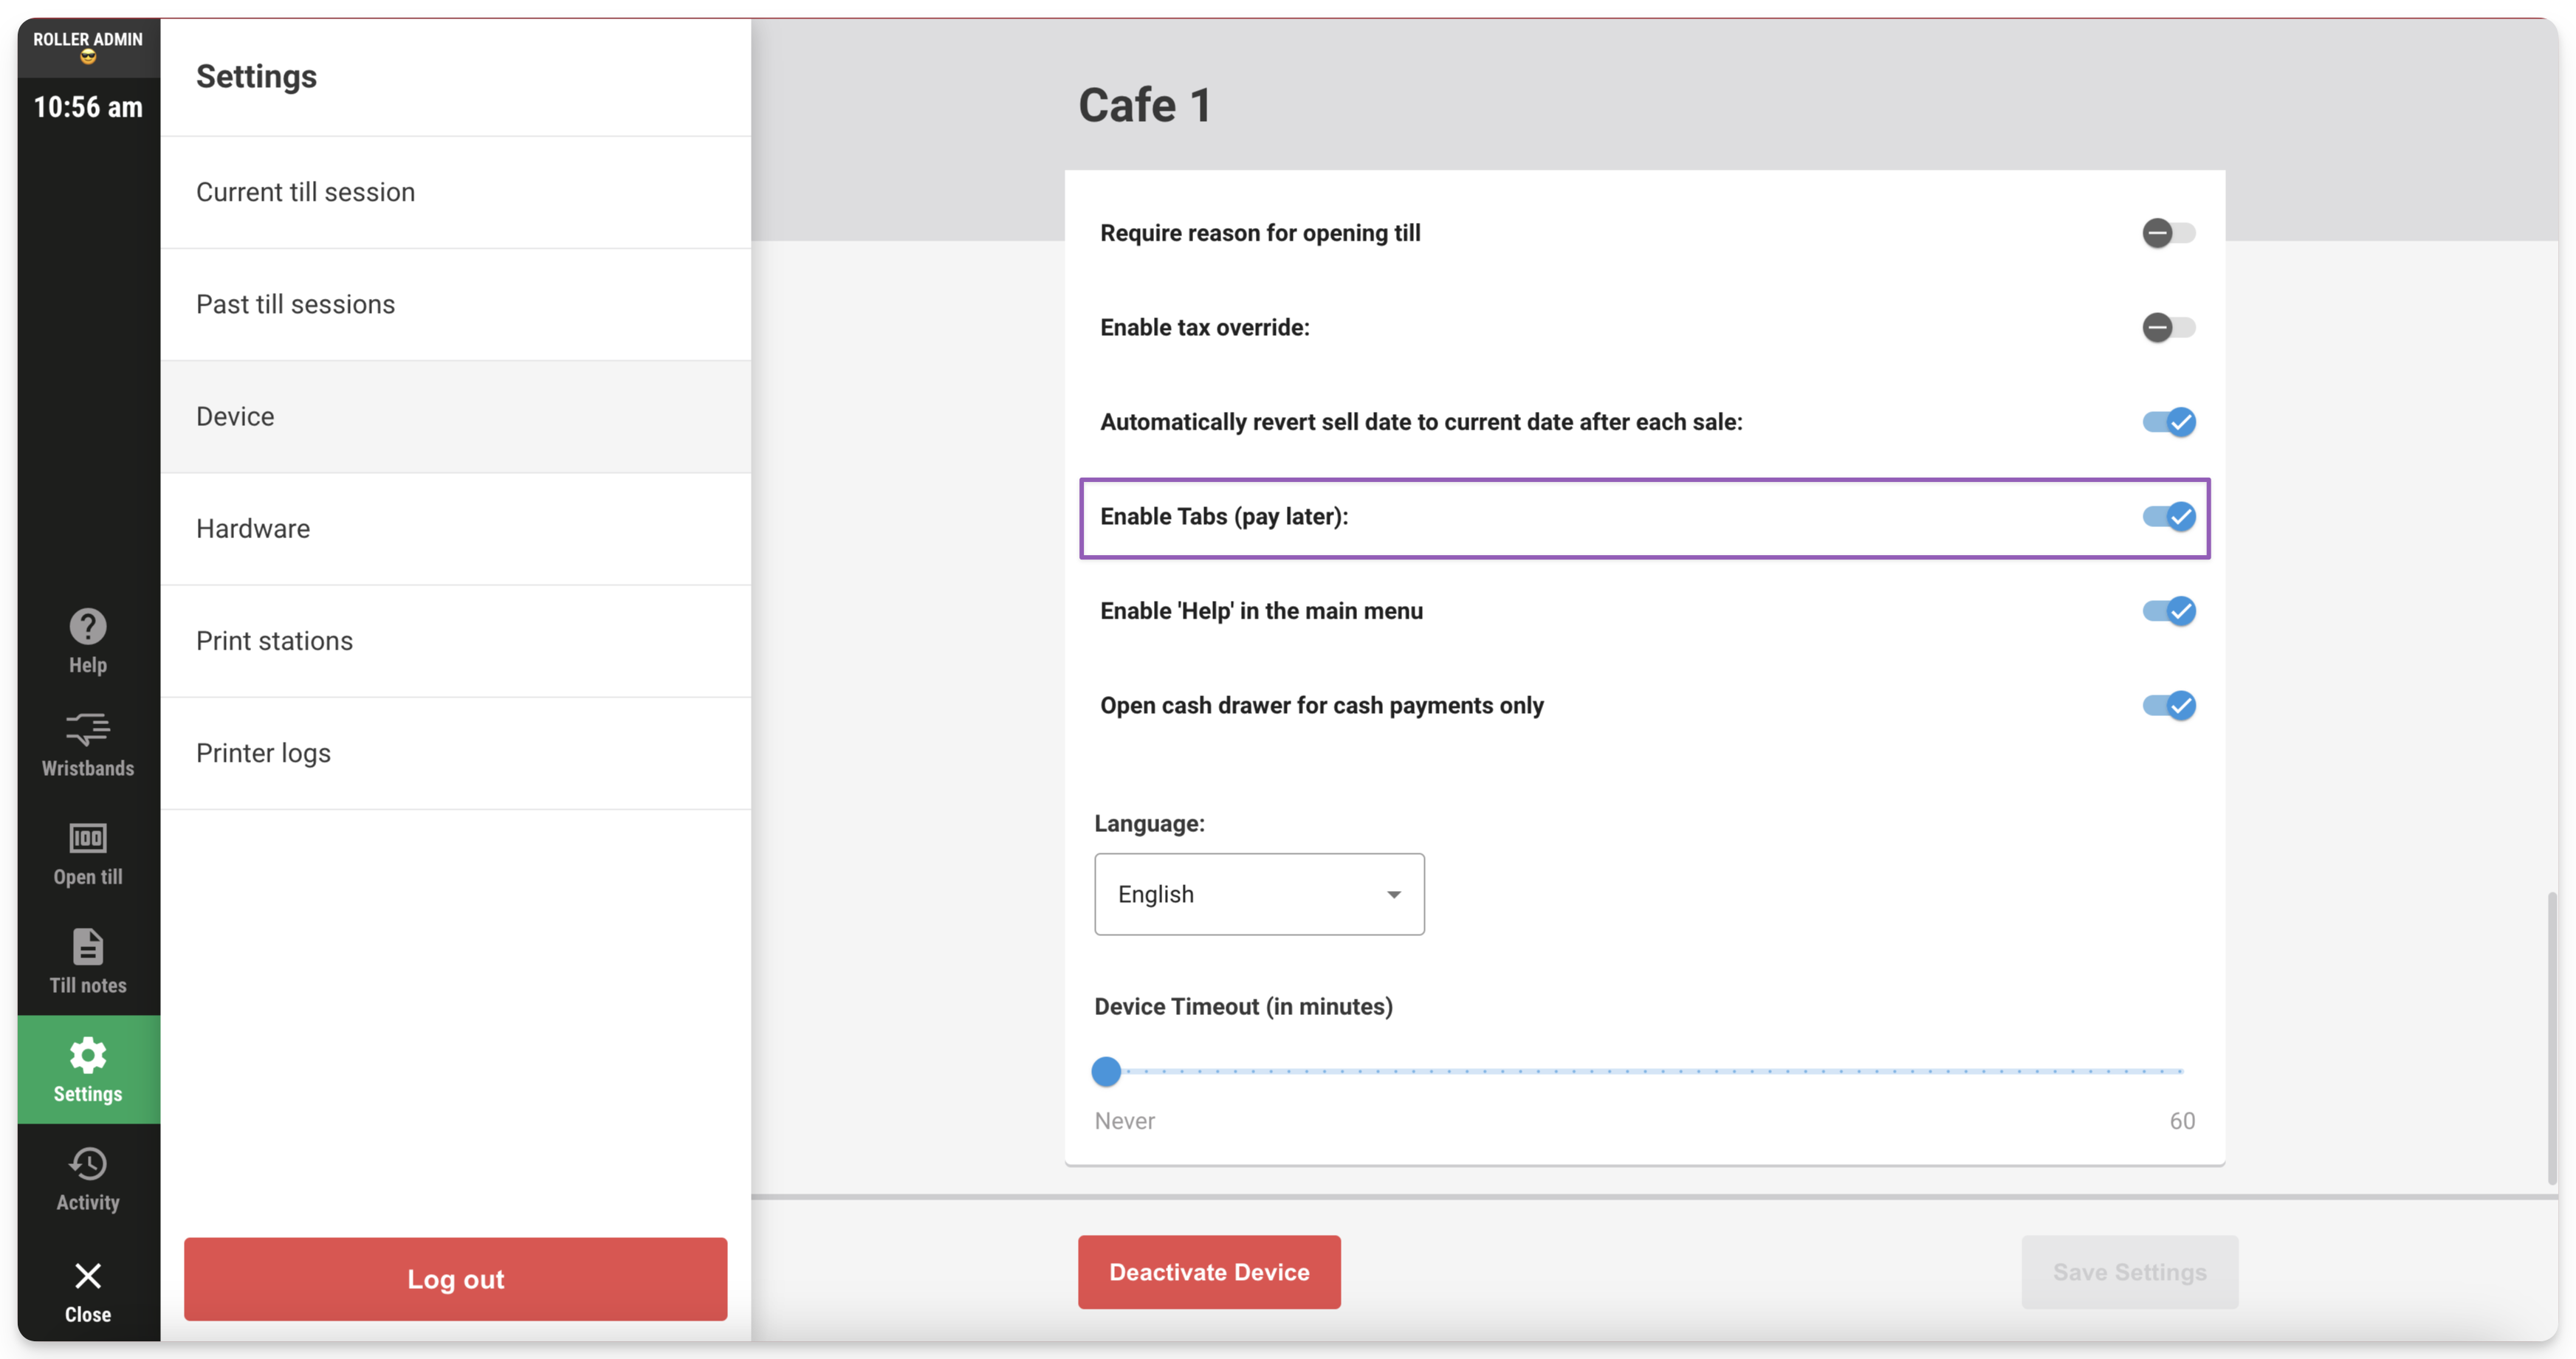
From POS, select More at the bottom left of the screen.
Select Settings > Device.
Toggle on Enable Tabs (pay later).
Select Save settings.
Create a tab
To create a new tab, follow the steps below.
After adding items to the cart at POS, select Add to tab.
Select Create new tab.
Enter in the Tab reference number, Guest name and Email (optional).
If enabled, select Pre-authorize credit/debit card.
Then select Create new tab again.
This will add the outstanding amount to the new tab, then allow you to print a receipt or start a new sale.
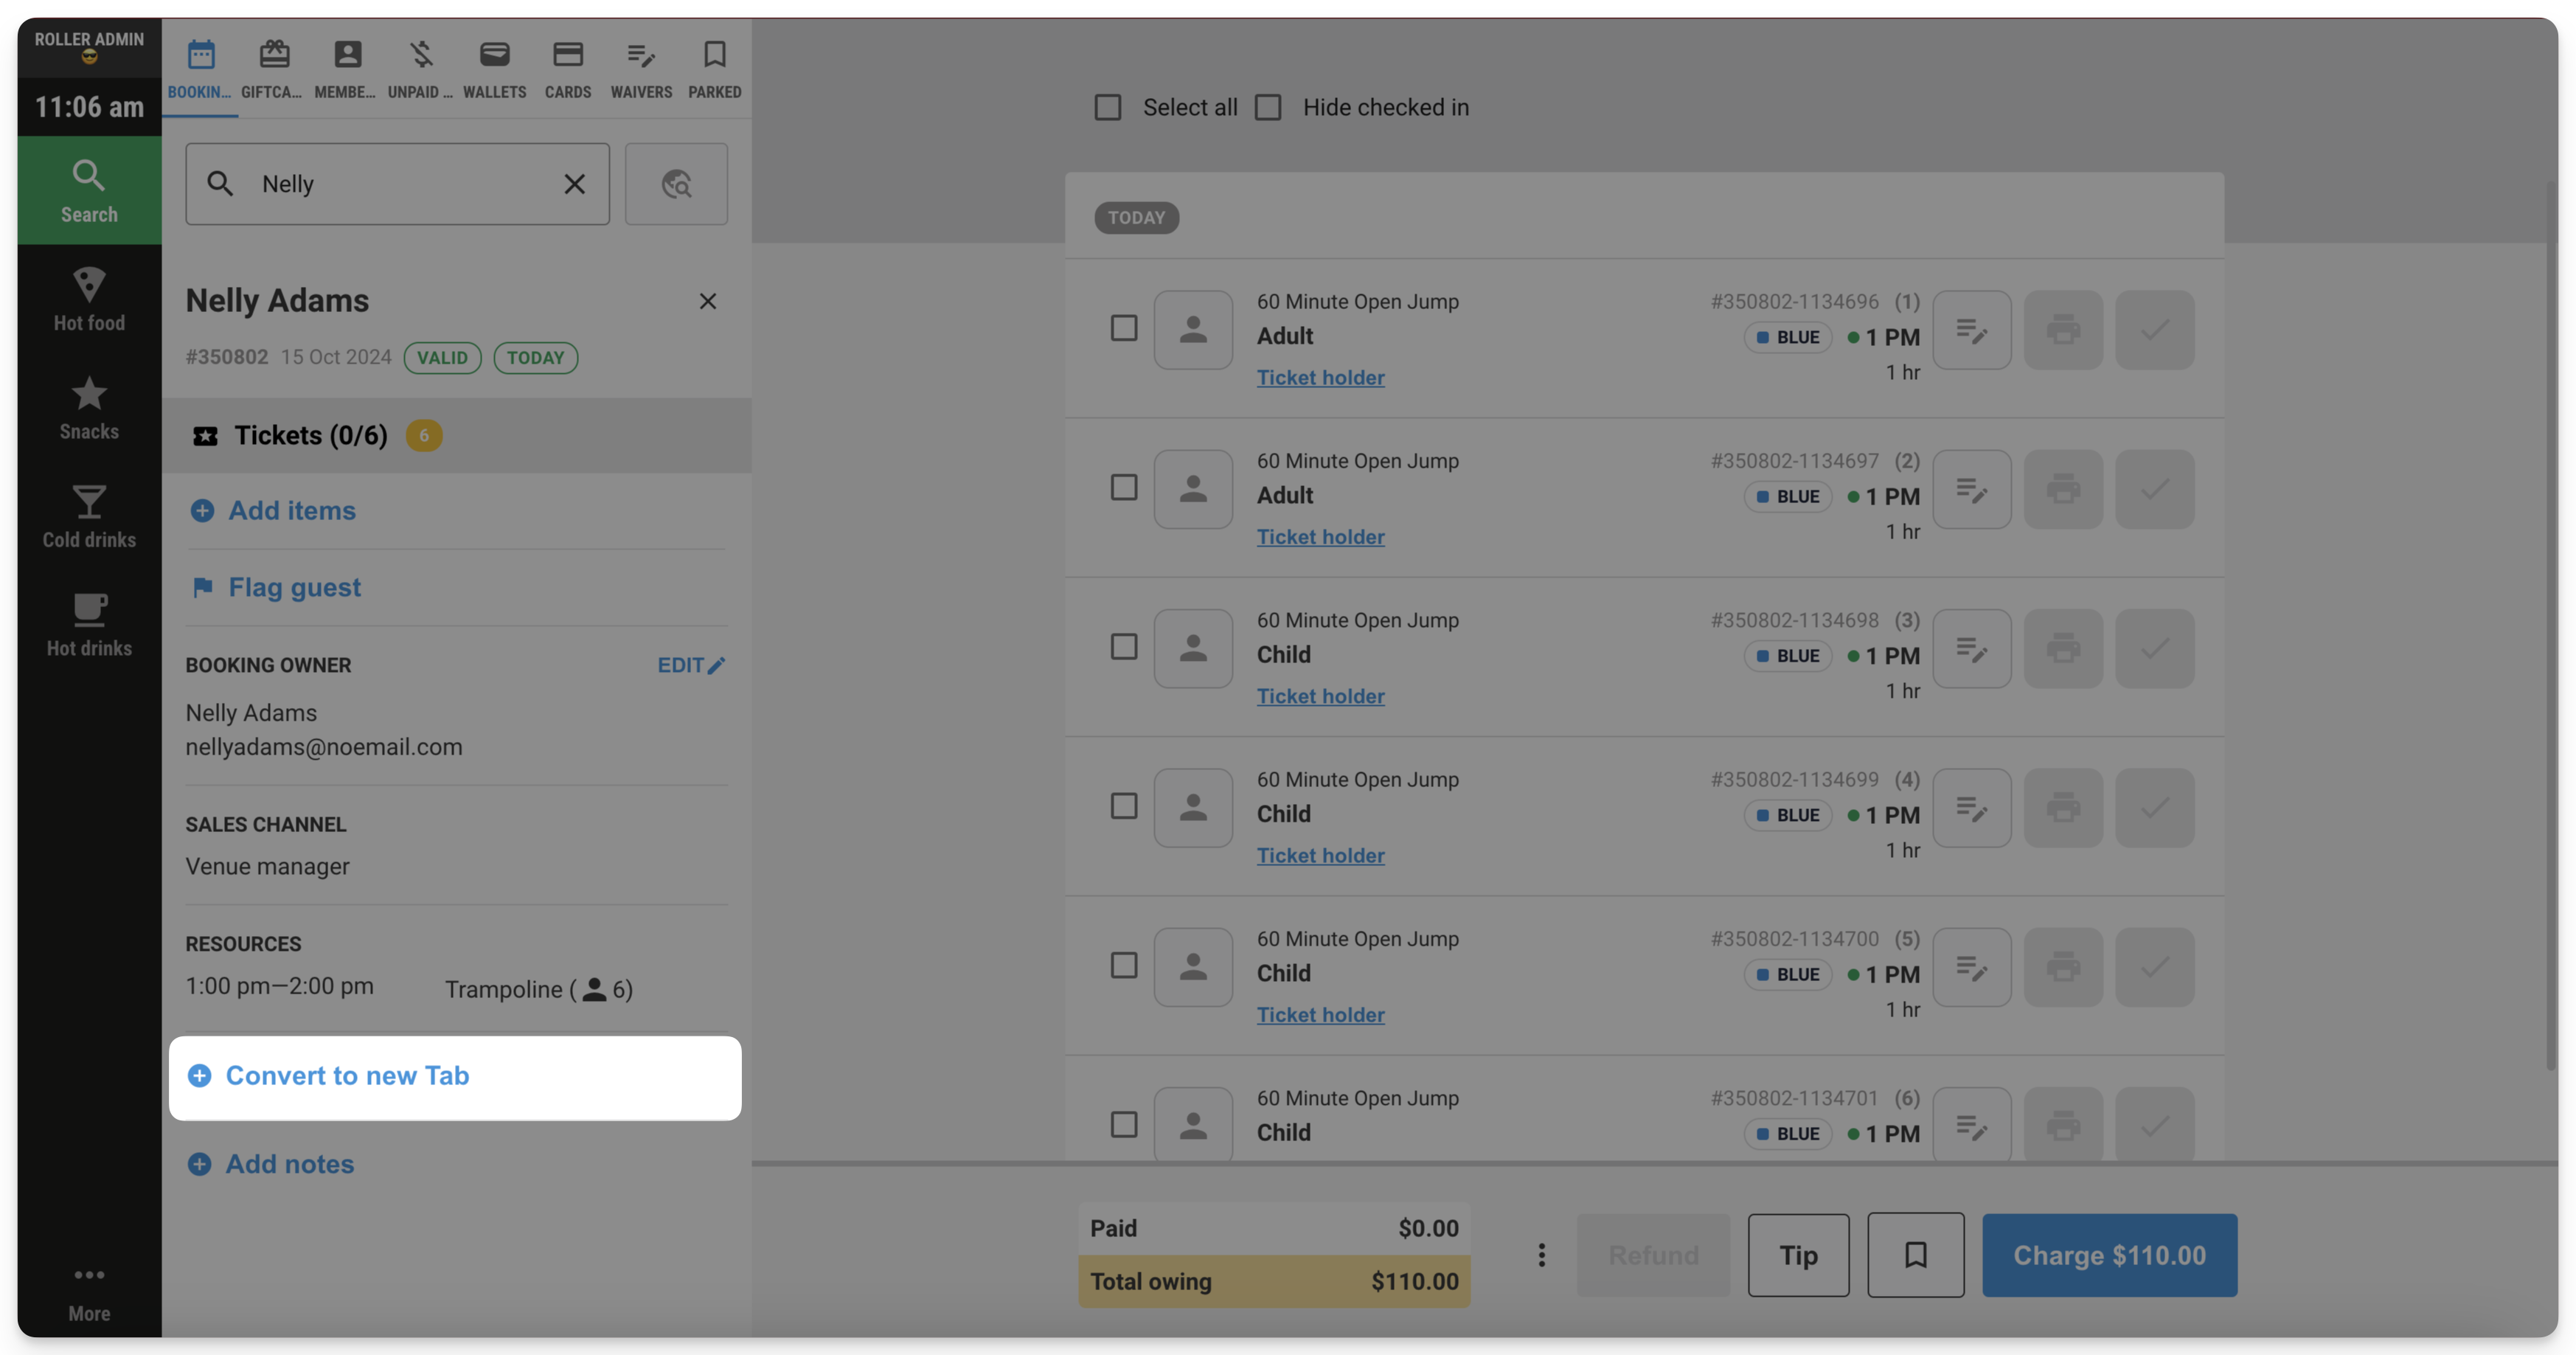
You can also create a new tab using an unpaid booking. Search for the booking at POS and then select Convert to new tab. Add in a Tab reference number and then Save.
You also have the option to add a card pre-authorization to a tab at POS. To learn how, read the guide Take card pre-authorization for tabs at POS.
Add to an existing tab
You can add more items to an existing tab in two different ways.
After adding items to the cart, select Add to tab.
Search for the Tab reference number or Guest name and select from the dropdown.
Then select Add to tab.
Or, select Search from the left-hand menu and then select Unpaid tabs.
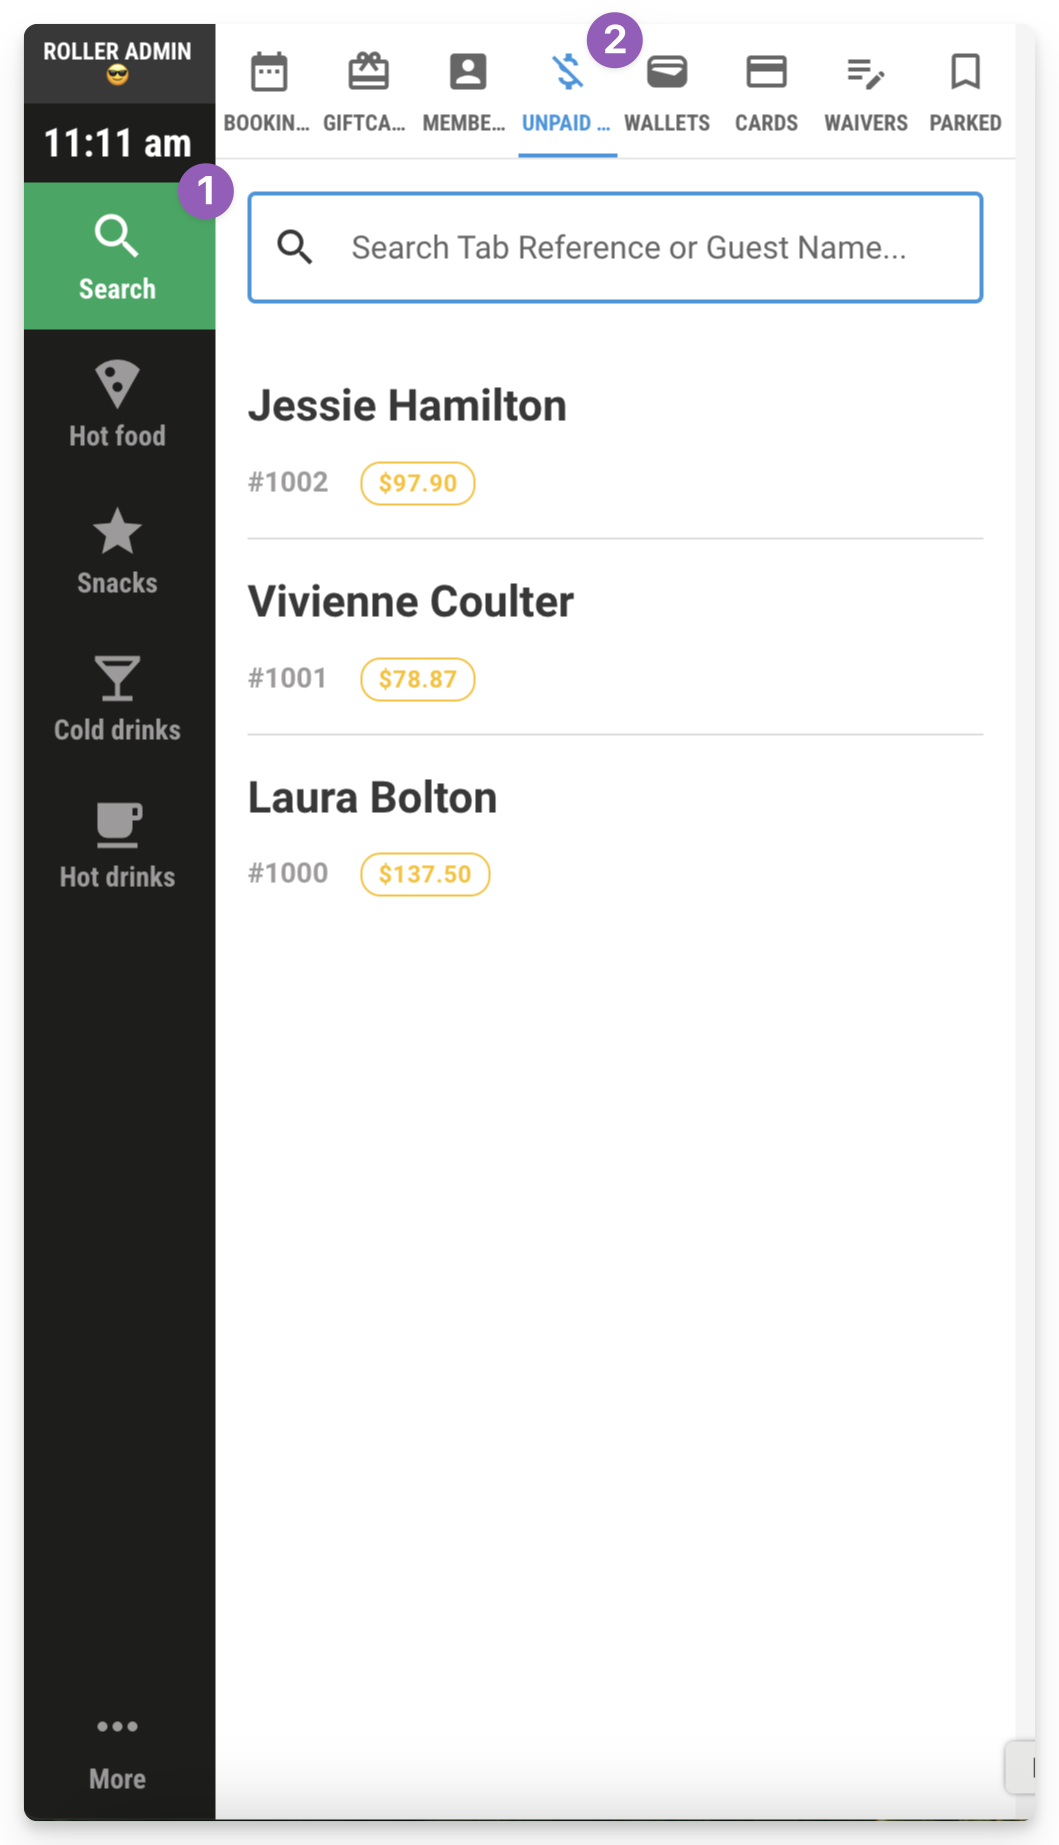
You can search for an existing tab using the Tab reference number or Guest name. Then select Add items to your POS menu and add more items to the tab.
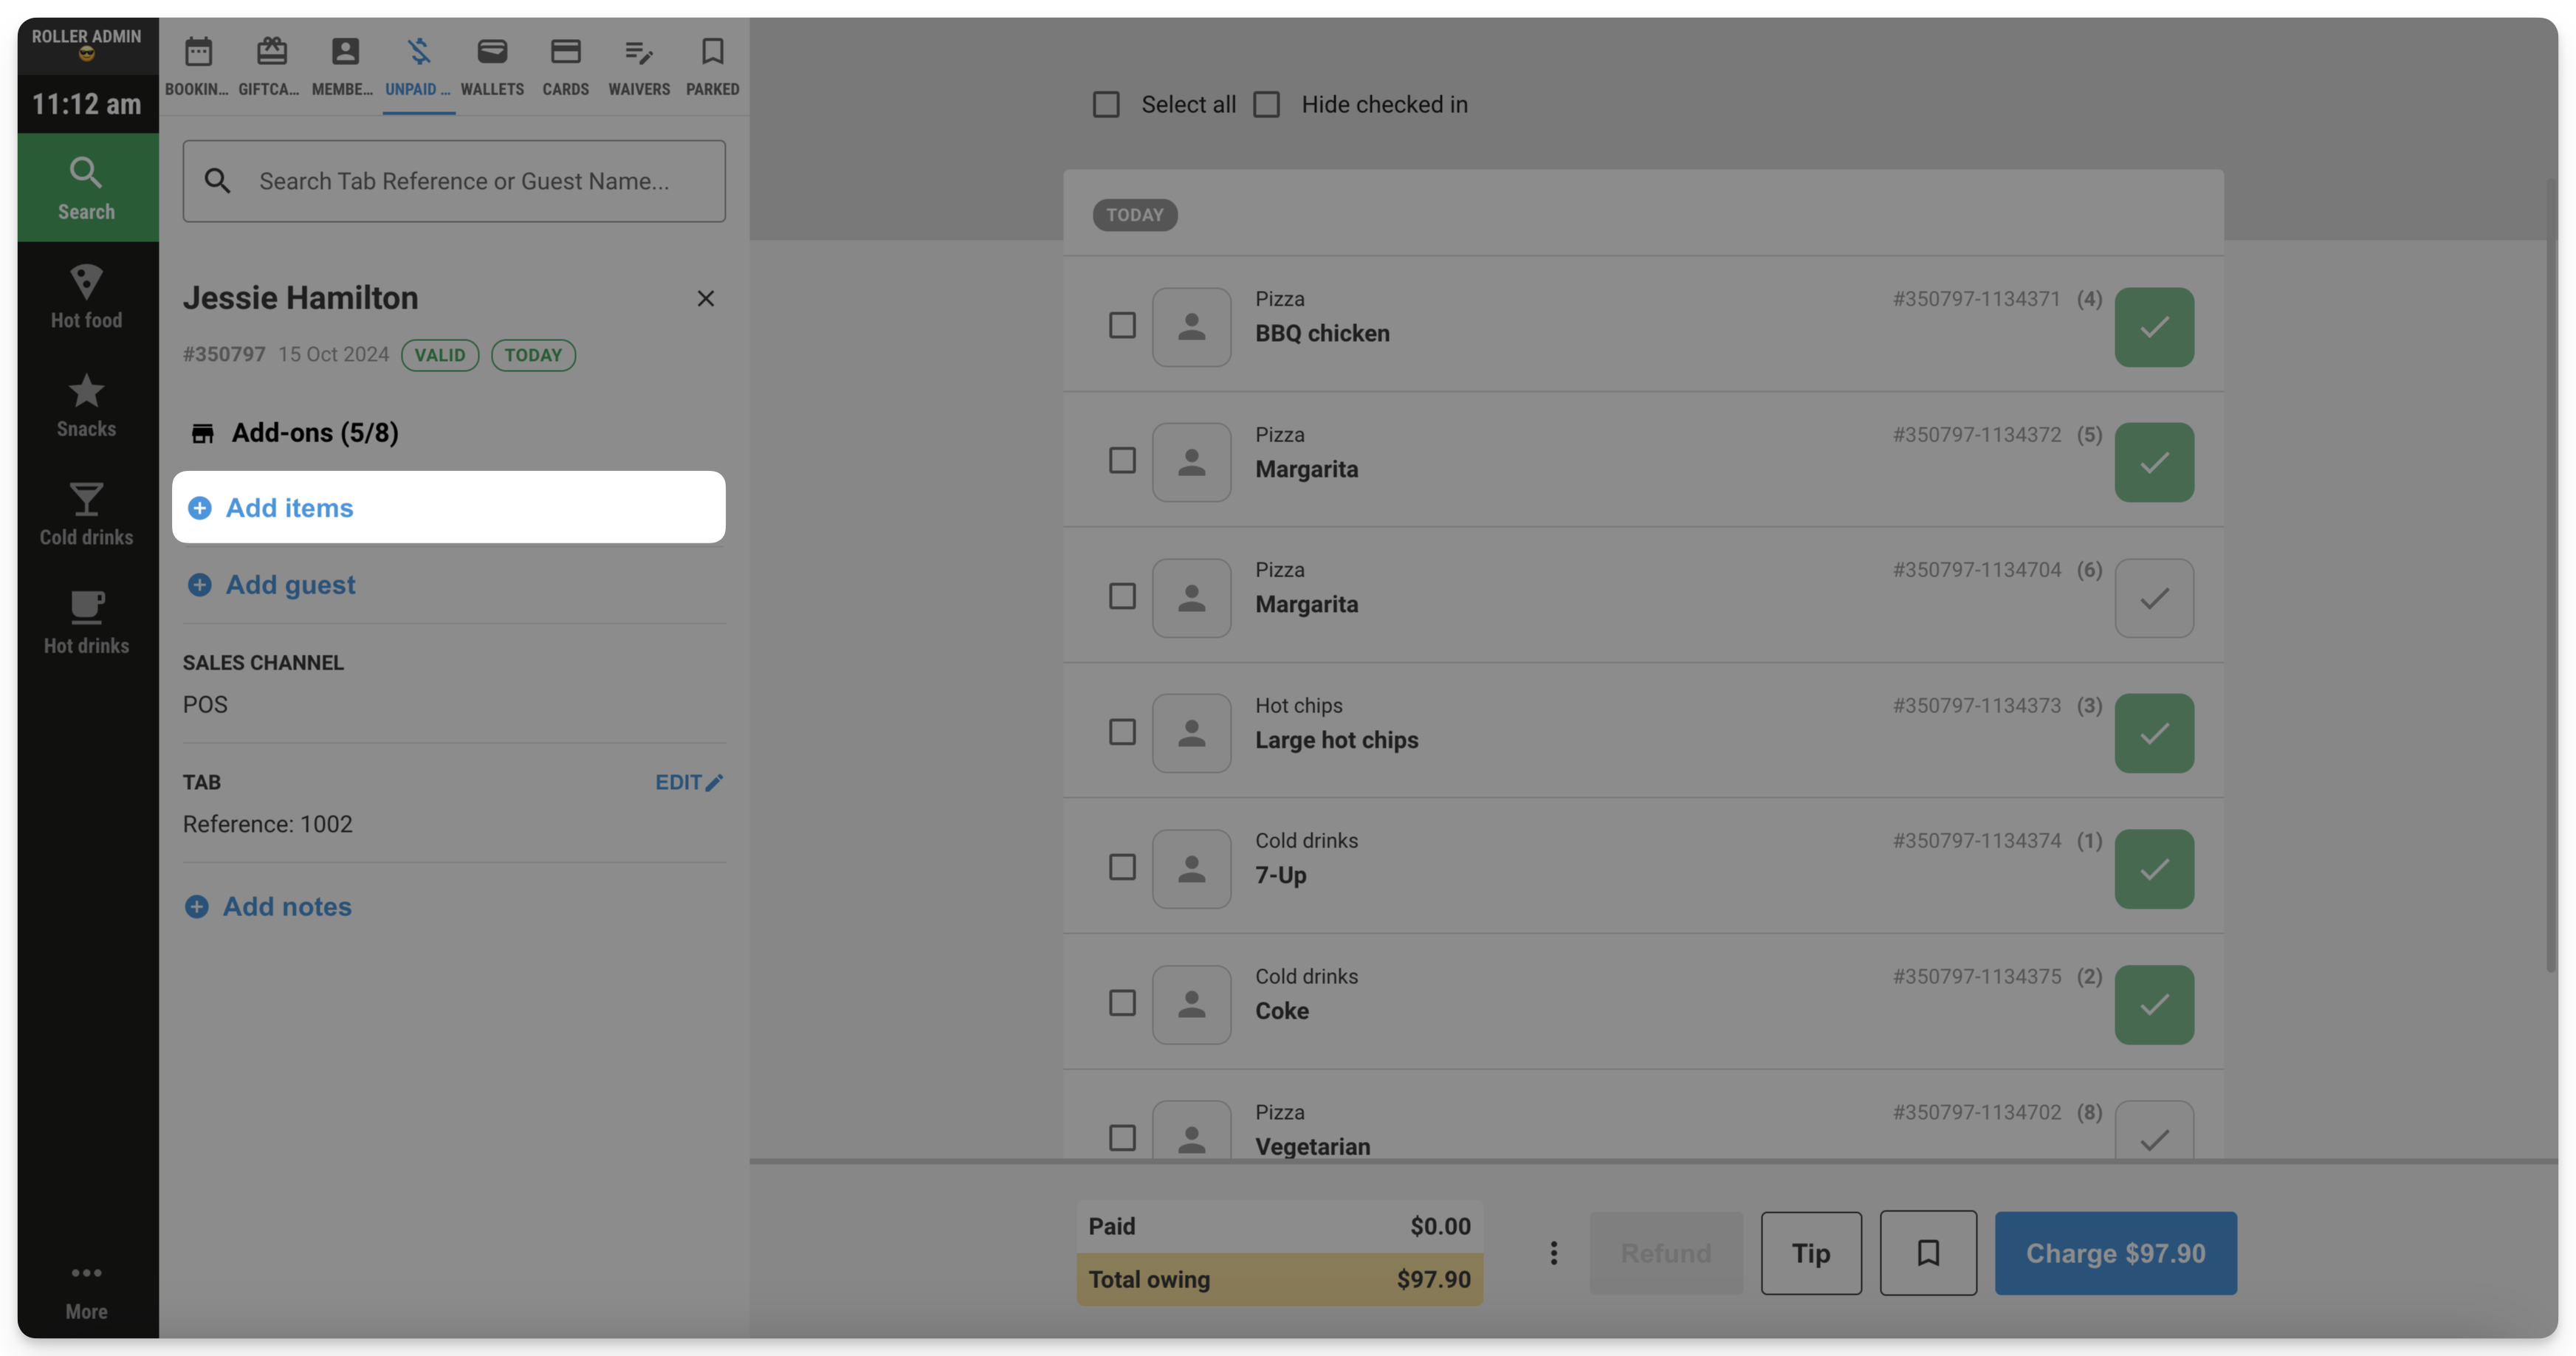
If your venue uses KDS, you can add items to a tab and send them through to your kitchen without having to process payment first. To learn more about KDS, read the guide Integrate with Fresh KDS and configure your devices.
Manage tabs
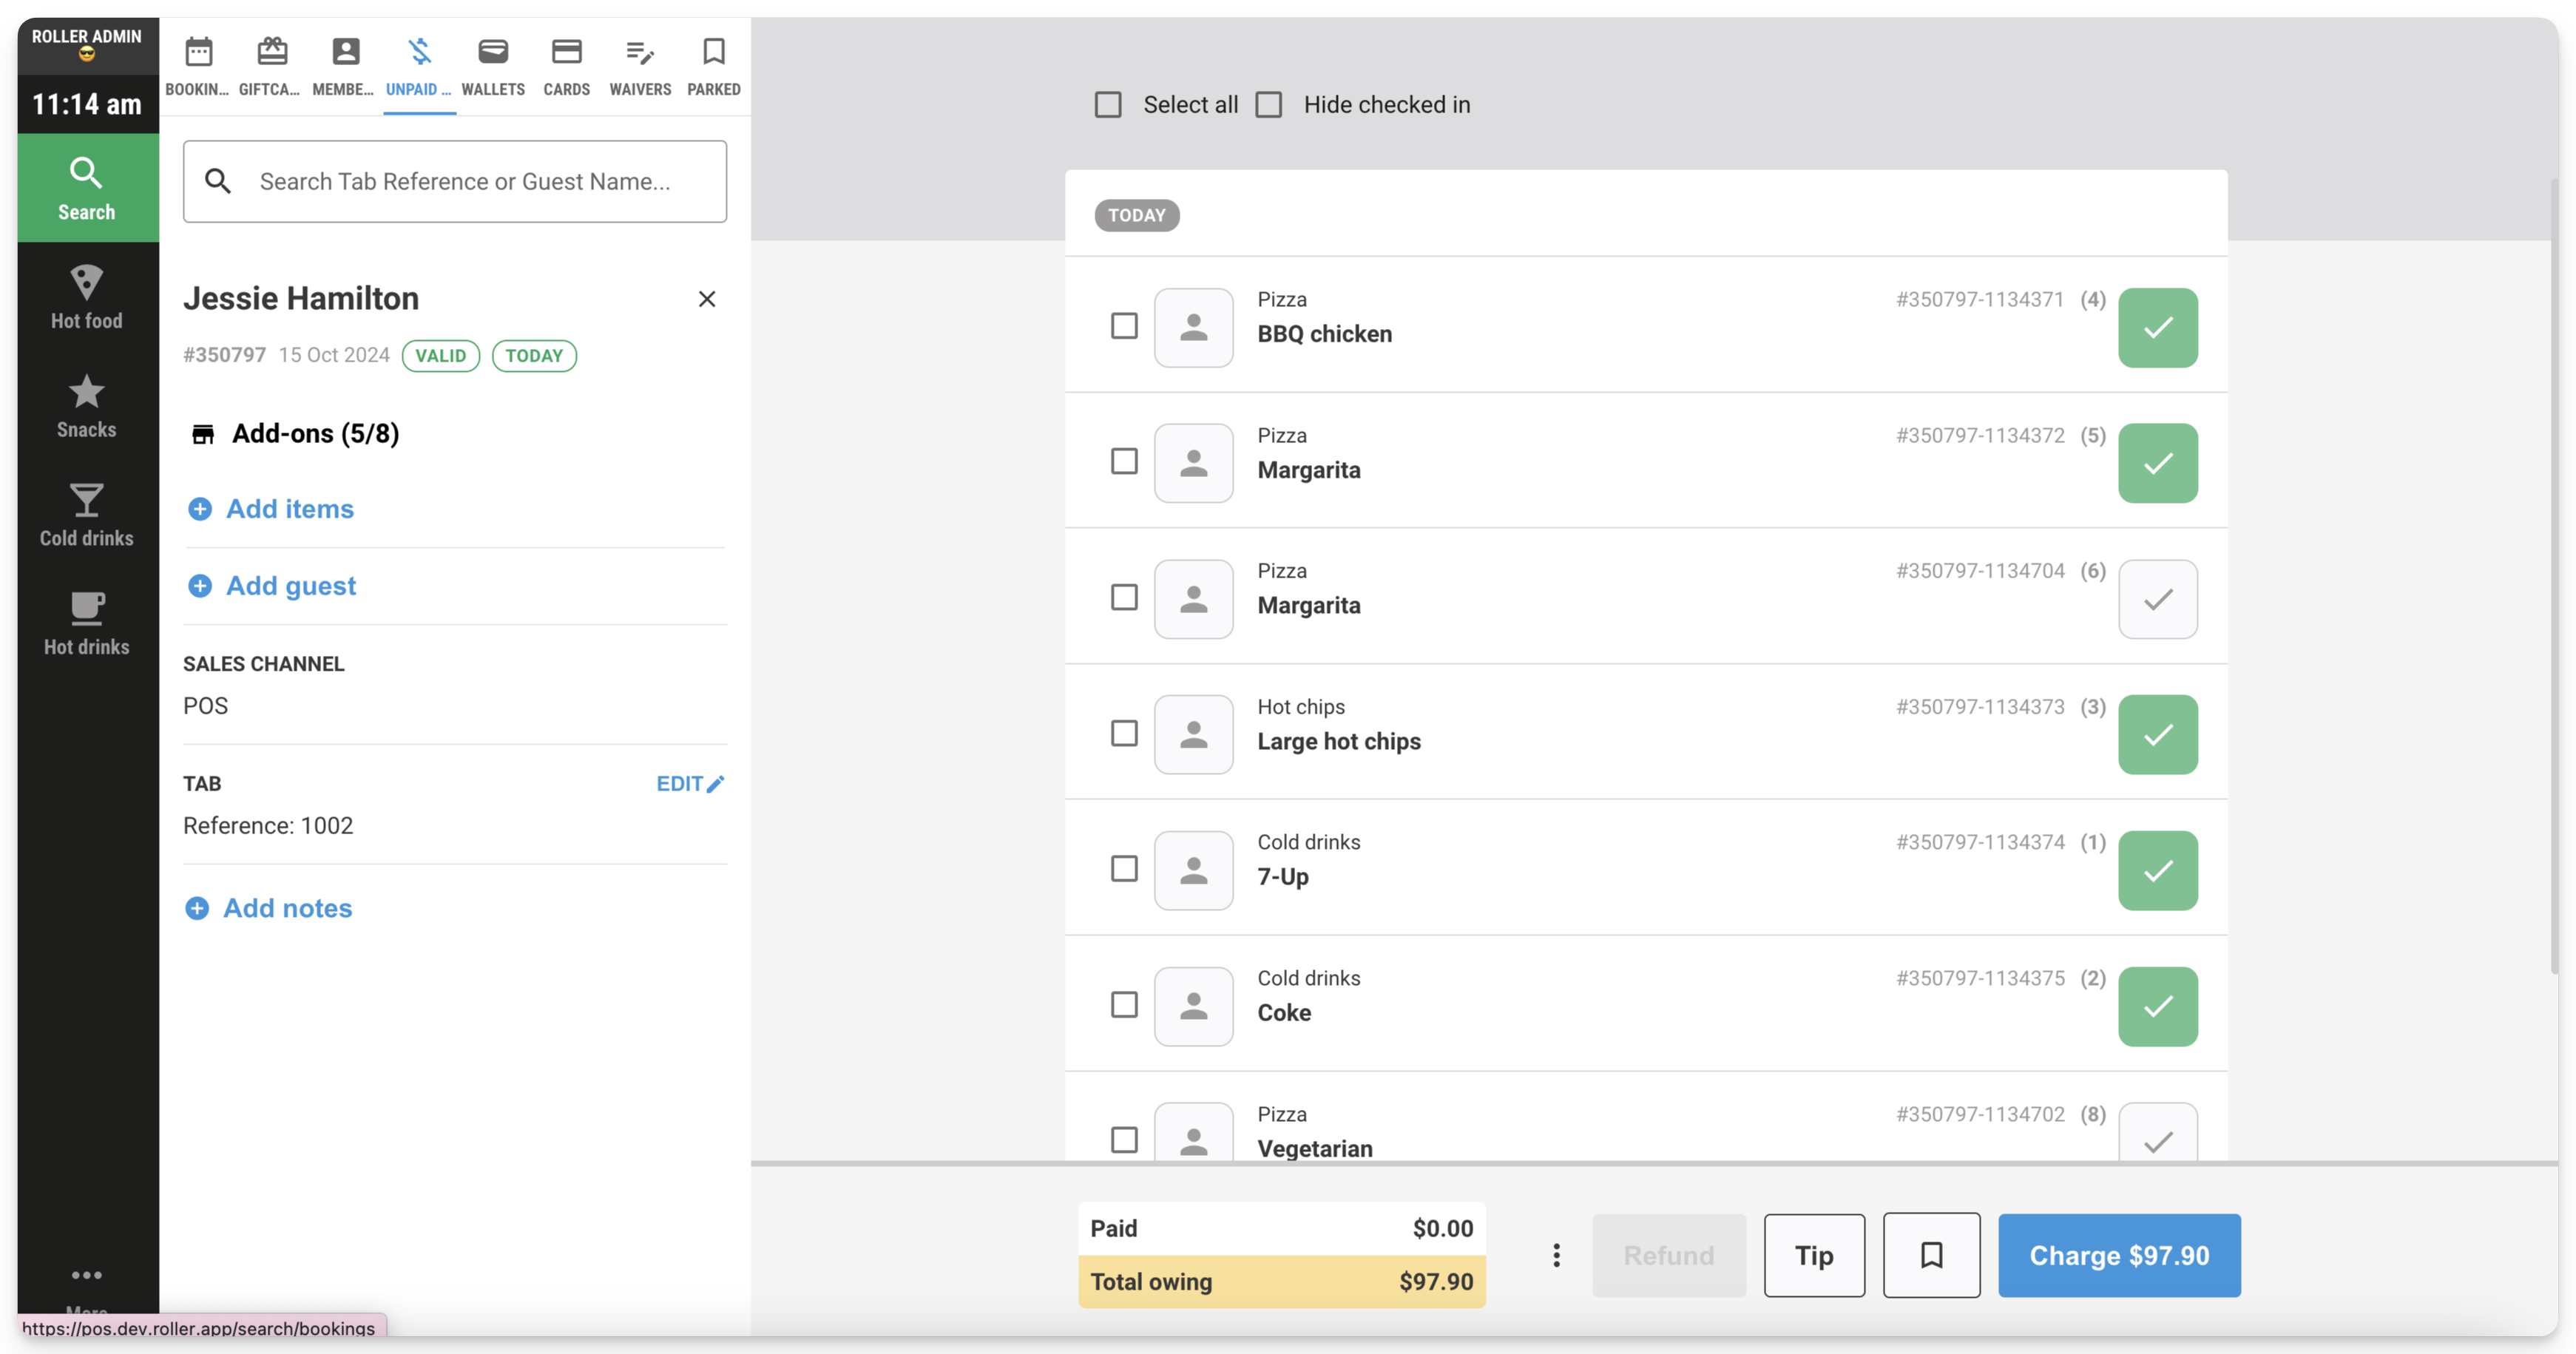
You can manage all unpaid tabs from POS by following the steps below.
From POS, select Search from the left-hand menu.
Go to Unpaid tabs and search for an existing tab using the Tab reference number or Guest name.
Once you open the tab, you can perform a number of actions like check-in tickets, add new items to the tab, update the tab reference number and add notes to the tab.
To take payment and close out the tab, select Charge at the bottom of the screen.
Upon a successful transaction, you have the option to print a receipt for the guest.
Create split tabs
Use split tabs to manage group payments. Create a new tab, and use the split tab view to create new tabs, move items between tabs and take payments for individual tabs:
From POS, add items to the cart.
Select Add to tab and choose an existing tab or select Create tab. Enter a tab reference or guest name.
Alternatively, open an existing booking with items added.
Select Split tabs to enter the split tab view.
Select Add new tab to create additional tabs in the split tab view.
Learn more
To learn more about creating and managing split tabs, see the guide Use split tabs in POS for managing group orders.
Pay a tab
Tabs will remain under Unpaid tabs until they have been paid in full.
To charge the guest the full amount, select Charge x amount at the bottom left of the POS screen.
You can also take split payments on unpaid tabs.
Learn more
To learn more, read the guide Take split payments at POS.
View tabs from Venue Manager
You can also see tabs in Venue Manager. Follow the steps below.
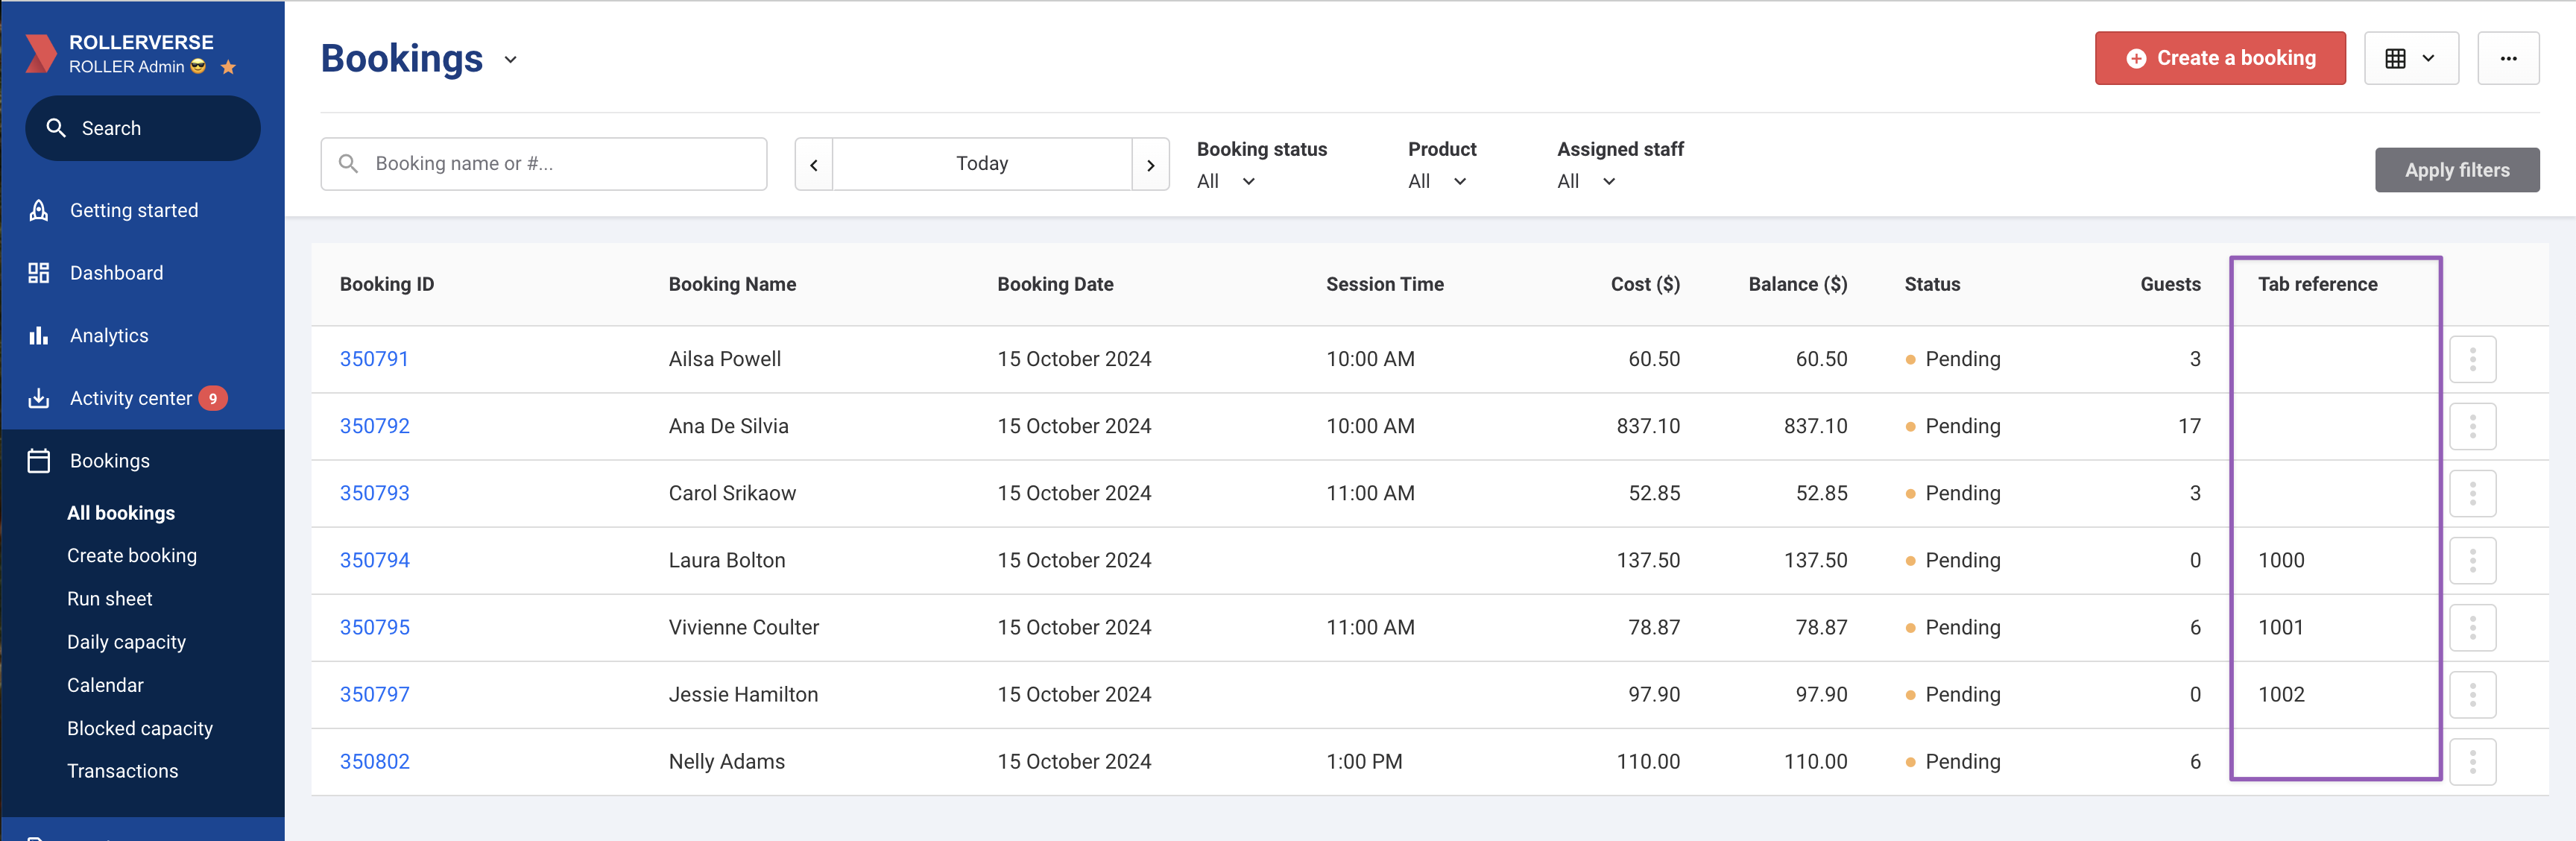
Go to Bookings > All bookings.
Right-select a column heading from the grid and then select Tab reference from the dropdown. This will add a new column that displays tab references associated with a booking.