When you change a membership’s price, a new membership product lets you move current members to the new price, not just guests who join later. If you change the price in the existing product, only new members pay it. Current members keep paying the price they joined on.
This guide shows you how to create the new product, swap it into your online checkouts and POS, then move your current members across.
Tell current members about the price change well before it takes effect (eg 30 days), and check your membership terms and conditions allow it. This keeps you in line with your terms and, for US-based venues, the FTC’s click-to-cancel rules.
The video follows the whole change, from creating the new product to upgrading a member at POS.
Create the new membership product
Start from a copy of your current membership so the new product keeps its benefits and settings, and only the price changes. Duplicate the membership, change the price in each variation, then save it.
Leave the booking agreement off in the new product unless members need to sign a new one. Each member has to sign it before you can finish their upgrade.
To learn how to duplicate a product, see the guide Create and manage products.
Swap the membership in your online checkouts
Once the new product is in your online checkouts, guests who join online pay the new price.
From Venue Manager, go to Apps > Progressive checkouts > All checkouts.
Select the checkout where guests can purchase your membership.
Select the Products tab.
Select Edit on the section card that holds the old membership.
Open the product selection, deselect the old membership and select the new one, then select Apply.
Select Apply again, then select Save.
Repeat this process for any other online checkouts offering the old membership.
If a homepage widget on the Basics tab links to the old membership, change it to the new one too.
Swap the membership in your POS templates
A POS template updates every POS device linked to it at once. Swap the membership there and staff sell the new price at every till.
From Venue Manager, go to Apps > Point of Sale > Templates.
Select the template that sells the membership.
Select the relevant menu.
Select Unlock to edit in the top-right corner. If the template is linked to devices, select Yes, edit template.
Turn on Enable tile edit mode to move or delete tiles.
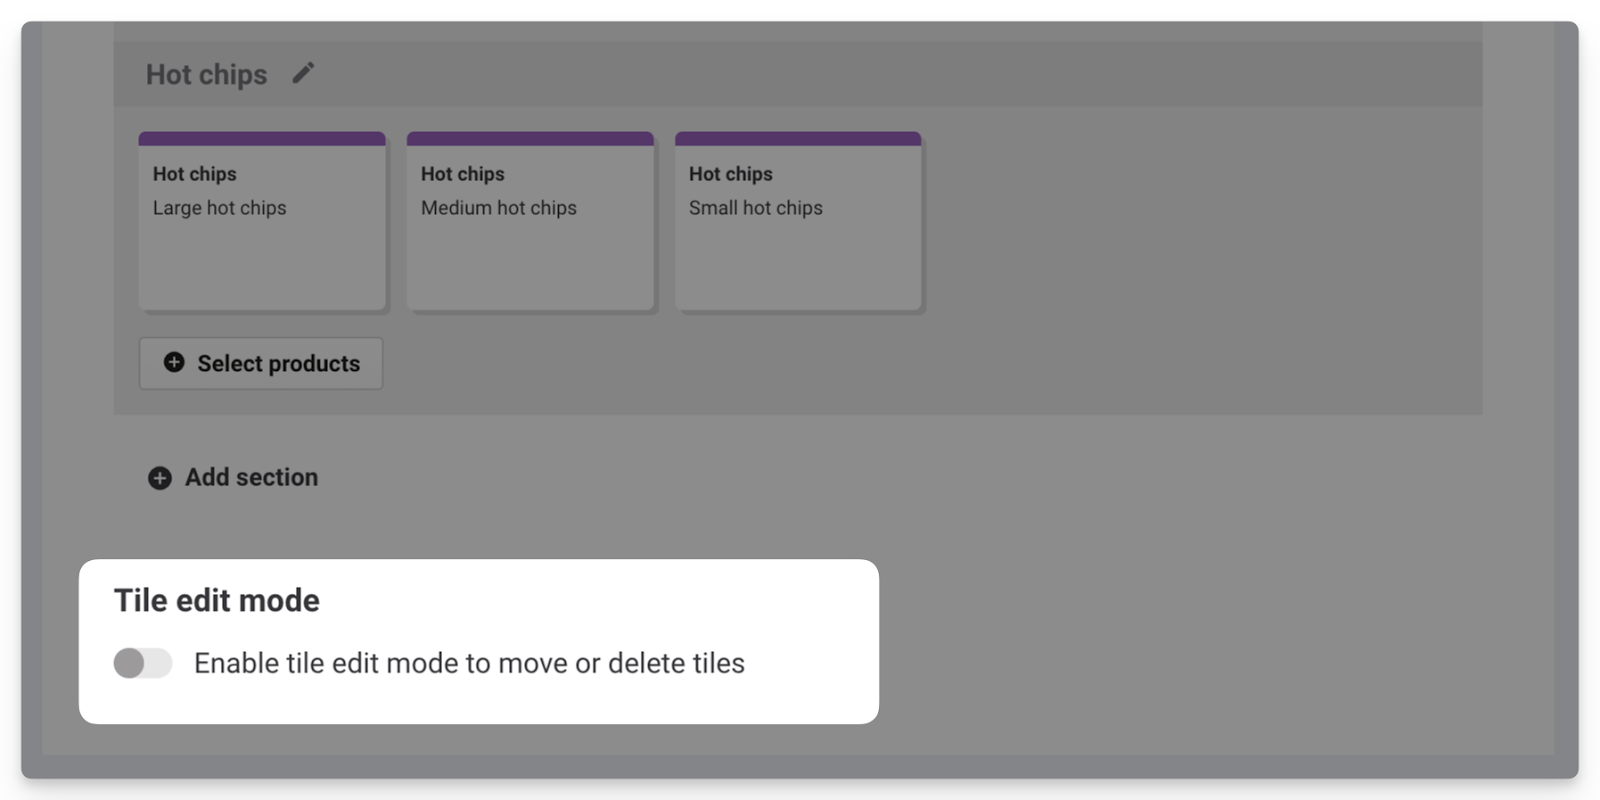
Select the tile for the old membership and then use the delete key on your keyboard.
Select Select products.
Select Specific products.
Select the Add products search bar and select the new membership.
Select Done.
Select Save.
Repeat this process for any other POS templates offering the old membership.
Move current members to the new price
Moving current members to the new product puts them on the new price without canceling and re-enrolling each one.
Find the members to move
The Members page lists every member of the old product, however long ago they joined.
From Venue Manager, go to Guests > Members.
In Product, select the old membership.
In Status, select Active.
To get the same list as a report you can download, use the Memberships report. Start the date range on or before the day your first member of the old product joined. Then select the old membership in Membership product and Active in Membership status.
Upgrade each member at POS
Find each member’s booking at POS, select Upgrade items and choose the new membership. ROLLER ends the old membership, charges or credits the difference and puts the new membership on a new booking.
Upgrade items doesn’t show for group memberships. Upgrading memberships at POS is available on the Pro plan and above.
To learn how, see the guide Upgrade and downgrade memberships at POS.