Get discovered where travelers research and book things to do. Visitors rely on Viator, GetYourGuide, Klook, Tiqets and other online travel agents (OTAs) to plan their trips, often before they've heard of your venue.
Each OTA reads your sessions and availability live from ROLLER. Change a session in ROLLER and every OTA shows it, and a booking made anywhere comes off the same availability, so the same spot can’t sell twice. You set the price each OTA sells at in ROLLER, product by product.
Use this guide to decide whether OTAs suit your venue, choose which ones to connect and get more from them once you're selling. To connect one, see the guide Set up and connect OTAs.
Advanced Channel Management add-on
To connect to Online Travel Agents (OTAs), you need the Advanced Channel Management add-on. It covers every OTA available in ROLLER. You pay a small percentage of your OTA booking revenue, billed monthly after the bookings happen, so there’s nothing to pay up front.
If you're an account owner contact, you can add it yourself. From Venue Manager, go to Settings > Channel management > Online Travel Agents and select Add now. Review the cost and terms, then select Agree and add.
Why sell on OTAs
OTAs bring you out-of-town visitors your own website might not reach.
Reach new guests. Your tickets show on the platforms visitors already trust to research and book. A Viator listing also shows on Tripadvisor.
Keep everything in ROLLER. Your prices and availability stay in ROLLER, every booking comes into Venue Manager and OTA sales show in your channel partner reports.
Stay in control. You choose which OTAs to switch on, which tickets each one sells and what it charges. Your reports show which OTAs deliver the most value, so you know where to focus.
You can connect one OTA or several.
To compare OTAs with Google Things to do and the reseller portal, see the guide Reach more guests with channel management.
What to check before you connect
Check these before you set up any products. Each one changes how you set them up or how your team handles OTA bookings.
Cost: Each OTA booking carries two separate fees. ROLLER charges a percentage of the booking's value for the Advanced Channel Management add-on. It's added to your monthly ROLLER invoice after the booking happens. The OTA keeps its own commission before it pays you. There are no extra API charges.
Payment: Guests pay the OTA, and the OTA pays you. For each OTA, you set a sale price and a revenue price. The revenue price is what you expect back after the OTA's commission.
Products: OTAs can only sell session passes and standard passes, priced with tax included. Price rules don't apply to OTA prices.
Availability: Changes can take up to an hour to show on an OTA. A guest still can't book a time that's no longer available in ROLLER.
Booking changes: The OTA manages refunds and date changes. In ROLLER you can still cancel an OTA booking, add POS notes and edit the booking holder's guest record and each ticket's details (eg the name or photo). OTAs can cancel a booking up to 1 hour before it starts. An OTA's own cancellation policy for guests sits on top (eg Viator's).
Switching systems: Most OTAs won't connect to two booking systems at once. If you already sell on an OTA through another system (eg Rezdy), the OTA moves your connection to ROLLER. Allow 3 to 5 business days.
HQ venues: You can create your session passes and standard passes at HQ. Then, in each managed venue, add the Advanced Channel Management add-on, activate the OTA and turn on Sell for it in each variation. HQ doesn't support OTA connections yet.
Choose which OTAs to connect to
Each OTA reaches a different kind of traveler. Start with the ones your guests already use to plan their trips.
OTA | Where your tickets sell | Learn more |
|---|---|---|
Tiqets | Museums, attractions and experiences | |
GetYourGuide | Tours and activities worldwide | |
Viator (and Tripadvisor) | Tours and activities. One listing reaches guests on both Viator and Tripadvisor | |
Klook | Attractions and tours, with a focus on Asia-Pacific | |
Trip.com | Attraction tickets, tours and local experiences on its website and app | |
Headout | Attractions, museums, tours and live entertainment |
To see every channel management partner, visit the ROLLER integration partner directory.
Connect your first OTA
Start with the Advanced Channel Management add-on. You don’t start paying until OTA bookings come in, so you can add it while you wait for your OTA supplier account.
From Venue Manager, go to Settings > Channel management > Online Travel Agents and select Add now. Review the cost and terms, then select Agree and add.
Only an account owner contact for your venue can agree to the add-on’s terms and add it. If you're not one, ask one to add it. The permissions required to connect an OTA and set up its products are Can access external service settings, Can create products and Can edit products. The administrator role has all three enabled by default. The manager role has the two product permissions by default.
You set up your products once. Each OTA you add after the first only needs turning on in the variations you've already set up.
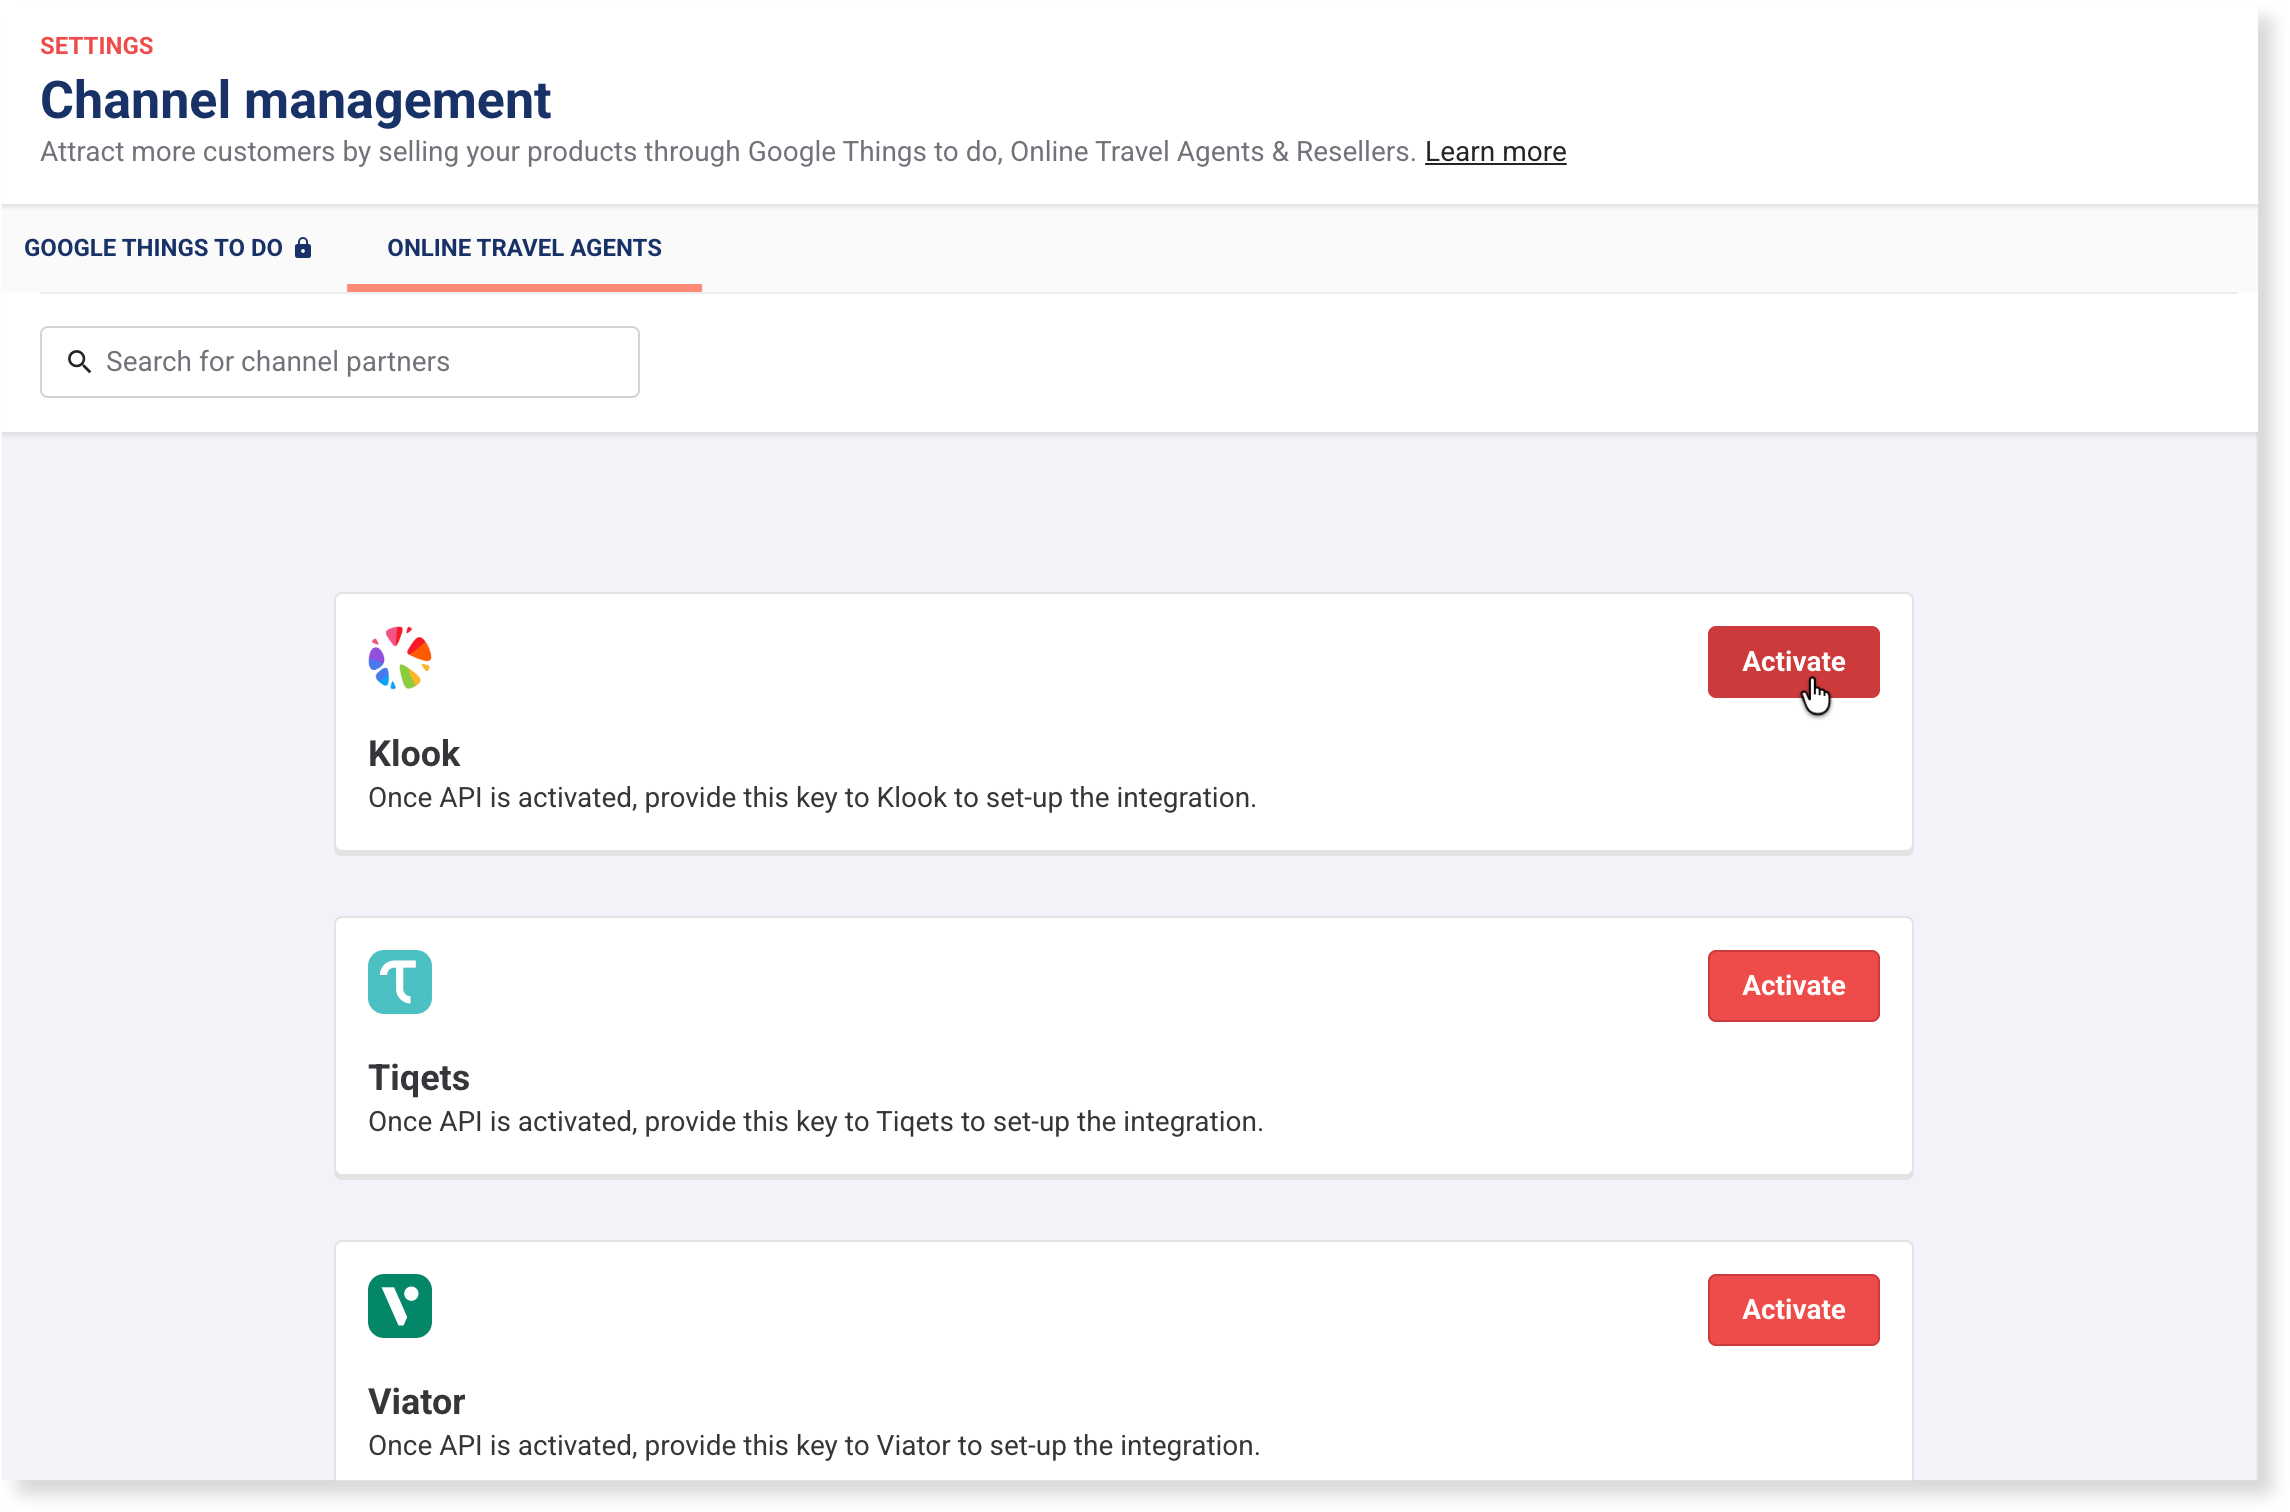
Then, for each OTA, you'll:
Activate the OTA in Venue Manager.
Create your products for OTA sales.
Turn on Sell for the OTA in each variation, with its prices and a Reseller Type (the ticket category the OTA lists it under, eg Adult or Child).
Send the OTA what it needs to map your products. You'll need your supplier account for this step.
Make a test booking, or check the first real one.
For the steps, including how to add another OTA or product later, see the guide Set up and connect OTAs.
Get more from your OTA connections
Small choices in ROLLER decide what an OTA can show and sell. These tips apply to every OTA. For tips for one OTA, open its page from Choose which OTAs to connect to in this guide.
Give OTAs their own product. A separate product lets you set OTA prices without changing what guests buy in your own checkout. Each product keeps its own prices, images and descriptions, so update both when something changes.
Hold back part of your capacity. For a session pass, add a resource that caps what OTAs can sell, alongside your main venue resource. The rest stays for your own checkout. See Cap how much of your capacity OTAs can sell in the guide Set up and connect OTAs.
Keep your sessions scheduled ahead. Only sessions in a schedule show on an OTA. A gap in your schedule shows as dates travelers can't book.
Use the same details everywhere. Give each OTA the same business and contact details you use in ROLLER. The OTA uses them to match your venue when it maps your products.
Check each payout. Total Receivables in the channel partner reports shows what you expect each OTA to pay you. To learn how, see the guide Report on and reconcile OTA bookings.
FAQs
What's the difference between a reseller and an OTA?
A reseller is a business you have your own agreement with. It books for its guests in your reseller portal. An OTA is an online marketplace where guests find and book your tickets themselves, and the OTA pays you. To set up resellers, see the guide Get started with the reseller portal.
Can I sell the same product through an OTA and to resellers?
You can, but separate products work better. OTA products need tax-inclusive pricing and their own sale and revenue prices, and reseller products use a reseller price rule.
Is Google Things to do an OTA?
No. Guests find your tickets on Google, then book and pay in your own online checkout. Google takes no commission, and you don't need the Advanced Channel Management add-on. It's free with ROLLER Payments.
For questions once you're selling (eg how to stop selling a product, why a session isn't showing on an OTA and how to cancel an OTA booking), see the guide OTA FAQs.