Adding a waiver kiosk to your business can streamline entries, especially during busy times, leading to less congestion, time savings for your front-line staff, and an enhanced guest experience.
Add-on feature
Protect your venue against liability and improve the guest experience with digital waivers. To unlock the waivers add-on, contact your customer success manager or the support team.
Customize waiver kiosk settings
When you use a waiver kiosk, your existing waiver is transformed into a user-friendly format for kiosk use.
To customize your waiver kiosk settings, follow these steps:
From Venue Manager, go to Apps > Waiver Kiosk > Settings > Unlock to make changes.
[Optional] Select the option Skip asking guests if they have a booking if you want to skip the page during the waiver signing flow that asks the guest if they have a booking.
Enter a Welcome message (up to 75 characters)
[Optional] Optionally, upload a custom background image for your waiver kiosk. You can choose to tile or stretch the background image.
Override logo: You can use the default logo set up in Settings > Design > Brand and appearance, or enable this option to upload a different logo.
By default, the logo and color palette for waiver kiosks are determined by your configuration in Settings > Design > Brand & Appearance. Explore the guide Add your brand logos and colors for details.
Log in to the kiosk so guests can use it
Using tablets or a standalone device, a staff member with either administrator or manager access to ROLLER must first log in to the waiver kiosk URL for each device so that guests can use it.
From Venue Manager, go to Apps > Waiver Kiosk > Launch Waiver Kiosk to log in.
Bookmark this link on each waiver kiosk station. If you'd like to set up an alternative language station, refer to the guide Create dedicated language waiver kiosks
After logging in, guests can use the waiver kiosk as required.
Logins are valid for 7 days. After 7 days, you'll need to log in again.
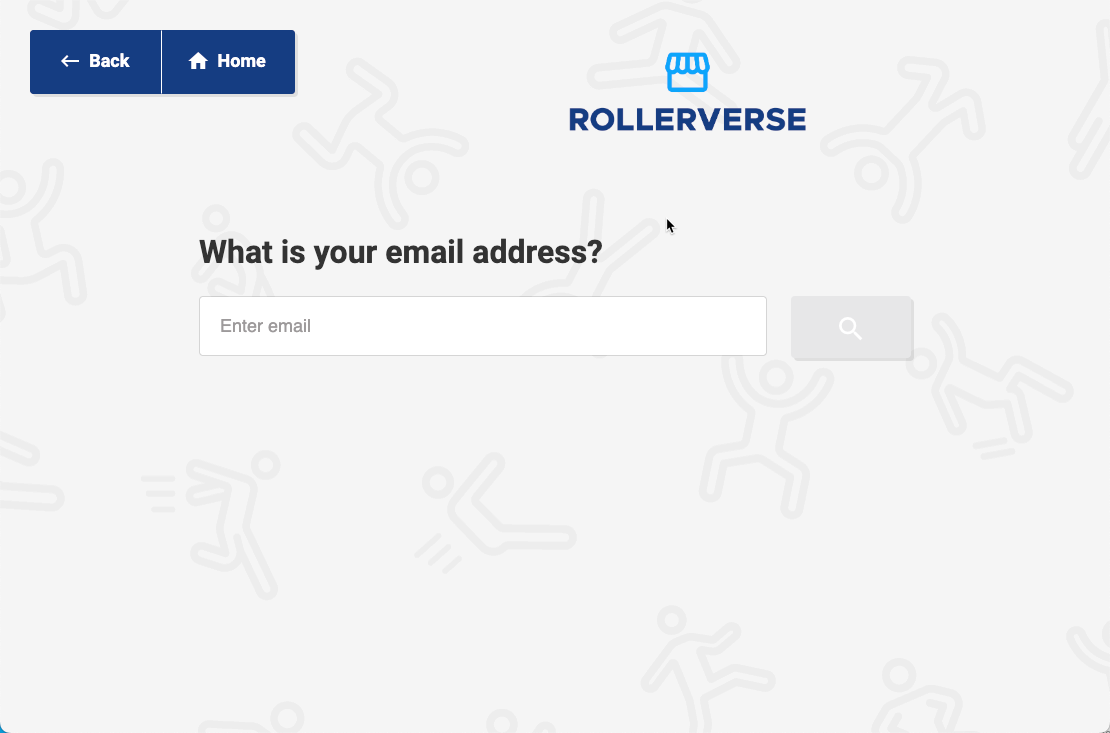
For instructions on setting up Google Chrome and securing your waiver kiosk to keep guests from navigating away, refer to the guide Set up and lock down a waiver kiosk.