The ROLLER Campaign Monitor integration allows venues to push guest segments created in ROLLER to Campaign Monitor.
This guide provides an introduction to creating lists in Campaign Monitor, linking these to segments in your ROLLER account, and how to sync guest segments from ROLLER to Campaign Monitor.
Pro feature
Increase engagement with guest email marketing campaigns and automated workflows by leveraging unique guest data. To unlock the Campaign Monitor integration with a Pro plan or above, contact your customer success manager or the support team to upgrade.
Getting started
From Venue Manager, go to Settings > Integrations.
Under Campaign Monitor enter the API Key and Client ID.
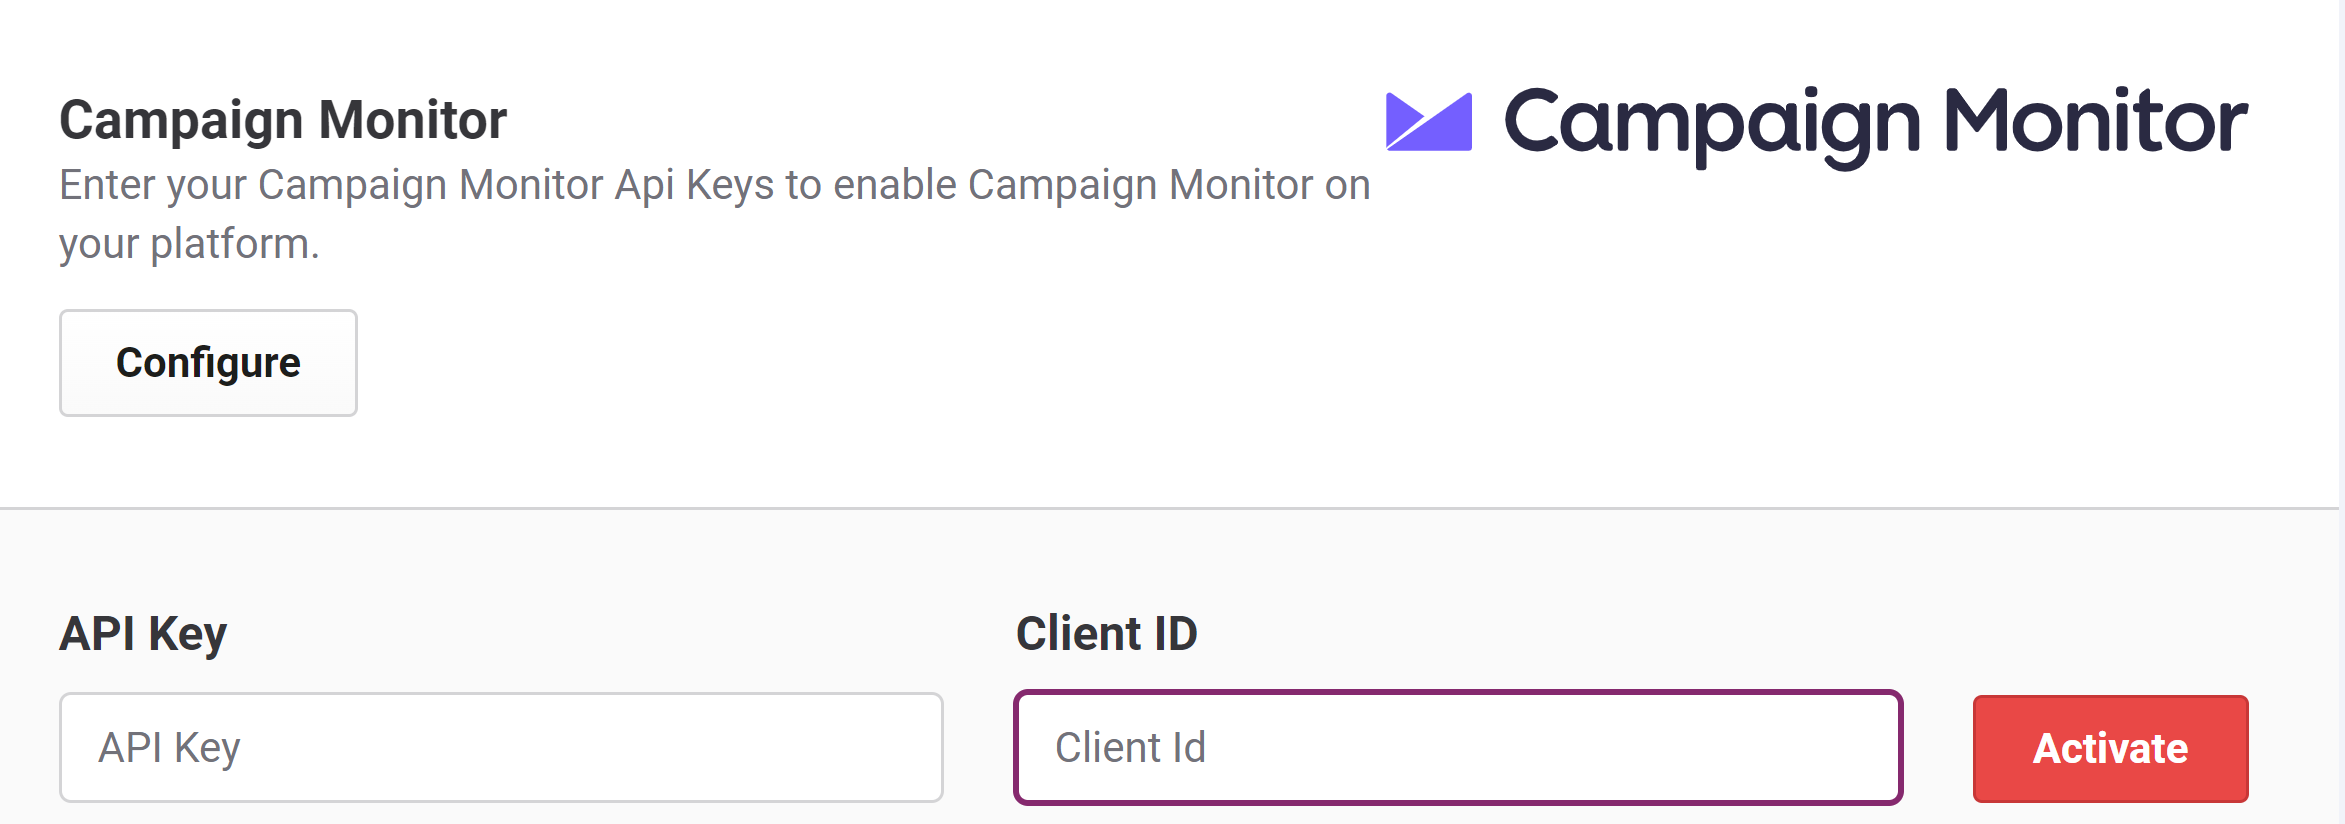
Follow these Campaign Monitor instructions to find your API Key and Client ID.
Create a list in Campaign Monitor
The ROLLER Campaign Monitor integration sends through the guest's name and email address to the lists you create in Campaign Monitor. You also have the ability to push additional guest data from ROLLER to your guests using custom fields.
Log in to your Campaign Monitor account.
Select the List & Subscribers tab.
Select the Create a list button.
Give the list a name, then select Save & Close.
Add custom fields
Select Custom fields.
Choose from the list of custom data fields below and include the data type as specified. You only need to add the custom fields if you plan on using that data for email campaigns.
Custom fields and data types
Here is a list of data fields you can push from ROLLER to Campaign Monitor and their corresponding data type:
ROLLER field name | Data type |
|---|---|
Booking Date | Date |
Last Visit Date | Date |
Date of Birth | Date |
Postcode | Text |
Booking Status | Text |
Booking Value | Number |
Booking ID | Number |
Total Spend | Number |
Average Spend | Number |
Each custom field will now display under Your existing fields.
From here you have the following options for Campaign Monitor subscriber preference forms:
Check Visible to make the field visible on subscriber preference forms you may be using for Campaign Monitor.
Check Required if you want to make this field mandatory on subscriber preference forms.
Select and drag the tab to move the position of the fields.
Hover over the fields to reveal the delete icon.
Link your Campaign Monitor list to a ROLLER Segment
Make sure you've already created a segment.
From Venue Manager, go to Guests > Segmentation > Segments.
Find the segment you're looking to link to Campaign Monitor.
Select the options menu (3 dots) for the segment, then select Edit.
Scroll down to the Campaign Monitor integration.
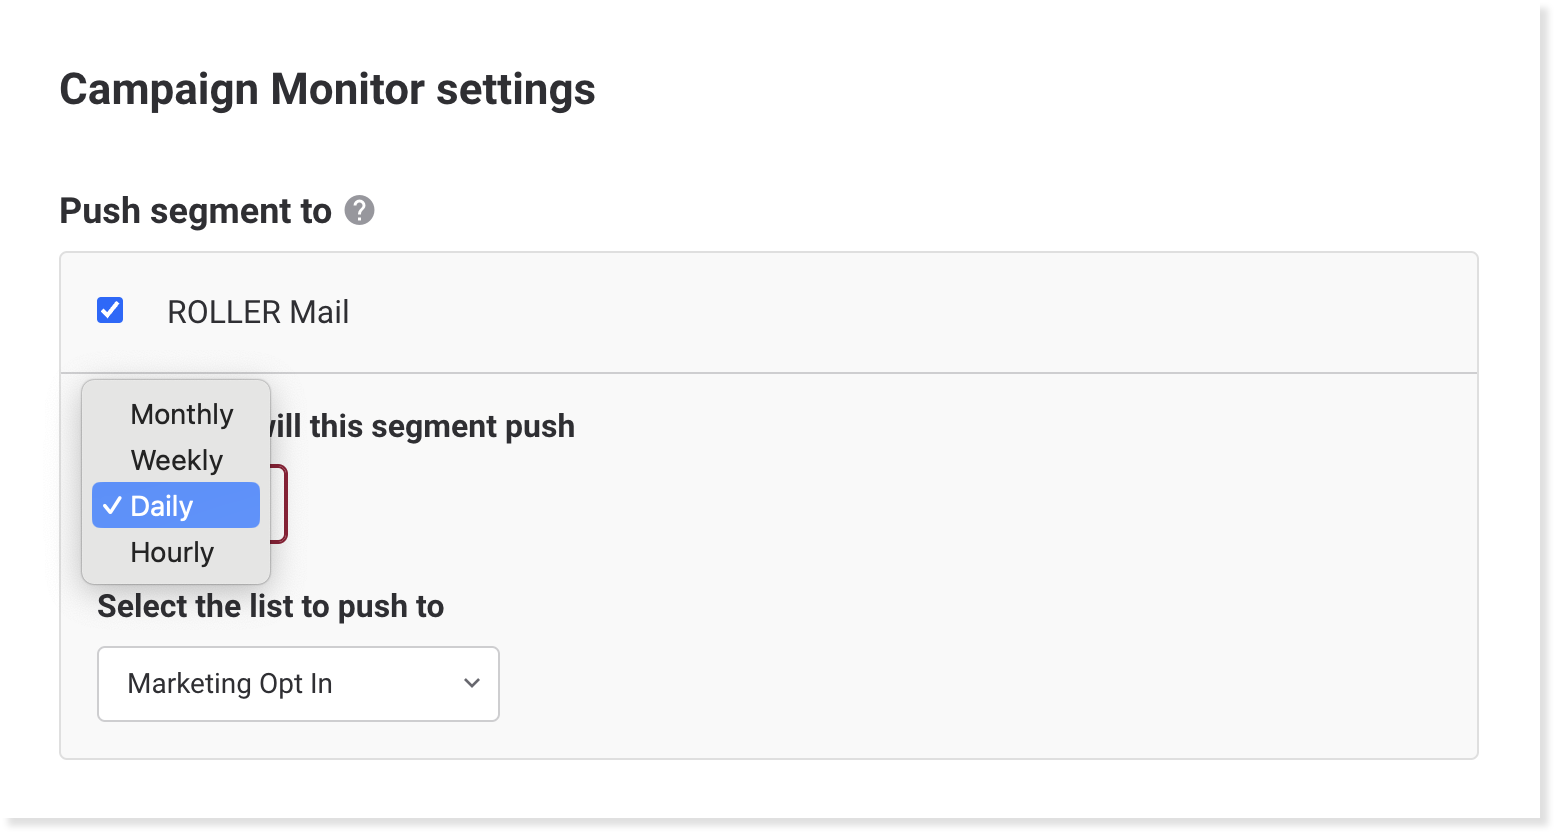
Check Campaign Monitor settings.
Choose how often you want ROLLER to push data from this segment to Campaign Monitor.
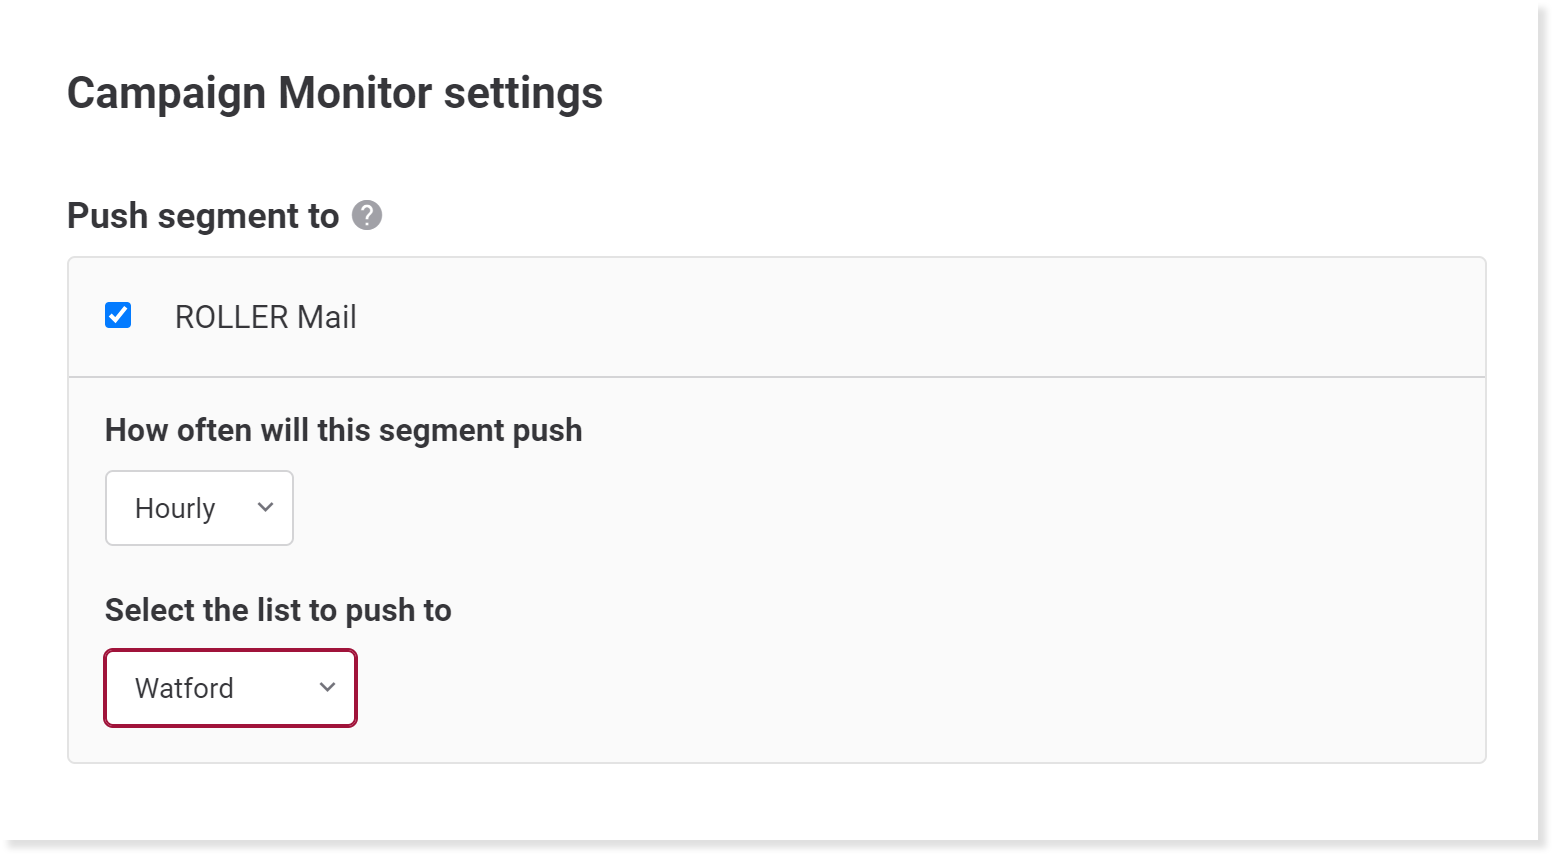
Select which Campaign Monitor list you want to push the segment to.
Map the Campaign Monitor (ROLLER Mail) fields with the associated ROLLER fields.
Only fields that were added as custom fields during the step Create a list in Campaign Monitor will display. You can also only add certain ROLLER fields (see above).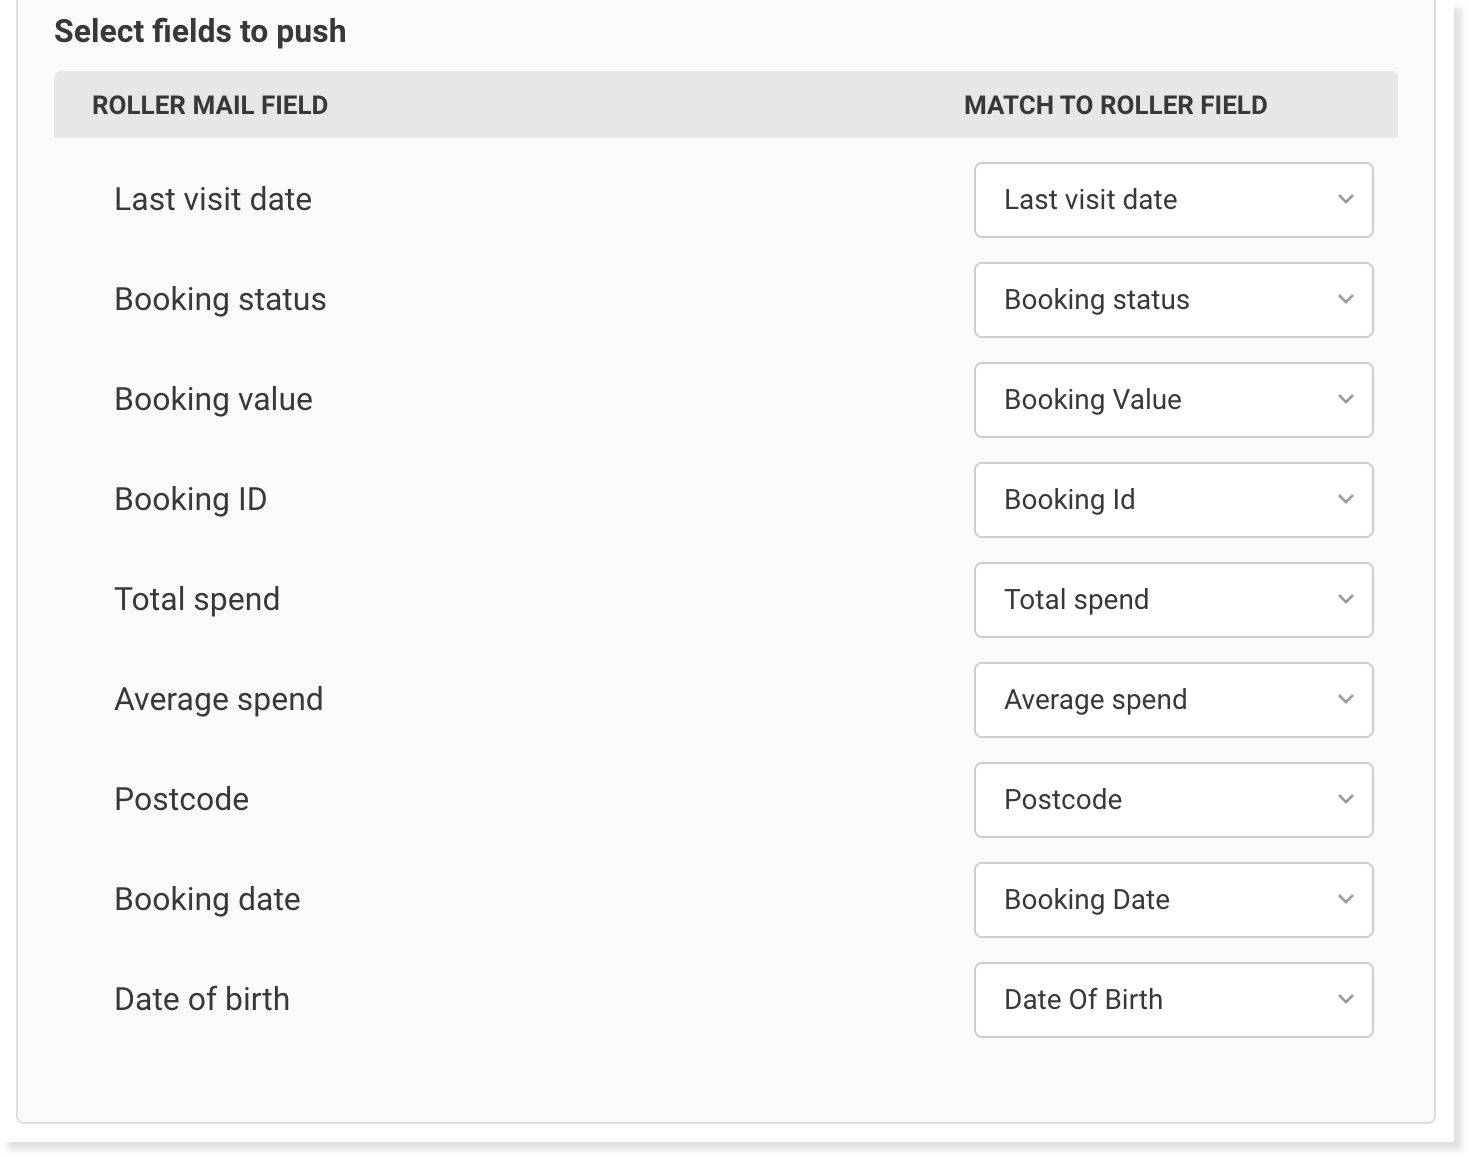
Once complete, select Save.
How to manually sync your segments to Campaign Monitor
Go to Guests > Segmentation > Segments.
Find the segment you want sync.
Select the options menu (3 dots).
Select Sync all integrations.