Use the All bookings view in Venue Manager to view, search for, create and export bookings. This guide covers managing upcoming bookings using filters like date, booking status and product. You can then export booking data, including any form data attached to the products booked, as a CSV file to help plan operations, such as preparing resources and food for upcoming parties.
The permission Can view bookings is required for staff members to view booking details. Administrator, manager and booking agent system roles automatically have this permission enabled and any custom roles based on these roles.
Access the bookings grid
From Venue Manager, go to Bookings > All bookings.
Filter and customize views
You can filter data based on the following:
Search | Search for specific bookings based on the Booking Name or ID. |
Date | Limit the results displayed based on specific dates or a date range the booking is scheduled to take place. |
Booking status | The results displayed will be limited based on the following booking status(es): Reserved, Pending, Complimentary, Partially Paid, Fully Paid, Canceled, and Venue Draft. |
Product | Select specific product(s) to see upcoming bookings for these product(s), such as party packages. |
Assigned staff | Select to filter results by any staff assigned to the booking such as party hosts. |
Once you have made selections, select Apply filters to update the bookings grid.
Adjust columns
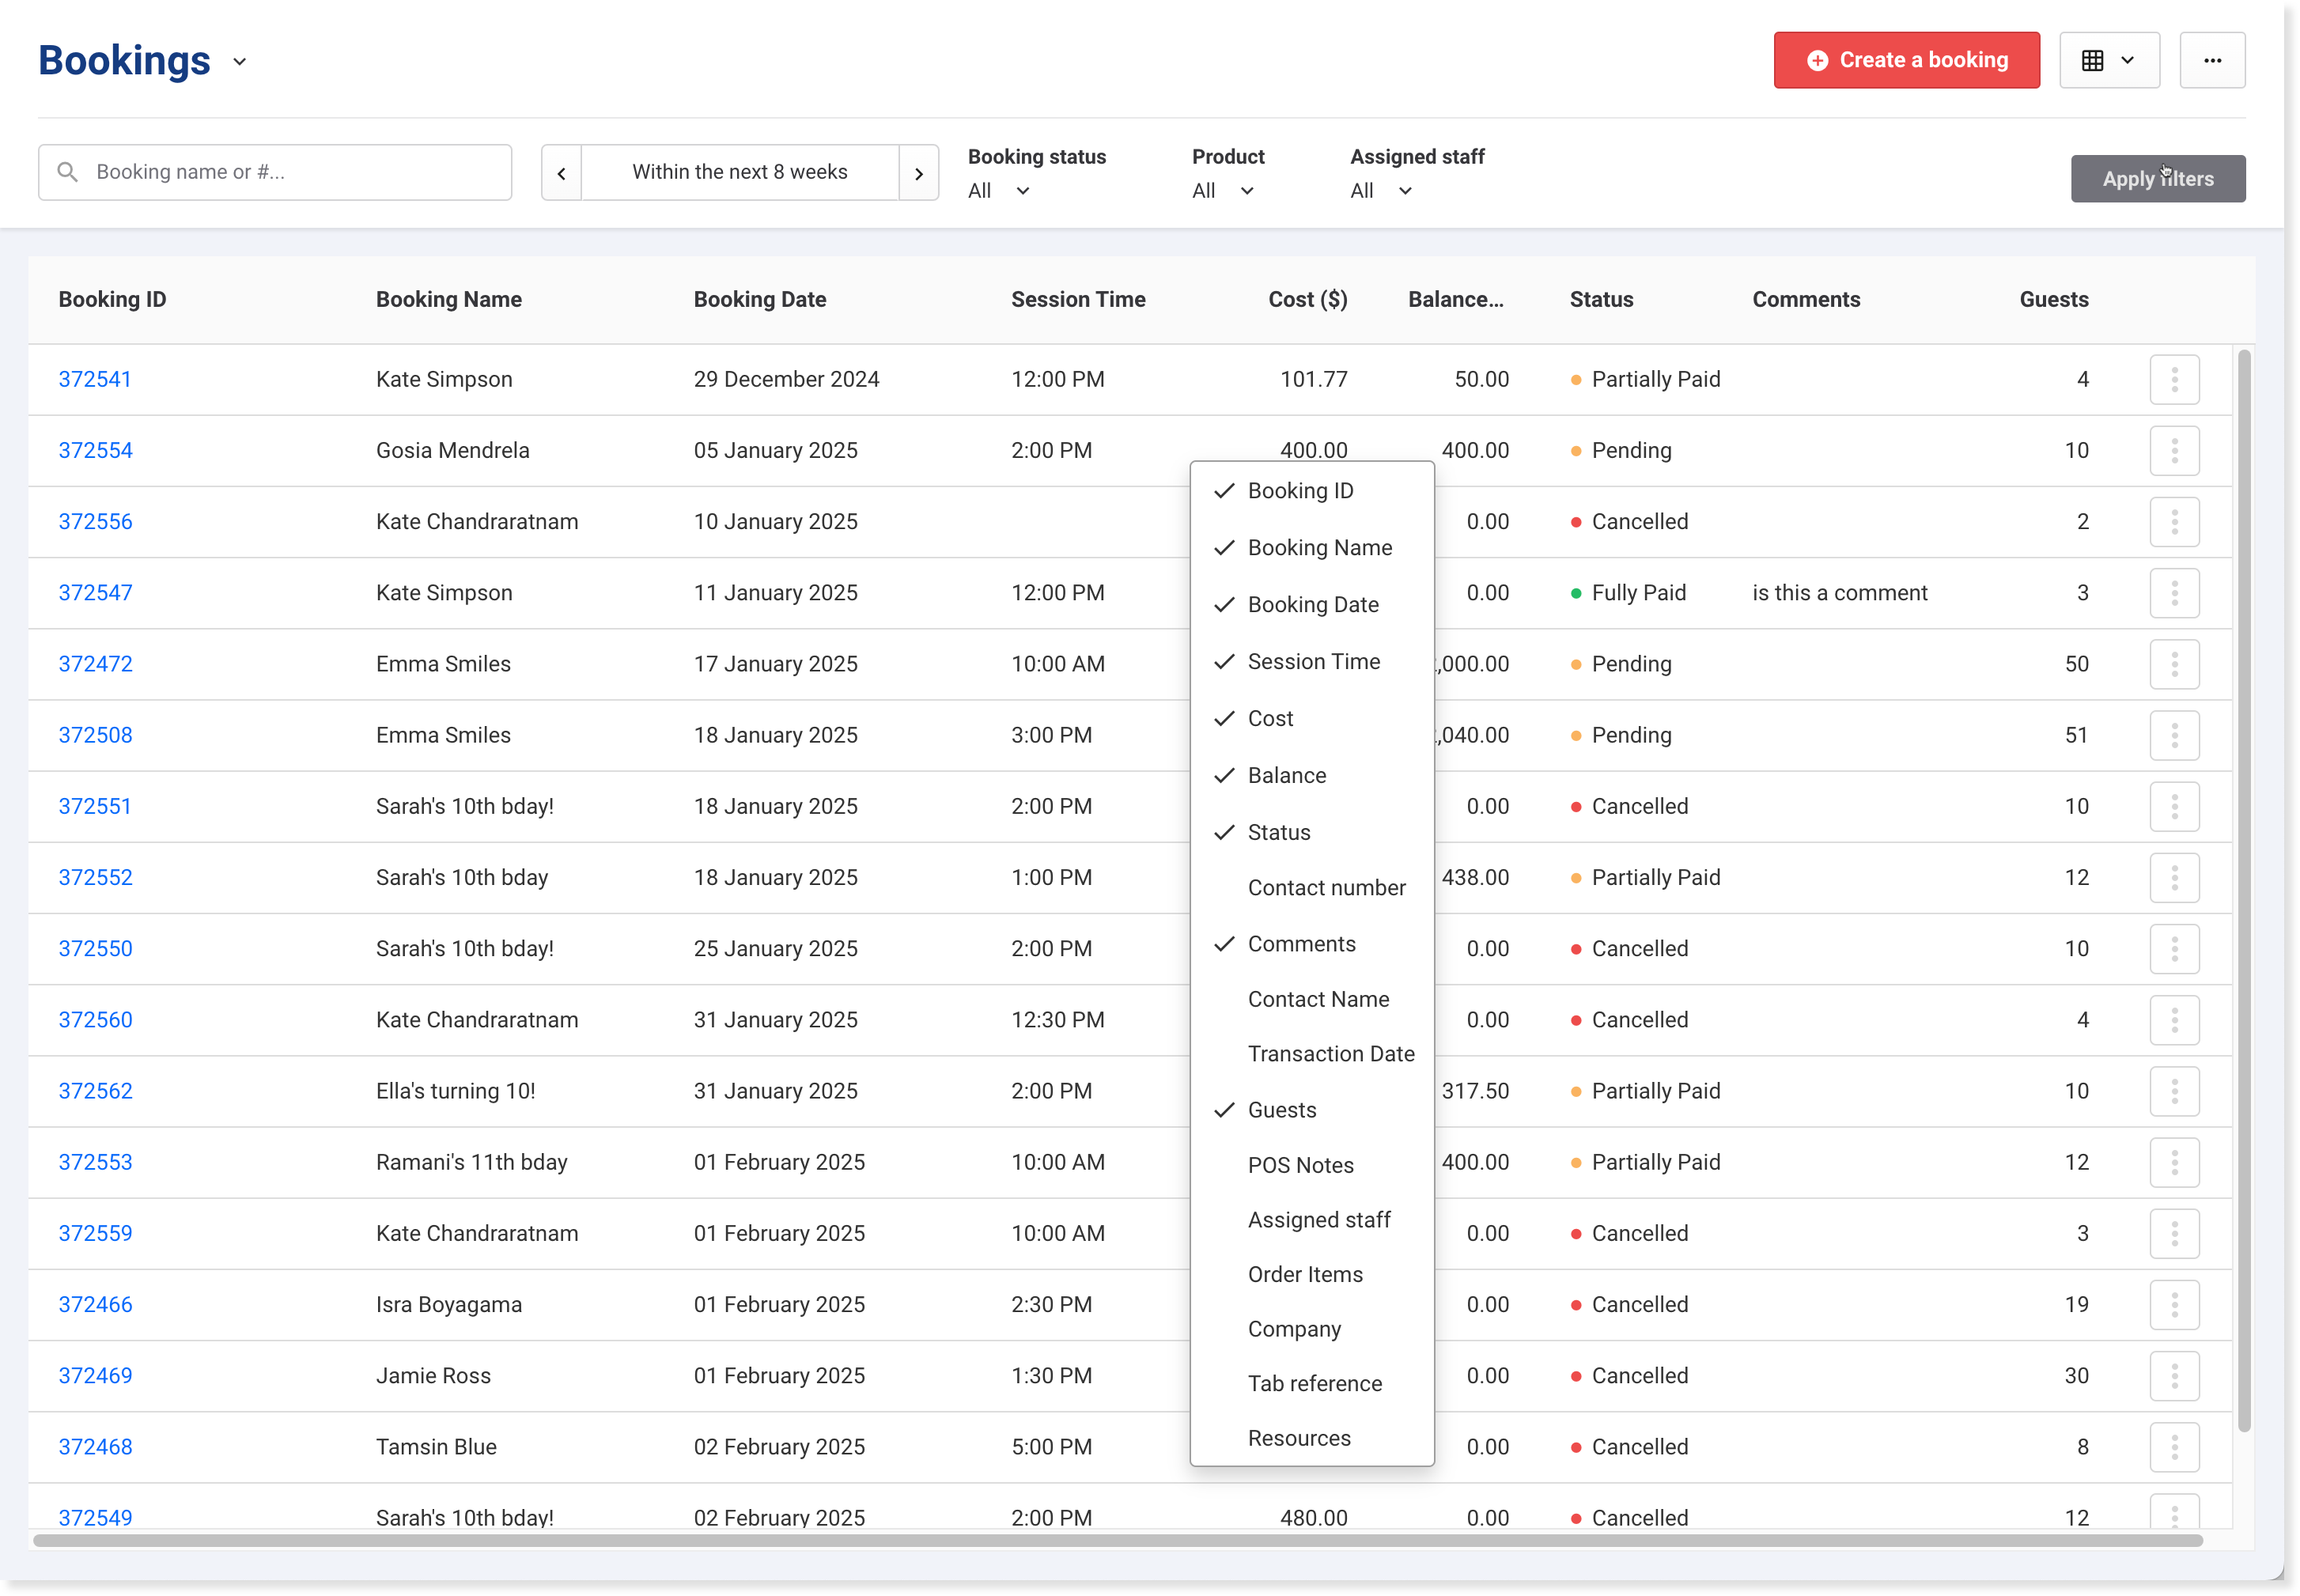
Right-click the grid to view all columns available. Select the columns you want from the menu.
Available columns include the following:
Booking ID
Booking Name
Booking Date
Session Time (only available if using the Sessions product)
Cost
Balance
Status
Contact Number
Comments (Booking notes entered in the Details tab for the booking)
Contact Name
Transaction Date
Guests (Number of guests booked - not attended)
Order Items
POS Notes
Assigned Staff
Company
Tab Reference
Resources
Access further booking details
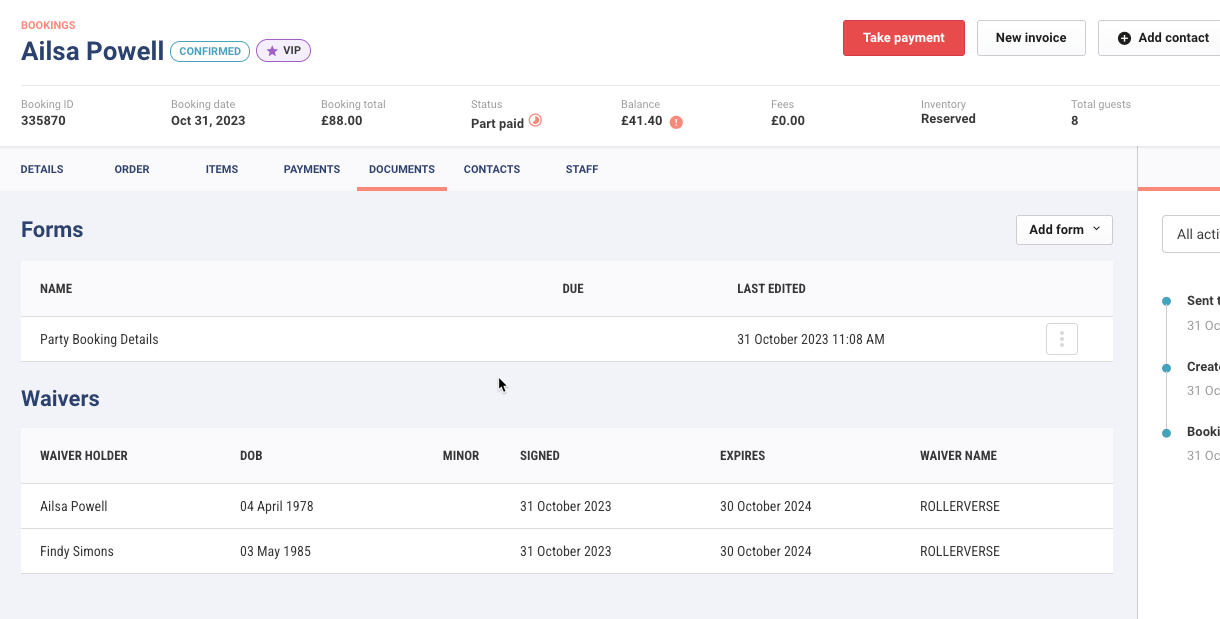
Select a Booking ID link to see a high-level overview of the booking.
Select Go to booking to see all details associated with the booking.
At the top, you'll see a summary of all the booking information.
Use the tabs to see different details associated with the booking.
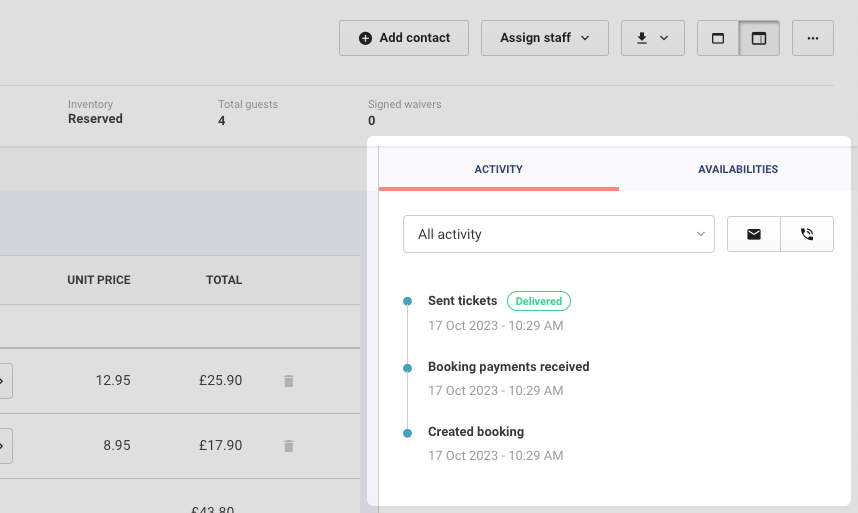
Use the booking activity stream to see all booking activity that has taken place in order.
Create a booking
At the top right, select Create a booking.
Refer to the guide Create and manage bookings from Venue Manager to learn more.
Save customized views
If you have created a set of filters that you use repeatedly, you can create saved views.
Some useful examples of saved views include:
Upcoming bookings that require full payment (filtering partially paid and pending bookings). This allows staff to follow up with owed amounts for bookings.
Upcoming party bookings (filtering to party products). This allows managers to see how many parties they have coming up for a specific period of time.
Export booking data as a CSV file
The permission Can export booking details is required for staff members to export guest booking data. Administrator and manager system roles automatically have this permission enabled and any custom roles based on these roles.
Select the options menu (3 dots) in the top right, then select Export bookings and forms (.csv)
A pop-up modal prompts you to select booking data fields and linked form data.
Once done, select Alert me when complete.
When the export is complete, a red dot appears on the notifications icon (bell) at the bottom of the navigation menu.
Select the notifications icon, then download the exported file.