Launching a new venue or managing a growing group? ROLLER HQ gives you a single account to control products, schedules, staff access, POS and checkout templates across all your venues. You stay in control centrally, while venues keep the local flexibility they need.
HQ subscription
Available for all HQ venues. To get started, contact your customer success manager or the support team.
Before you start
Make sure you have the following before setting up HQ:
An active ROLLER HQ account with administrator permissions.
At least one managed venue already created or ready to be created.
A clear idea of which products, schedules and staff settings you want to manage centrally vs. locally.
New to HQ? See the guide HQ glossary.
What HQ gives you
Centralized control – Manage products, pricing, schedules, staff access and more from one HQ account, then share changes across any number of venues.
Unified visibility – See performance, reporting and booking insights for all your venues in one dashboard.
Updates at scale – Apply product updates, price rules or schedule changes across venues in minutes, and publish them now or on a schedule instead of repeating the work in each managed venue.
Consistent templates – Create HQ POS and checkout menus once in HQ, then provide access to managed venues. Changes auto-sync to venues on save.
Built for your growth – Whether you're running 2 venues or 100, HQ keeps things simple, scalable and secure.
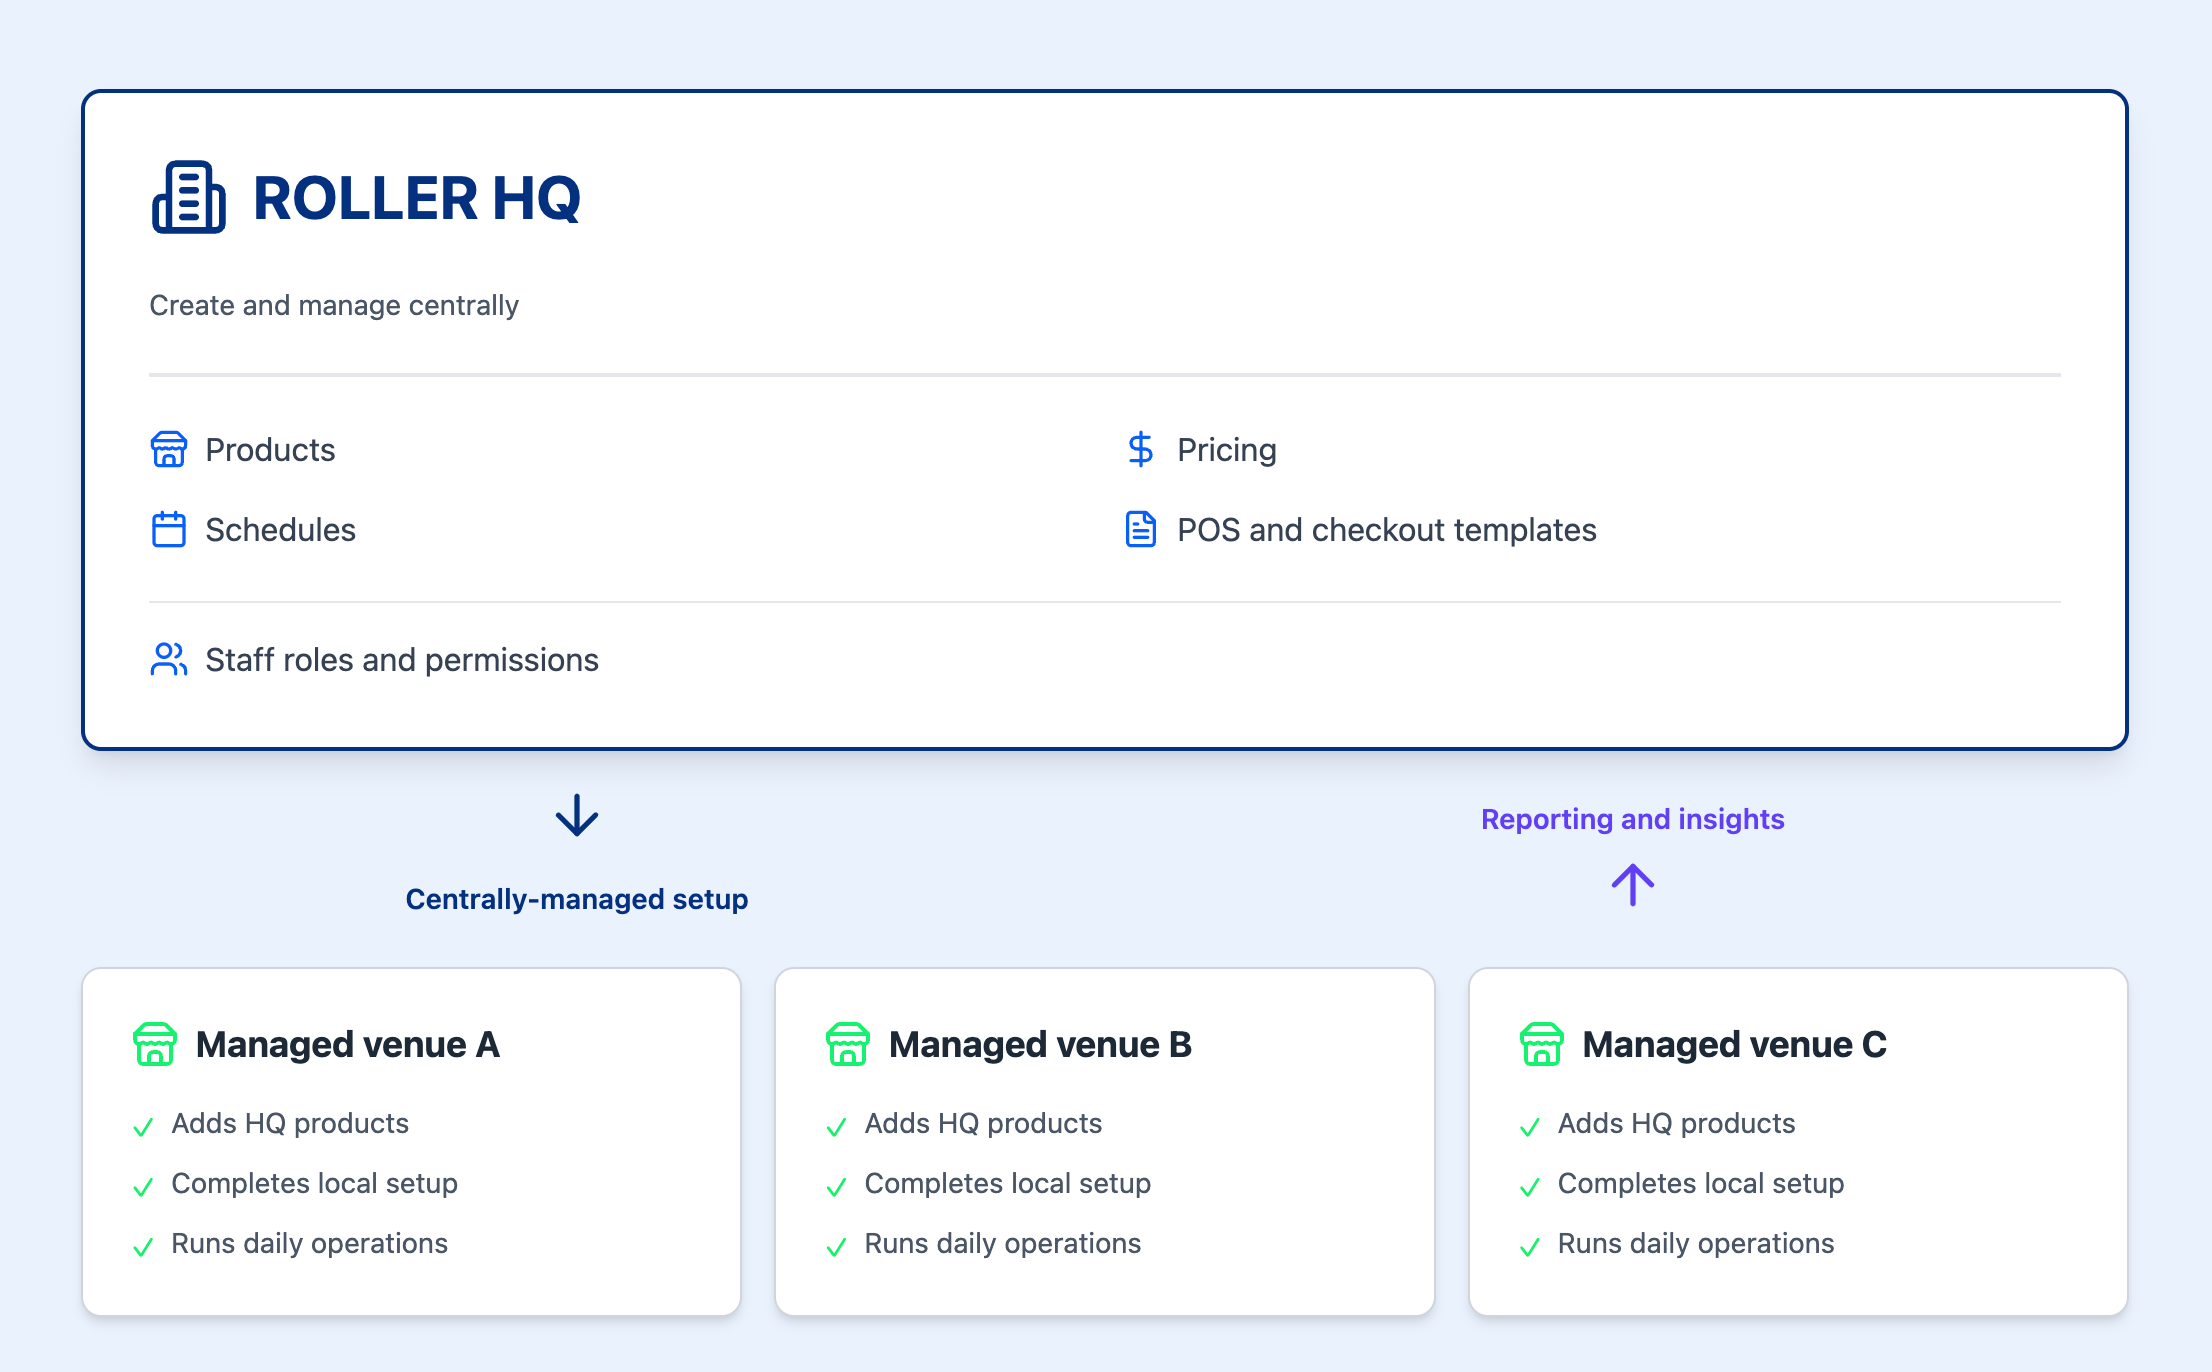
HQ vs managed venues at a glance
Capability | HQ venue | Managed venue |
|---|---|---|
Setup and configuration | Creates and controls setup and provides access to venues | Adds products provided by HQ; HQ POS and checkout templates auto-sync on save |
Updates and permissions | Publishes product updates centrally, now or on a schedule | Receives updates with controlled local edit access via HQ venue and staff permissions |
Reporting and insights | Views combined performance data across all venues | Views its own venue data only |
Staff management | Creates staff groups and HQ-managed roles shared across venues | Staff roles assigned from HQ; can add local staff |
POS and checkout | Creates and distributes POS and checkout templates | Uses templates from HQ; can configure locally if permitted |
Recommended setup path
If you're setting up HQ for the first time, follow these steps in order:
Read the implementation guide – Understand how HQ and managed venues relate before making changes. See HQ vs managed venue: Implementation guide.
Set up venue permissions in HQ – Control what each managed venue can and cannot edit locally. See Create and manage HQ venue permissions.
Set up staff groups and access in HQ – Create staff groups, assign system or HQ-managed custom roles and configure multi-venue access. See Create and manage HQ staff groups.
Create and provide access to products in HQ – Build your product catalog in HQ, use venue tags to provide access to managed venues, then add the product from each managed venue. See Create products from HQ and share them with managed venues and Create stock products from HQ and share them with managed venues.
Set up HQ schedules – Create schedules in HQ and use schedule groups to publish to one or more venues. See Create and manage HQ schedules.
Set up HQ POS and HQ checkout templates – Create POS templates and checkouts in HQ, use venue tags to provide access to managed venues, and changes auto-sync to venues on save. See Create and manage HQ POS templates.
Keep products up to date – As prices, deposits and descriptions change, edit the product once in HQ and publish the change to the venues you choose, now or on a schedule. See Edit products from HQ and publish changes now or on a schedule
Monitor performance from HQ – Once venues are running, use insights to track GX Scores and performance across the group. See Monitor the GX Score for your venues from HQ.
After you complete these steps, you’ll be able to control products, schedules and staff access across all your venues from HQ.
Explore HQ guides by task
Find the guide you need to set up, manage or monitor HQ across your venues.
Start here
Foundational reading to understand how HQ works before you configure anything.
Set up venue permissions
Define what HQ controls centrally and what managed venues can configure locally.
Set up staff groups and multi-venue access
Create staff groups, define roles and grant staff access across multiple venues from HQ.
Switch between venues
Navigate between your HQ and managed venues, search bookings across the group, and set a default venue for staff so they land in the right place each time they log in. See the guide Switch between venues and search bookings across venues.
Manage products, schedules and discounts
Build and maintain your product catalog in HQ, then share items, schedules and pricing rules across managed venues. Group product changes into a collection so they reach your venues together at a time you choose.
Manage HQ POS templates and HQ checkouts
Create consistent point-of-sale menus, online checkouts, and self-serve kiosk templates to roll out across venues.
Monitor the guest experience
Monitor guest experience and performance metrics across all your venues from a single HQ view. See the guide Monitor the GX Score for your venues from HQ.